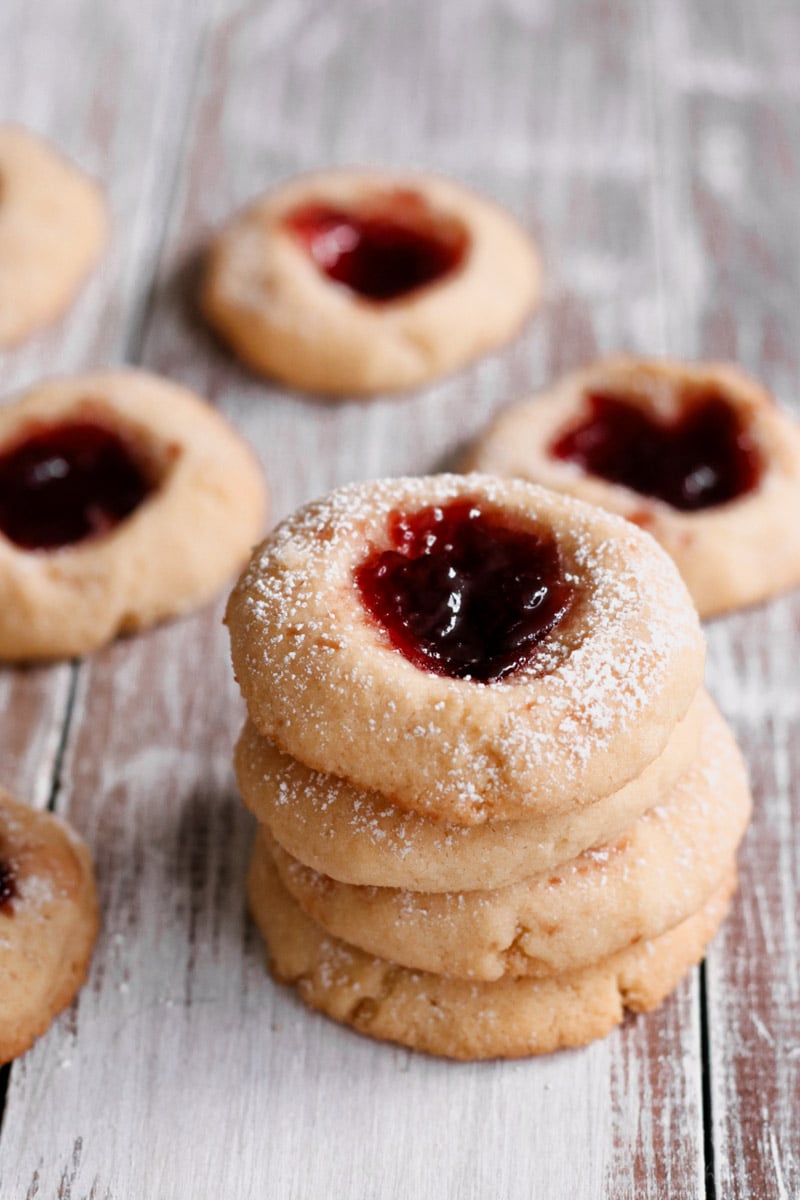
I'm sharing my favorite recipe for jam-filled Italian thumbprint cookies, they're buttery, delicious, and so easy to make! Whether you love strawberry, raspberry, or even chocolate-filled centers, these cookies are perfect for Christmas or any time you're craving a classic treat.
If you enjoyed this recipe, you might also like my Amaretti Almond Pumpkin Pie, Easy Cranberry Coffee Cake, and The BEST Authentic Italian Tiramisu!
This article contains affiliate links which support us at no extra cost to you.
Jump To
- 💖Why we love this recipe
- 🛒 Ingredients
- Equipment you need to make this recipe
- 🍽️ How to make thumbprint cookies
- How to make thumbprint cookies with a stand mixer
- 🫙 Leftover and Storing
- 📃 Substitutions & Variations
- ☑️ Our Top Tips
- ❓ FAQ'S
- Some other recipes you'll love:
- 📖 Recipe
- Italian Thumbprint Cookies with Jam
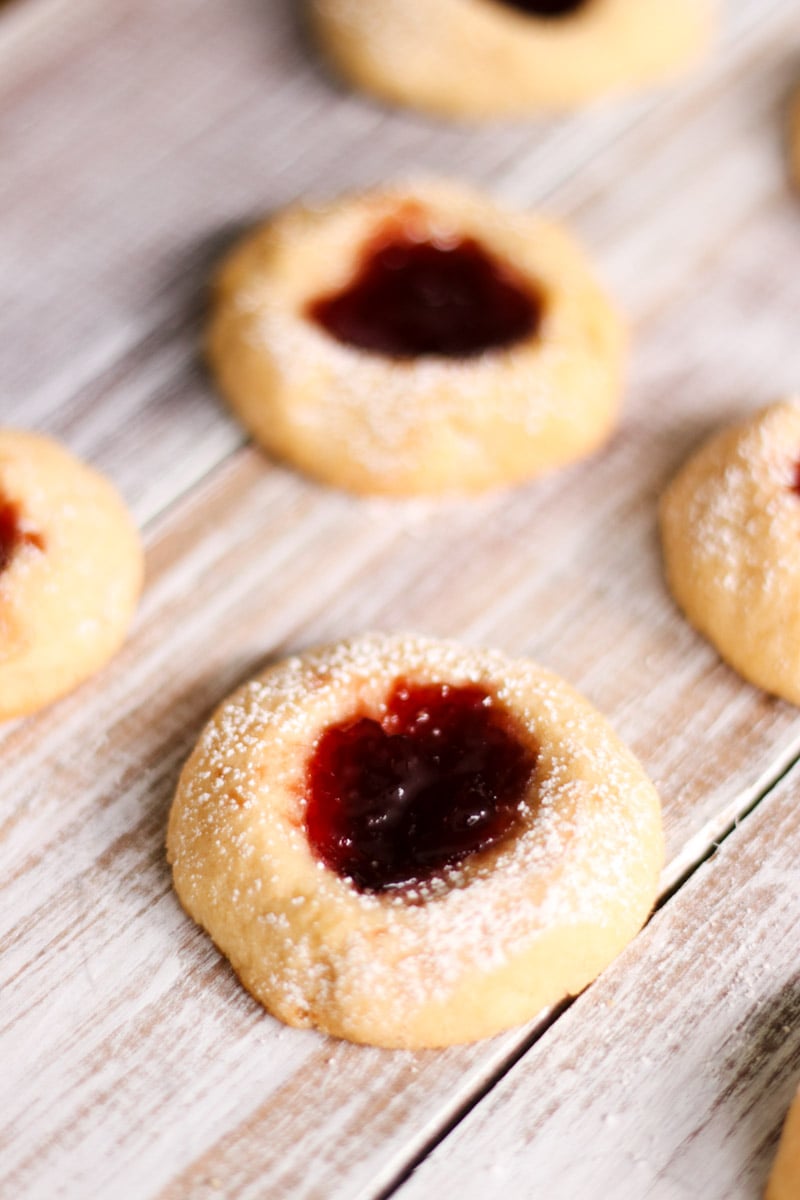
There's something magical about thumbprint cookies; they're simple, nostalgic, and oh-so-delicious. These Italian thumbprint cookies are inspired by the traditional Italian approach to baking: simple ingredients, timeless techniques, and a focus on quality flavors. In Italy, desserts are often designed to pair beautifully with an espresso or a glass of wine, and these cookies are no exception.
What makes these cookies uniquely Italian is the use of a buttery shortbread base, reminiscent of classic Italian biscuits like pasta frolla, which is a staple in many traditional desserts. The addition of a jam-filled center ties them to Italy's love for fruity, homemade preserves-think luscious strawberry or raspberry jams made from summer's bounty. They remind me of treats you'd find at a cozy Italian pasticceria or enjoy during a festive gathering with family.
These cookies are perfect for Christmas or any occasion when you want a touch of Italian sweetness on your table. The flavors are so versatile, you can keep it classic with jam, add a dollop of chocolate for a modern twist, or fill with fig or apricot preserves.
Baking these cookies always brings me back to Italy, where food is not just about sustenance but about creating memories. Whether you're enjoying them with a strong coffee or sharing them as a holiday gift, they're a little taste of Italian tradition that's easy to make at home.
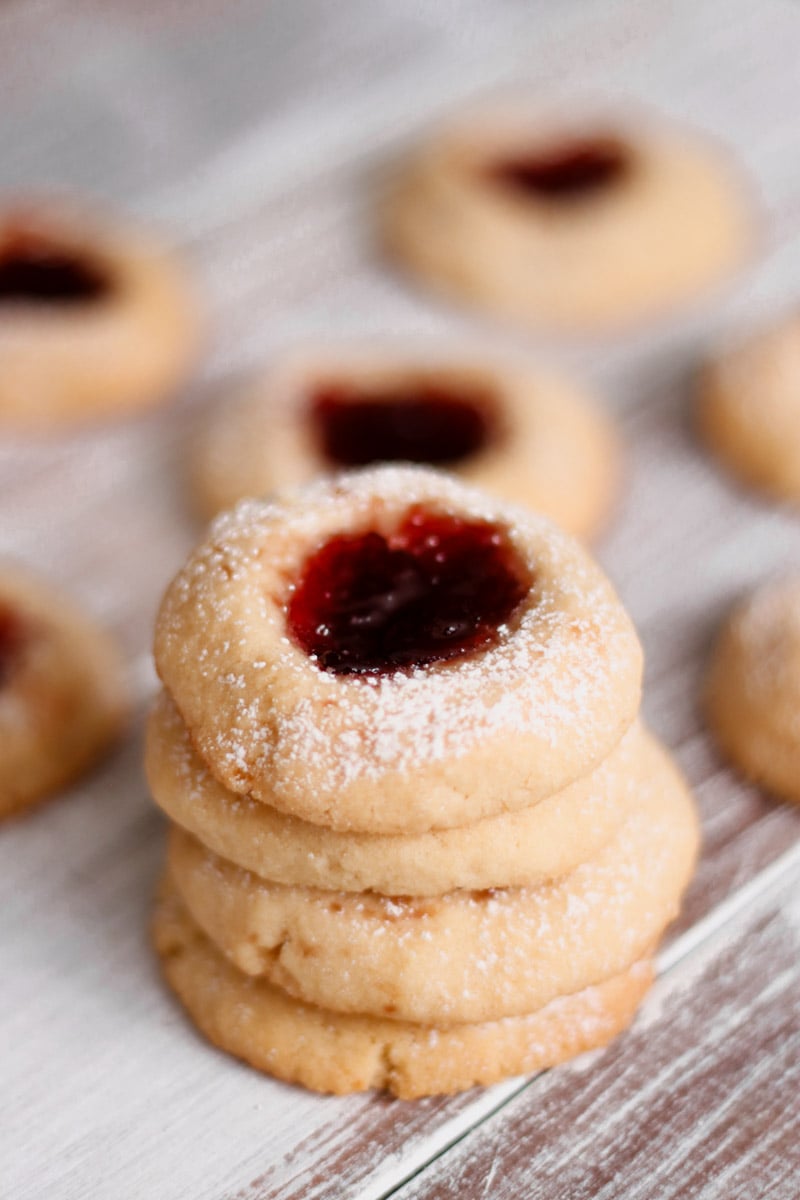
You are going to want to add these cookies to your Christmas cookie baking list! I bake these cookies every year. If you were searching for the one cookie to impress your friends and family, these jam-filled thumbprint cookies are the one!
This article contains affiliate links which support us at no extra cost to you.
Jump To
- 💖Why we love this recipe
- 🛒 Ingredients
- Equipment you need to make this recipe
- 🍽️ How to make thumbprint cookies
- How to make thumbprint cookies with a stand mixer
- 🫙 Leftover and Storing
- 📃 Substitutions & Variations
- ☑️ Our Top Tips
- ❓ FAQ'S
- Some other recipes you'll love:
- 📖 Recipe
- Italian Thumbprint Cookies with Jam
💖Why we love this recipe
- They're incredibly versatile. You can fill them with anything from classic jams to chocolate or even lemon curd, making them perfect for any taste or occasion.
- They're easy to make. With just a handful of simple ingredients, these cookies come together quickly, making them ideal for both beginner and seasoned bakers.
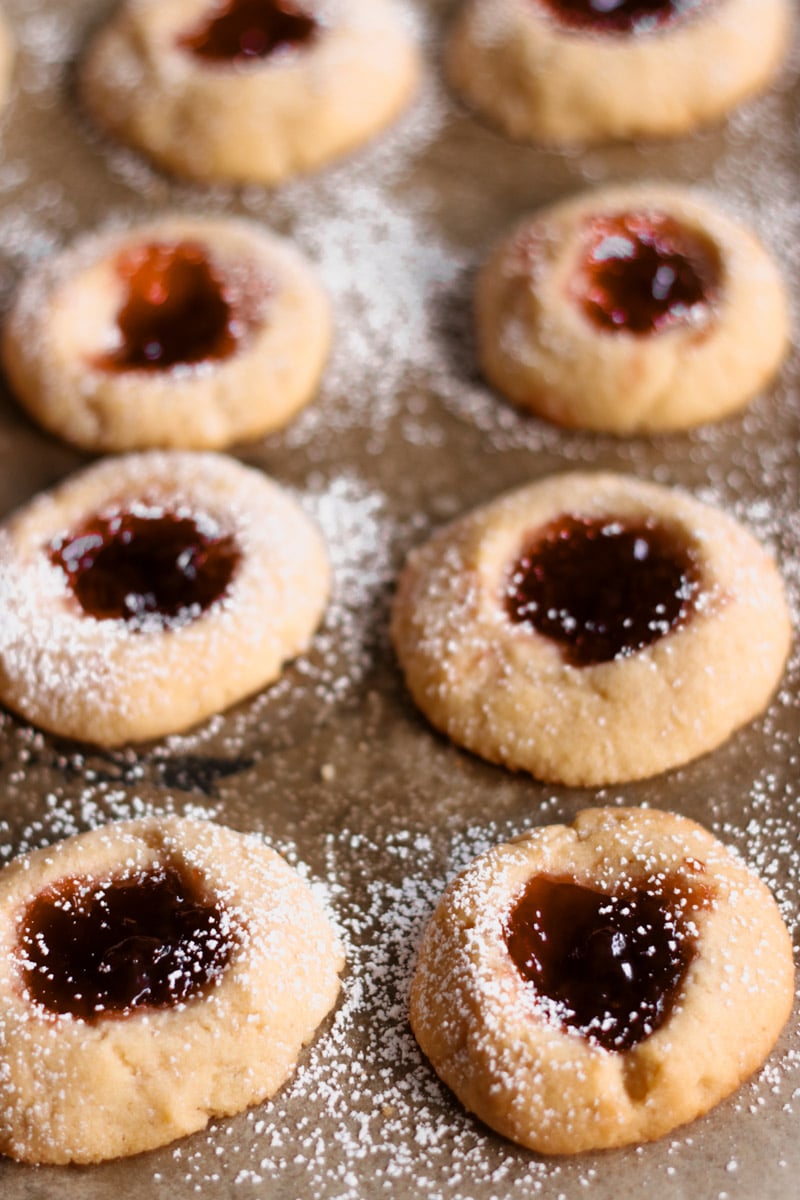
- They're beautiful and festive. Their jam-filled centers and buttery edges make them a stunning addition to any cookie tray, especially during the holidays.
- They bring a taste of Italy to your kitchen. Inspired by traditional Italian baking, these cookies pair perfectly with an espresso or a glass of Vin Santo.
- They're a family favorite. Both kids and adults love the sweet, buttery flavor, and making them is a fun activity to enjoy together.
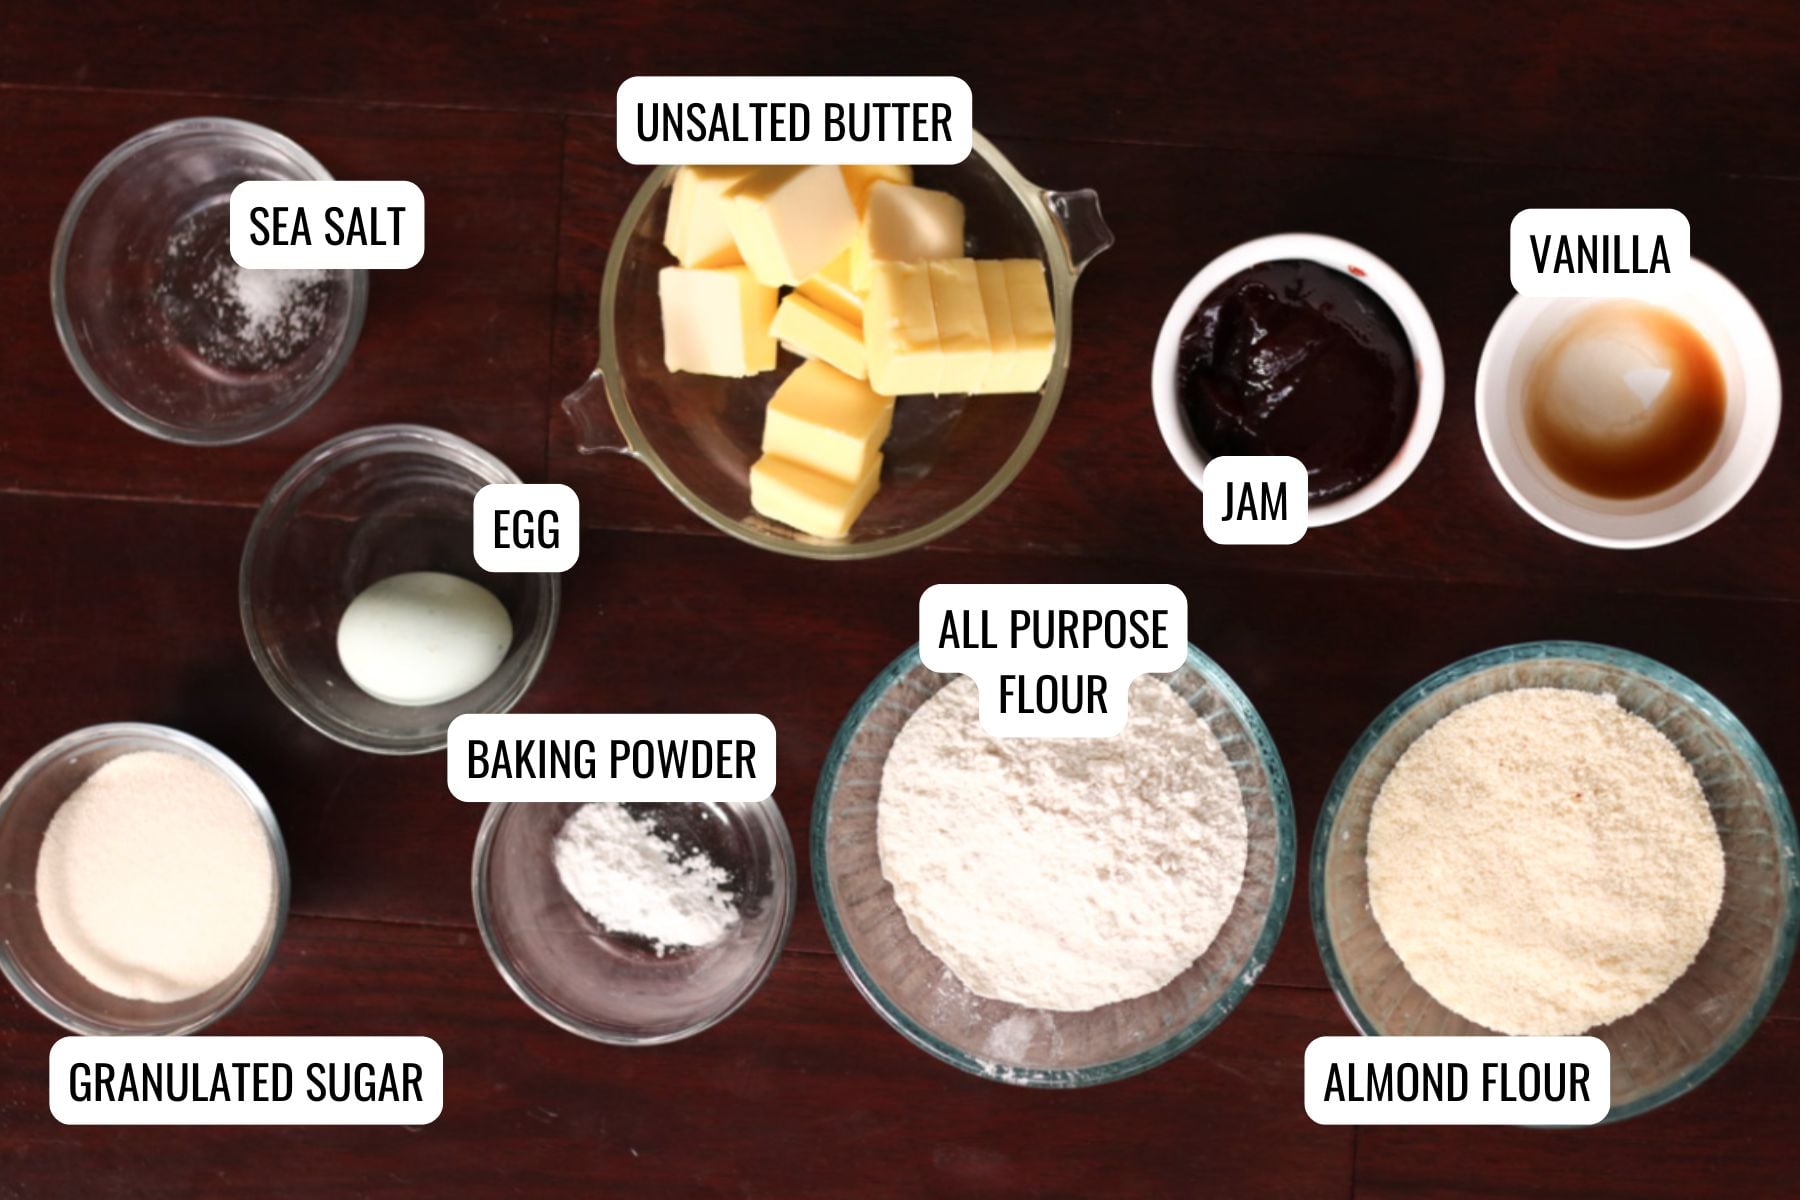
🛒 Ingredients
- All-purpose flour - The base of the dough, providing structure and a soft crumb.
- Almond flour - Adds a rich, nutty flavor and soft texture to the cookies.
- Sea salt - Enhances the sweetness and balances the flavors.
- Baking powder - Helps the cookies rise slightly for a light, tender texture.
- Unsalted butter - The key to a rich, buttery flavor and a tender dough.
- Granulated sugar - Adds sweetness and helps create a smooth, creamy dough when creamed with butter.
- Egg - Acts as a binder to hold the dough together and adds richness.
- Vanilla extract - Enhances the overall flavor with a warm, aromatic sweetness.
- Raspberry jam (or jam of your choice) - The star of the cookies, adding a fruity burst of flavor in every bite. Go ahead and use any jam you have on hand or love. You could even fill them with Nutella. I like to use Bonne Maman or St. Dalfour jams. Or make your own jam!
- Powdered sugar (optional) - A light dusting adds a festive, bakery-style finish to the cookies.
Equipment you need to make this recipe
- Food processor: I used my food processor to make this very easy dough.
- Stand Mixer or Hand Mixer: If you don't have a food processor, use a stand or hand mixer.
- Mixing Bowls - A couple of bowls for mixing the dough and preparing the fillings.
- Tablespoon Cookie Scoop - You could use a cookie scoop to make even sized cookies that bake consistently.
- Prepared Baking Sheets - Lined with parchment paper or a silicone baking mat to prevent sticking.
- Wooden Spoon - For making the signature indentations in the cookie dough. Or just use your clean thumb! Honestly, it is best way to make the indentation. You could use the point of the wooden spoon to start the hole and use your thumb to press it into the thumbprint.
- Wire Cooling Rack - To cool the cookies evenly after baking.
🍽️ How to make thumbprint cookies
Here is how to make this raspberry thumbprint cookie (the full recipe is below!):
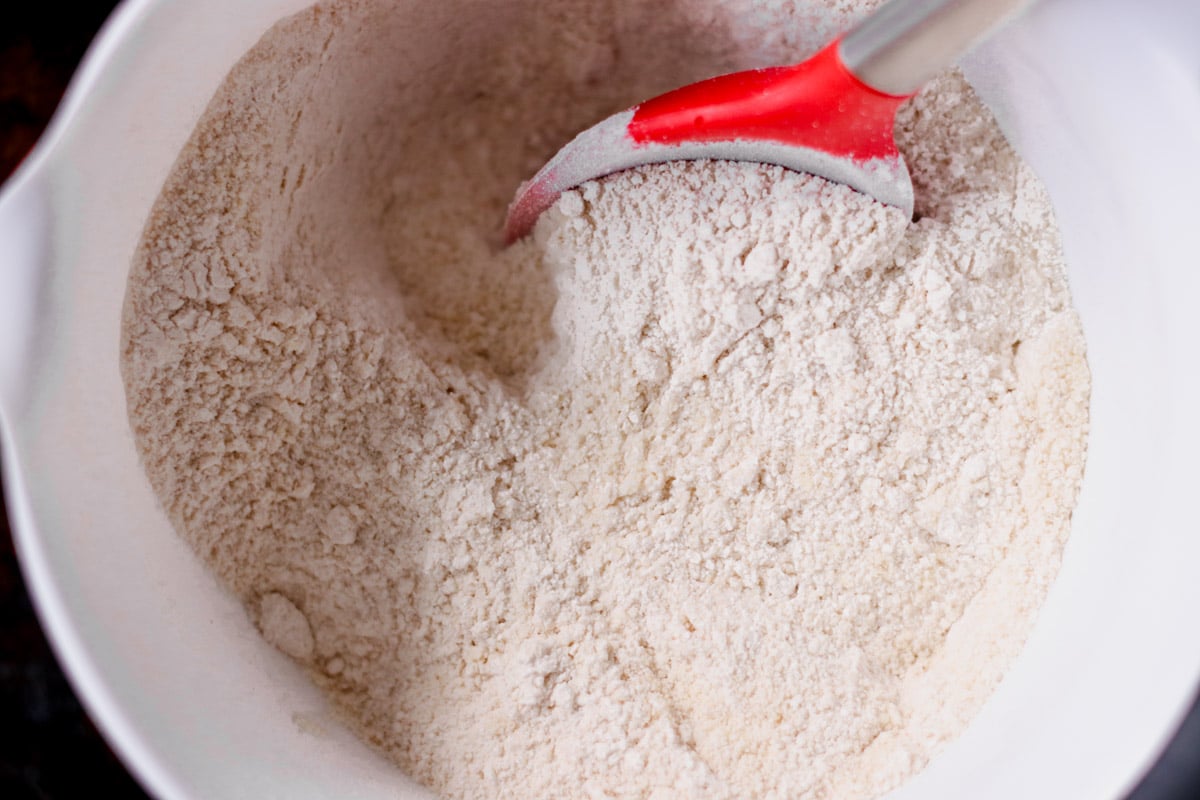
- Step 1: Combine flours, baking powder and salt.
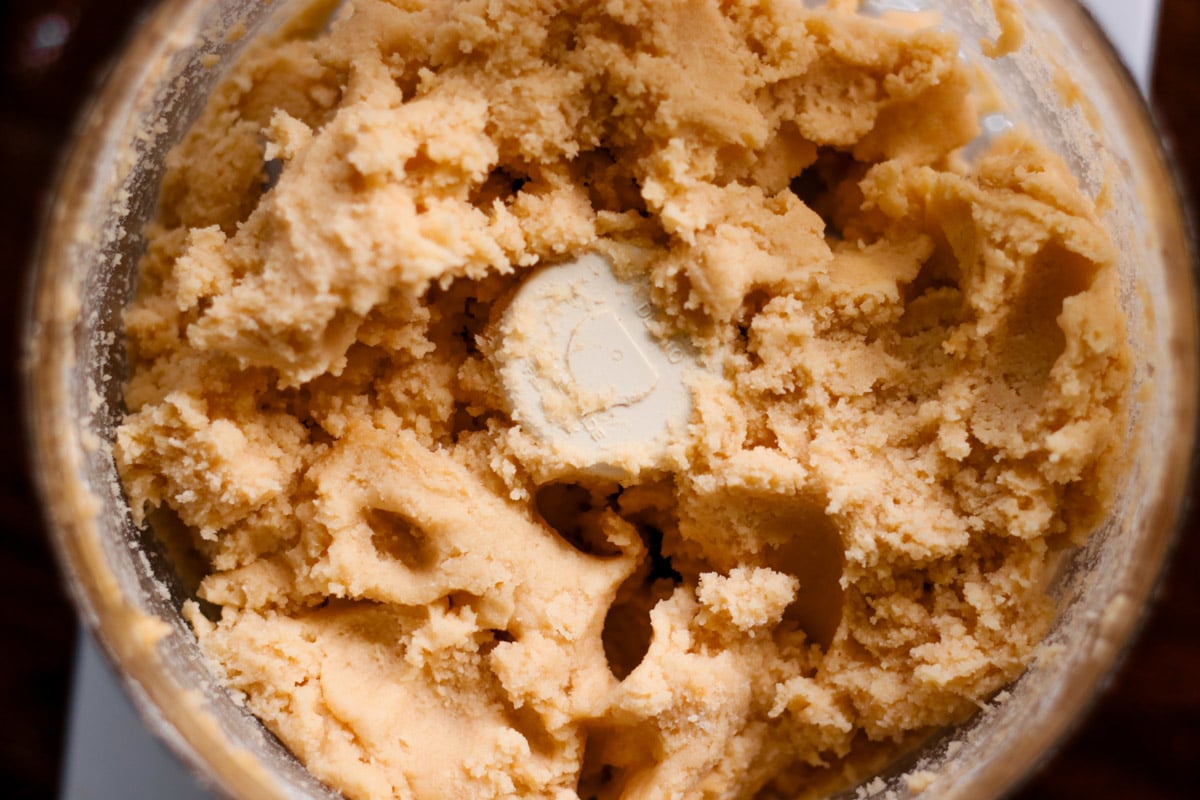
- Step 2: In bowl of food processor, combine butter and sugar. Add in egg and vanilla.
- Step 3: Add in flour mixture in 3 parts and pulse to combine.
- Step 4: Chill dough for 30 minutes or overnight.
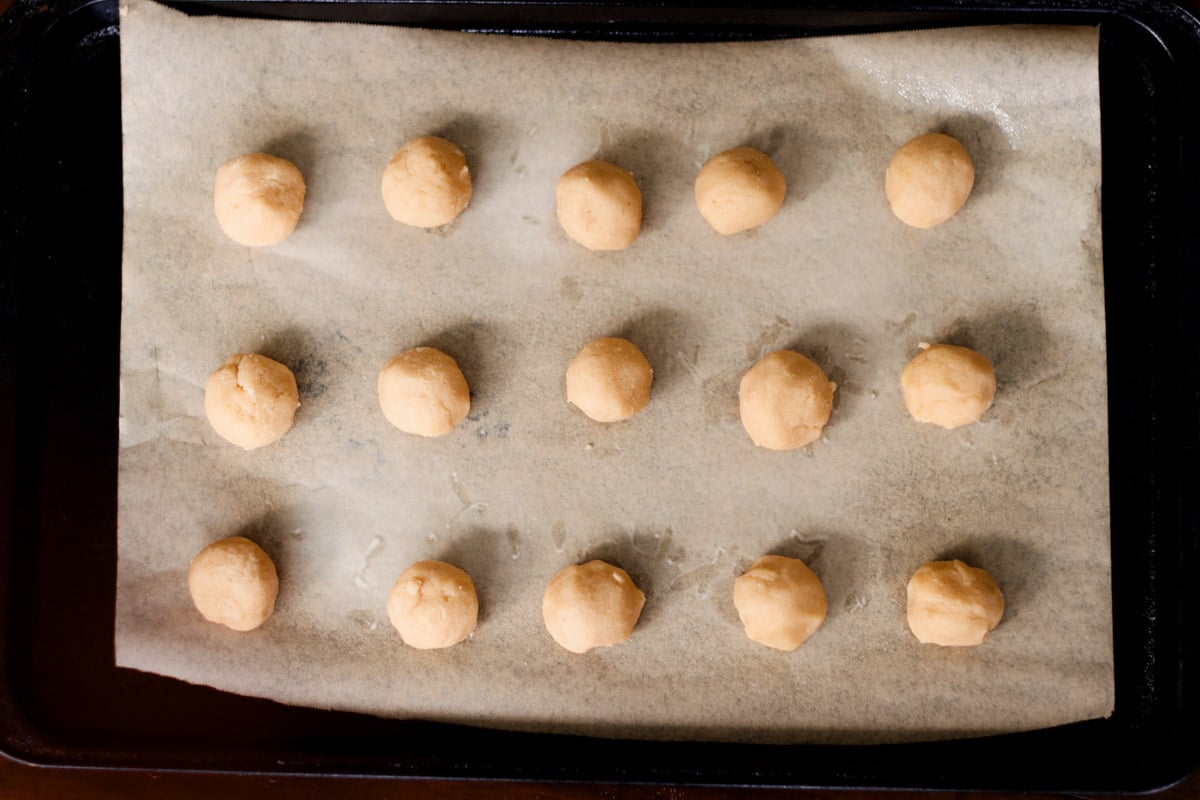
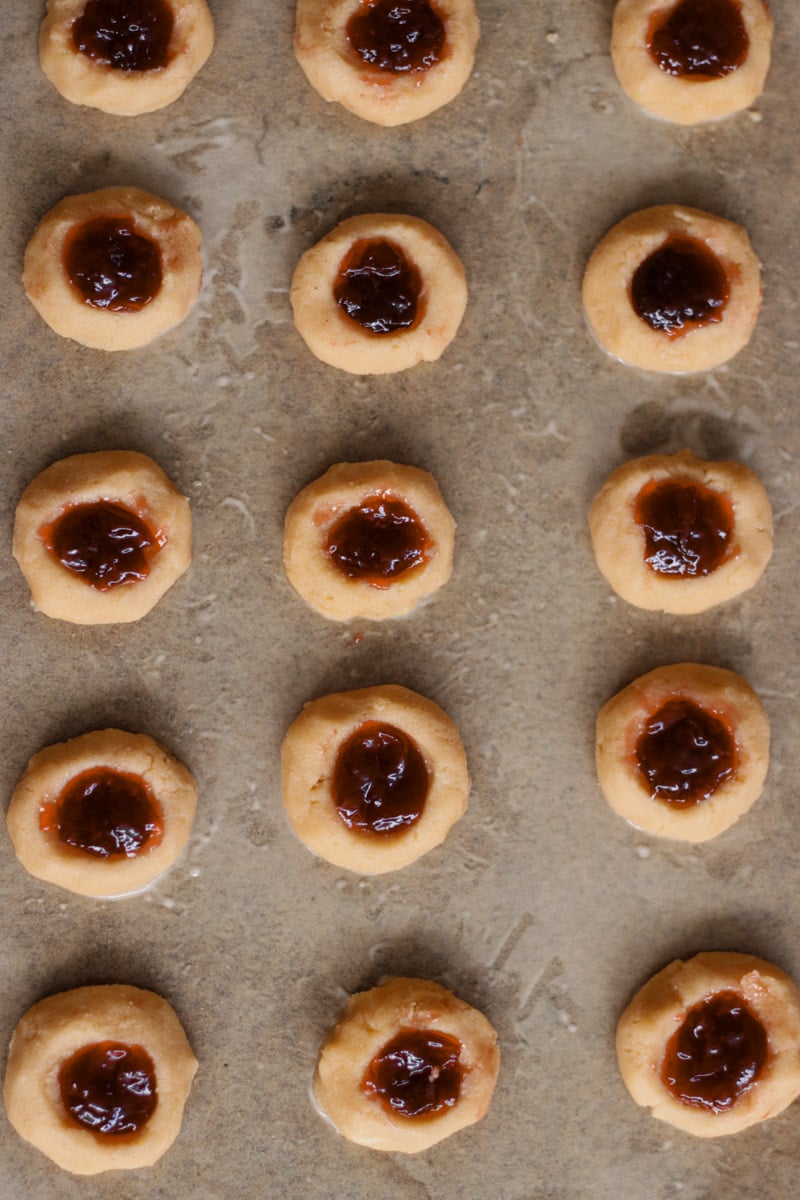
- Step 5: When ready to bake, roll out cookie balls.
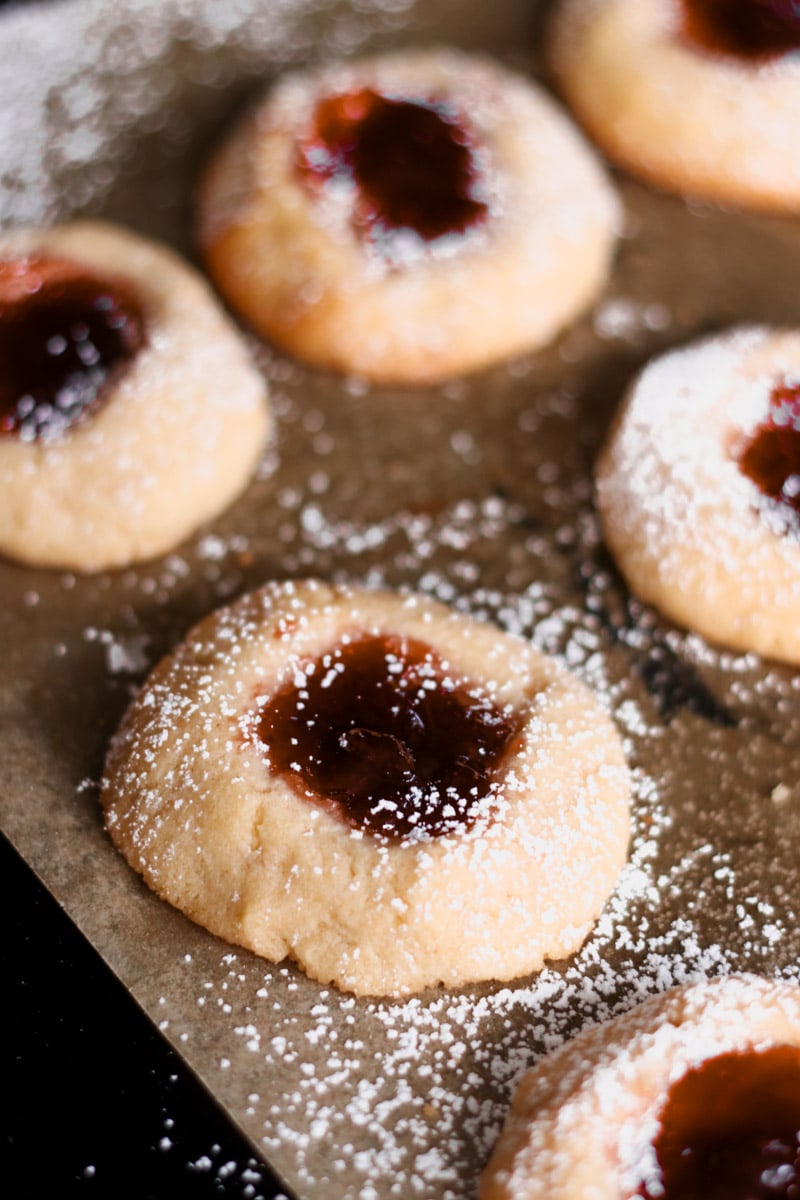
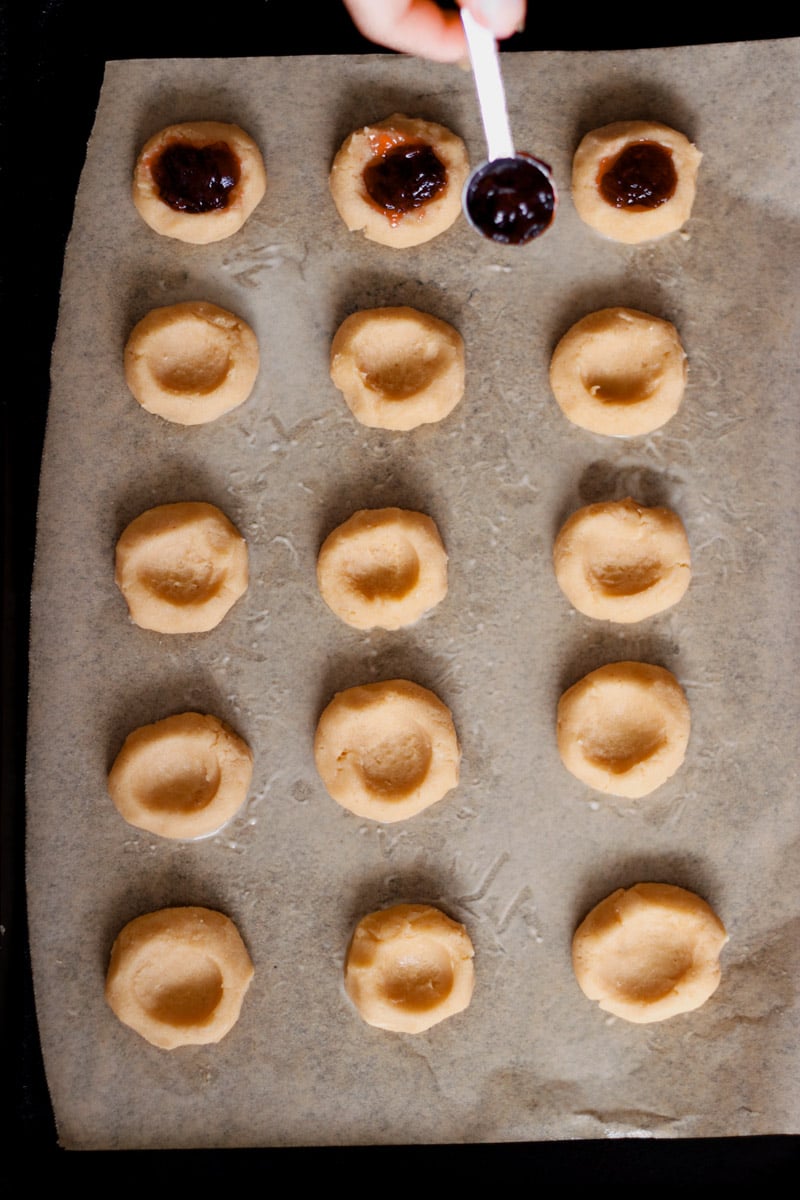
- Step 6: Make indentations and fill with jam.
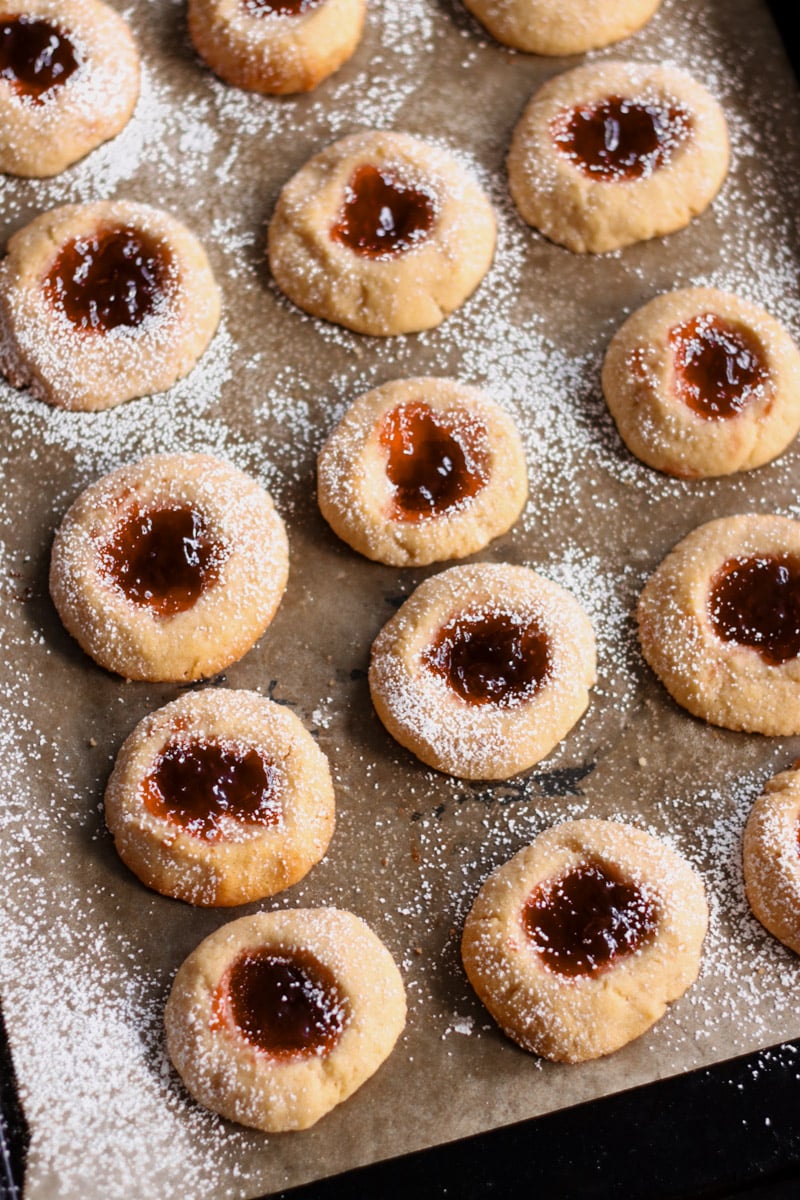
- Step 7: Bake until lightly golden.
- Step 8: Dust with confectioner's sugar and enjoy!
How to make thumbprint cookies with a stand mixer
- In a small bowl, combine almond flour, flour, baking powder, and salt. Stir to combine. In bowl of stand mixer or in a bowl using a hand held mixer, beat butter until creamy. Scrape down the sides and bottom with a spatula. Add sugar and beat on medium speed for about 1 minute until creamy.
- Add egg, and vanilla extract and combine, stopping mixer to scrape the sides of the bowl.
- Add flour mixture in 3 parts. When adding each part, beat on low speed until just combined and dough is formed.
- Chill dough and follow rest of the recipe below.
📃 NOTE: Recipe card with detailed instructions are below! Print it out for later!
🫙 Leftover and Storing
If you have leftover Italian thumbprint cookies, you're in luck-they store beautifully and even taste better the next day as the flavors meld together. Here's how to store them properly:
- Room Temperature: Place the cookies in an airtight container and store them at room temperature for up to 5 days. Be sure to layer parchment paper between them to prevent sticking.
- Refrigeration: If you've used a perishable filling like cream cheese or chocolate ganache, store the cookies in an airtight container in the fridge for up to a week.
- Freezing: To freeze, arrange the cookies in a single layer on a baking sheet and freeze until solid. Then transfer them to a freezer-safe bag or container, separating layers with parchment paper. They can be frozen for up to 3 months. Thaw at room temperature before serving.
Pro Tip: If you're planning to freeze them, freeze the baked cookies without the jam filling and add the jam after thawing for the best texture and freshness.
📃 Substitutions & Variations
One of the best things about Italian thumbprint cookies is how versatile they are! Here are some easy substitutions and creative variations to try:
Substitutions:
- Butter: Use plant-based butter for a dairy-free version. Just make sure it's unsalted and softened for the best texture.
- Jam: Swap out the jam for marmalade, lemon curd, or even Nutella for a decadent twist.
- Sugar: Substitute granulated sugar with coconut sugar or powdered sugar for a slightly different texture and flavor.
- Flour: For a gluten-free option, use a 1:1 gluten-free baking flour blend.
Variations:
- Chocolate Lovers: Fill the center with melted chocolate or a dollop of chocolate hazelnut spread.
- Nutty Twist: Roll the dough balls in chopped nuts before baking for an extra crunch.
- Citrus Zest: Add a teaspoon of orange or lemon zest to the dough for a refreshing citrus flavor.
- Festive Flair: Drizzle the cookies with a simple glaze and sprinkle with colored sugar or edible glitter for a holiday treat.
- Savory-Sweet: Experiment with savory jam, like fig or onion marmalade, for a unique appetizer-style cookie.
☑️ Our Top Tips
- Use Room Temperature Ingredients: Ensure your butter is softened and at room temperature for a smooth, creamy dough that's easy to work with.
- Chill the Dough: After forming the dough balls, chill them for at least 30-60 minutes to prevent the cookies from spreading too much during baking.
- Make Deep Indentations: Use your thumb or the handle of a wooden spoon spoon to create deep, even indentations in the dough to hold the jam securely.
- Avoid Overfilling with Jam: Use about ½ teaspoon of jam per cookie to prevent it from bubbling over during baking.
- Choose the Right Jam: Opt for thick jams or preserves that won't run during baking.
- Roll the Dough for Consistency: Roll dough balls between your palms for an even, round shape to ensure uniform cookies.
- Experiment with Flavors: Try different fillings like raspberry, apricot, or fig jam, or go bold with Nutella or caramel for variety.
- Prevent Cracks: If your dough cracks while forming the thumbprint, gently smooth the edges with your fingers for a polished look.
- Bake in Batches: Space the cookies evenly on the baking sheet to allow proper air circulation for even baking.
- Cool Completely: Let the cookies cool on the baking sheet for a few minutes before transferring them to a wire rack to prevent them from breaking.
- Dust with Powdered Sugar: For a festive finish, lightly dust the cooled cookies with powdered sugar before serving.
- Store Properly: Keep cookies in an airtight container at room temperature for up to 5 days, or freeze them for longer storage.
❓ FAQ'S
Thumbprint cookies, known for their signature indentation filled with jam or chocolate, are believed to have originated in Sweden, where they are called Hallongrotta, meaning "raspberry cave." Over time, they became popular worldwide and are now a favorite in many cuisines, including Italian-inspired versions.
You can do it either way, depending on the result you're looking for! Filling the cookies before baking allows the jam to set and slightly caramelize, creating a chewy texture. If you prefer a fresher, shinier jam, fill the cookies after baking and allow the jam to cool and set. Both methods are delicious!
Yes, you can make the thumbprint cookie dough 3 days in advance. Store in the refrigerator until ready to bake. Keep out at room temperature for 10 minutes until you're ready to shape them.
Cracks in thumbprint cookies happen when the dough is too cold, dry, or overmixed. Let the dough soften slightly if chilled, and add a teaspoon of milk if it's crumbly. Gently press the indentation to avoid splitting, and use room-temperature butter for a smooth, pliable dough. All I do If a cracks forms is roll the dough into a ball and try again!
Some other recipes you'll love:
- Traditional Pizzelle (Italian Waffle Cookies): Light and crispy waffle cookies with a hint of anise, perfect for festive occasions.
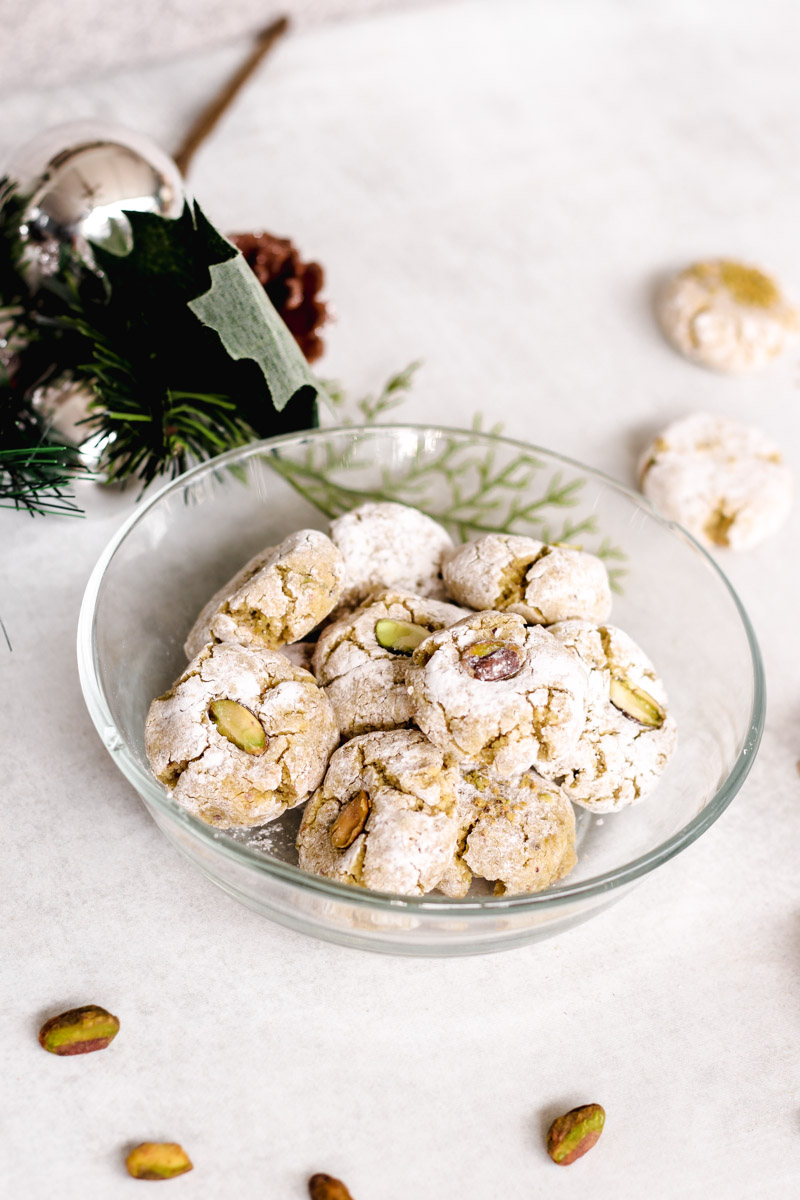
- Easy Italian Almond Cookies (Amaretti): Soft and chewy almond-flavored cookies that melt in your mouth.
- BEST Italian Fig Cookies (Cuccidati): Traditional Sicilian cookies filled with a spiced fig and nut mixture. My favorite Christmas cookies!
Did you make this and love it? Please RATE THE RECIPE below:)
I would LOVE IT if you can leave me a star rating and a review down below and let me know your thoughts! It means the world to me to hear how you liked it.
Please Subscribe and give a follow on Instagram, Facebook, Pinterest, and TikTok xx
📖 Recipe

Italian Thumbprint Cookies with Jam
Equipment
Ingredients
- 1 ¼ cups all-purpose flour
- 1 cup almond flour
- ¼ teaspoon salt
- ½ teaspoon baking powder
- ¾ cups unsalted butter softened
- ½ cup granulated sugar
- 1 large egg
- 1 teaspoon vanilla extract
- ½ cup raspberry jam or your favorite jam
- powdered sugar optional for dusting
Instructions
- Combine flours: In a small bowl, whisk together all-purpose flour, almond flour, baking powder, and salt, then set aside.
- Combine butter and sugar: In the bowl of a food processor, combine softened butter and granulated sugar, processing until smooth and creamy (about 30 seconds). Add the egg and vanilla extract, pulsing until just mixed.
- Add flour mixture: Gradually add the flour mixture in three batches, processing until combined. The dough will be soft and slightly sticky.
- Chill dough: Scrape the dough into a bowl, cover, and refrigerate for at least 30 minutes or up to an hour to firm up. You could also chill dough overnight.
- Heat oven: Preheat your oven to 350°F and line two baking sheets with parchment paper.
- Roll cookie balls: Using a 1-tablespoon cookie scoop, portion the dough and roll it into balls between your hands. Place cookie balls on prepared baking sheets about 2 inches apart. The more you make these cookies, the more you'll be able to eye it for the size and you won't need to measure them.
- Make indentation: Once one baking sheet is filled, use your clean thumb and gently press an indentation into the center of each ball. Or use using a 1-teaspoon measure. If the dough cracks, simply roll it back into a ball and try again.
- Fill with jam: Fill each indentation with the jam.
- Finish rest of dough: Repeat with the remaining dough for the second baking sheet.
- Bake: Bake the cookies for 15-20 minutes, or until lightly golden brown around the edges. The cookies will be soft, and firm up as they cool down. Start checking for doneness at around 12-13 minutes, every oven is different. Let them rest on the baking sheet for 5 minutes before transferring them to a wire rack to cool completely. If you like, using a sieve, dust cookies with confectioners' sugar. Enjoy!
Nutrition Disclaimer
Please keep in mind that the nutritional information presented below is an approximation and may vary depending on the exact ingredients used.
Notes
- Stand-mixer: See post on directions to make with a stand mixer or a hand mixer.
- By hand: No food processor or mixer, no problem! You'll need a wooden spoon and a bowl to mix the dough together.
- Flour: Be sure to not use too much flour, or you'll get dry, dense cookies. Fluff out the flour with a spoon, sprinkle it into your measuring cup, and use a knife to level it off.
- Cookie size: Try to keep them even 1-inch round. They have to all be the same size so that they'll bake up evenly. The more you make these cookies, the more you'll get used to how the size should be. Use a tablespoon to measure them out.
- Indent: The best tool to use is your own clean thumb. You're gently pressing down to make a thumbprint. You could also use the back of a tablespoon. If it cracks, gently press cracks together. If it's too many cracks, roll the cookie ball and try to press it again.
- Filling: If you're having a hard time filling them, you could put the jam in a piping bag and pipe it in.
- Jam: Use whatever is your favorite jam. I used raspberry. I stir it together in the bowl before spooning in. Since it's very thick, it helps to make it easier to fill the cookies. Use a teaspoon or even an espresso spoon. Don't rush filling it in, or you'll get it all over the cookies. Take your time, and keep it in the indentation.
- Baking time: Every oven is different. They should be done by 15-20 minutes. They will still be soft, with lightly golden edges. Check on them around 13-14 minutes. If they're already lightly golden on edges, they are ready. Keep in mind they do firm up more when they're cooling down.

These Italian thumbprint cookies sound like a total crowd-pleaser! The buttery base paired with jam-filled centers makes them so irresistible, especially with those customizable options like strawberry, raspberry, or chocolate. Perfect for Christmas or any time of year when you want a comforting, nostalgic treat! Do you have a favorite jam flavor to use, or do you like to mix it up?
Hi Nanajee-Thank you for taking the time to let me know you enjoy my thumbprint cookies! Yes, I use all different kinds of jams. I love them with raspberry or apricot jam, and also lingonberry jam!
I make thumbprint cookies usually every Christmas. I had to try this with the almond flour and the dough is so nice! I'm baking another batch tomorrow to give away!