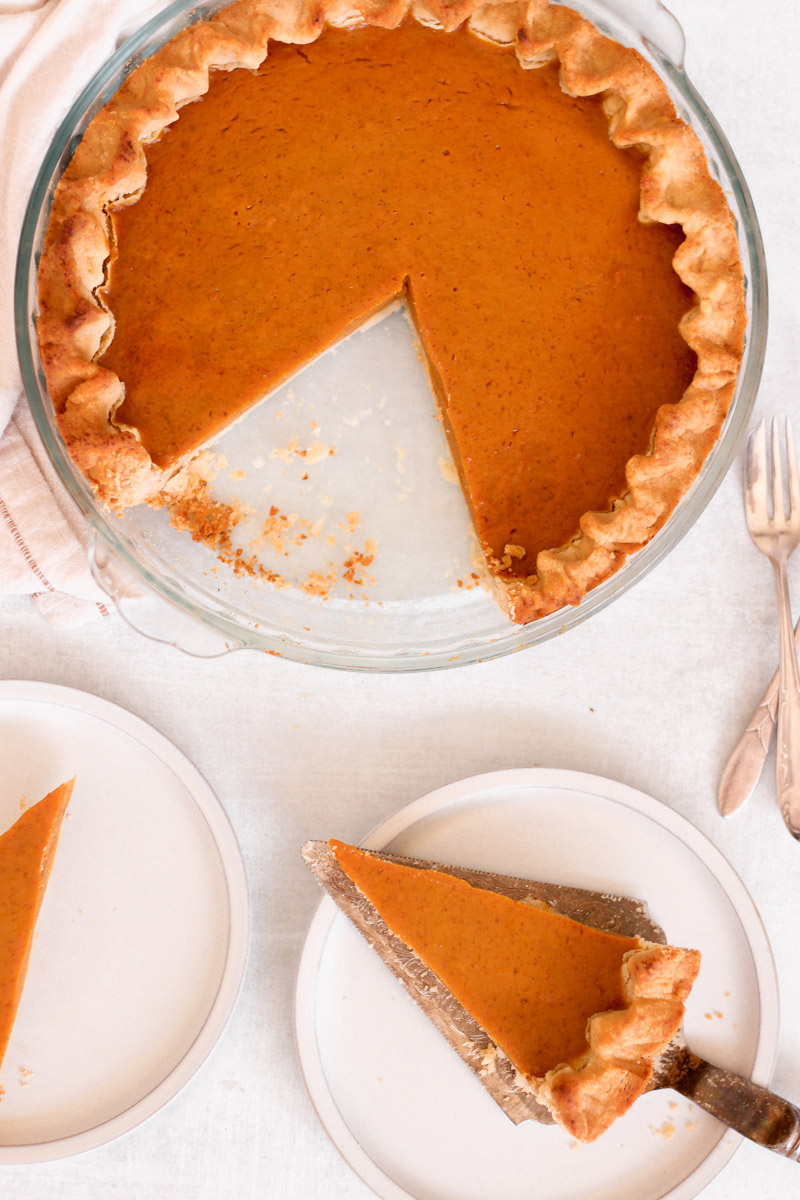
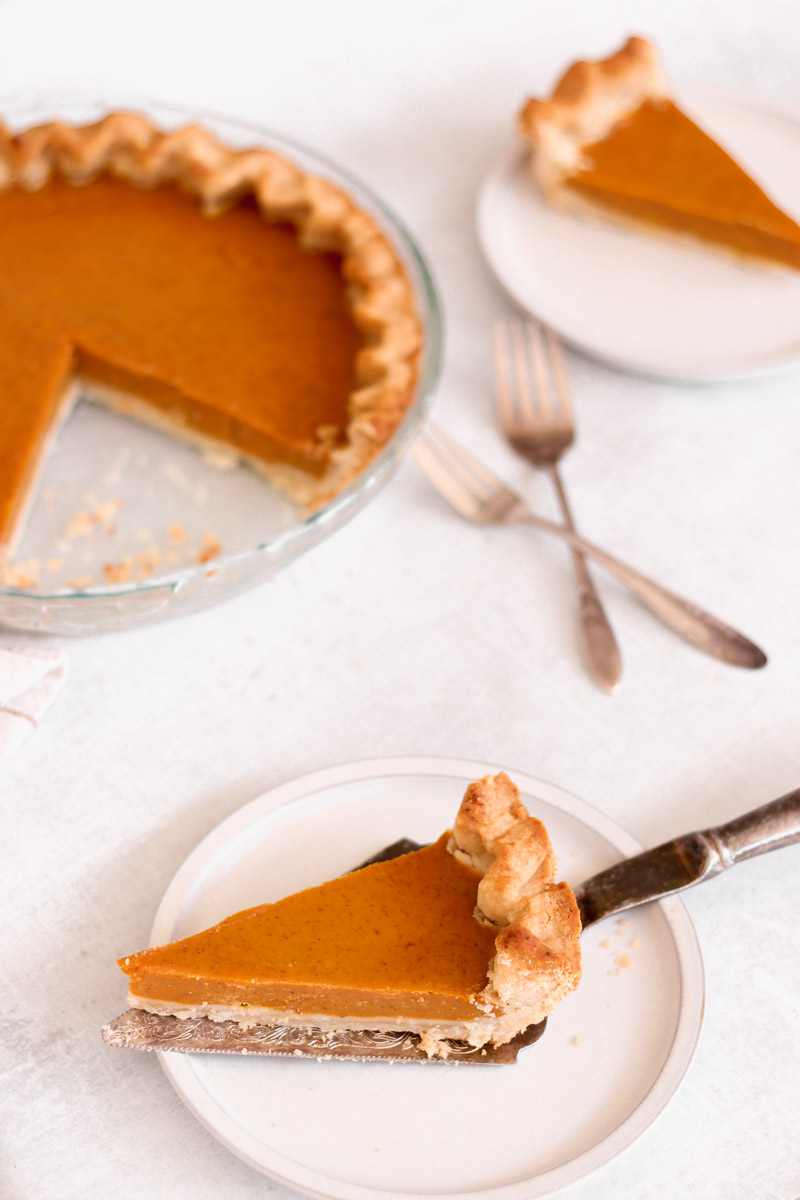
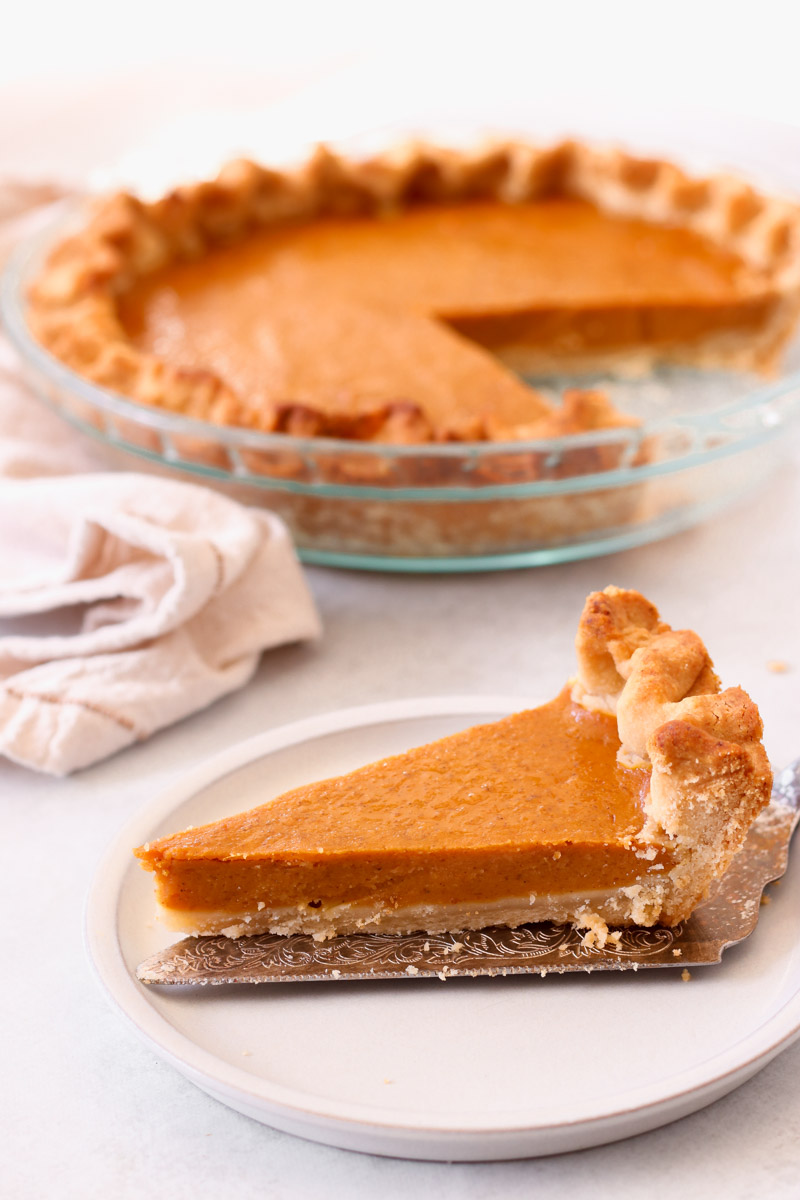
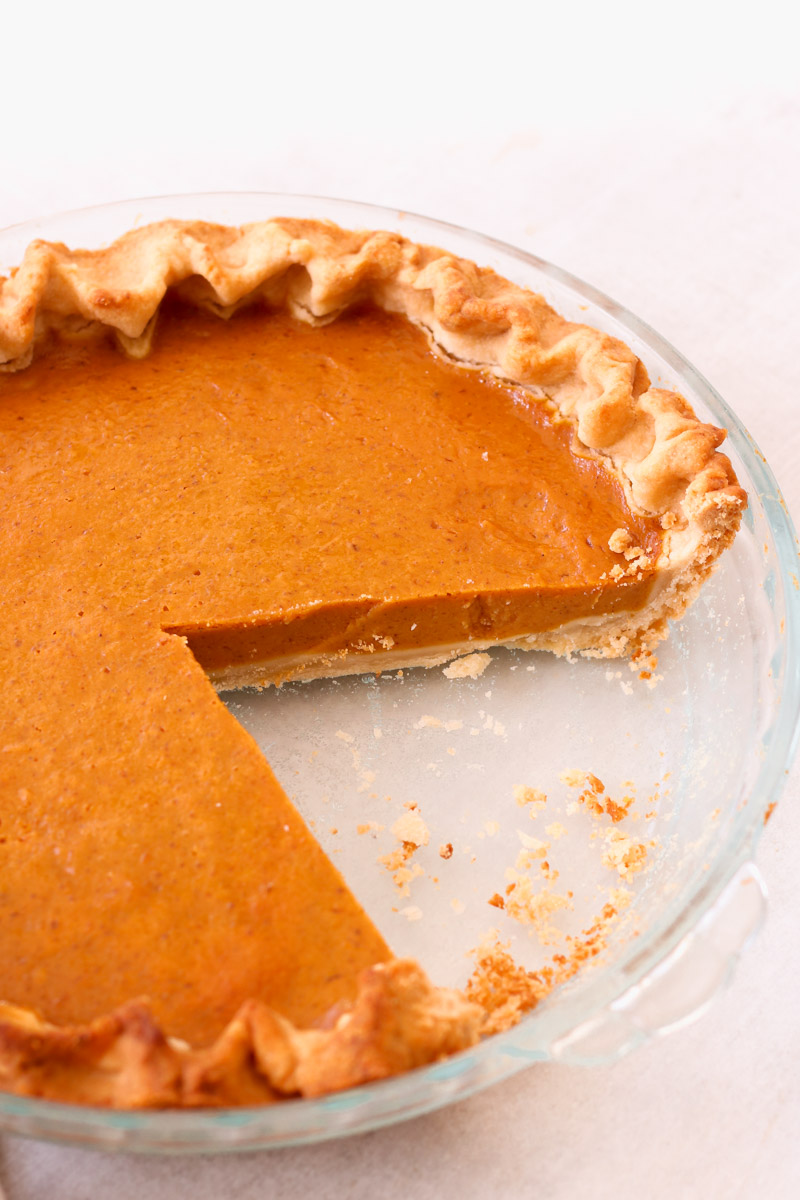
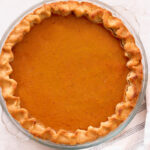
This easy pumpkin pie from scratch recipe is bursting with flavor and is completely made from scratch. It is smooth, creamy, and has the perfect amount of spice. Plus, it is made with a homemade pie crust that is flaky and buttery. Delicious thanksgiving dessert recipe!
I've made pumpkin pies for years, testing out different recipes to find the best one. You don't need to spend hours in the kitchen or follow a long recipe to make a delicious pie.
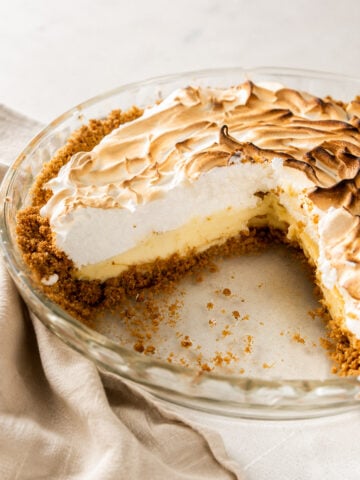
If you're looking for a gluten-free idea, try my Gluten-Free Pumpkin Pie (it's fantastic!). For the apple pie lovers, you have to try my Apple Pie with Oat Streusel (AMAZING!).

All it takes to make a delicious and easy pumpkin pie from scratch recipe that will impress your guests during the holidays is whisking together the filling, pouring into the crust, and baking it away.
If you're a beginner baker, this pumpkin pie recipe is both easy and delicious.
Get the perfect pumpkin pie with my secrets to success!
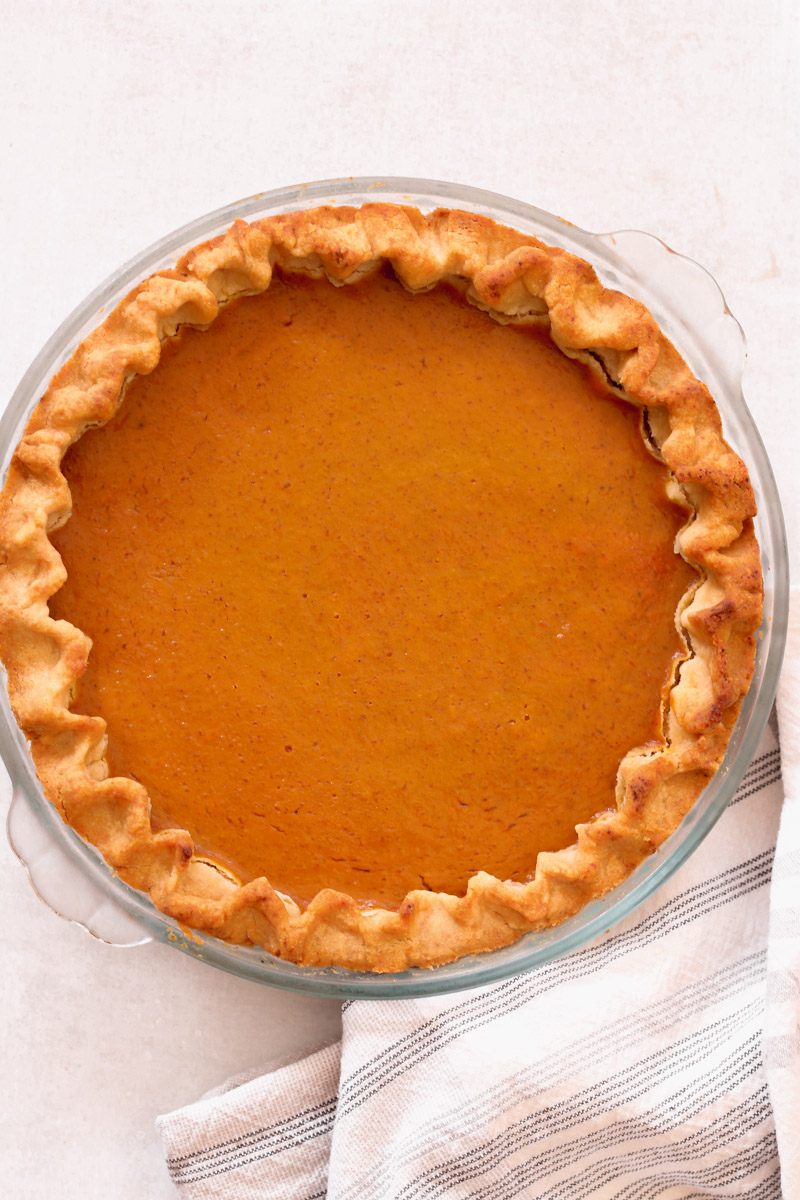
Though it takes a bit more time, I prefer to start my pumpkin pie recipe with a homemade buttery, flaky crust. Of course, if you're in a rush, you can always use store-bought.
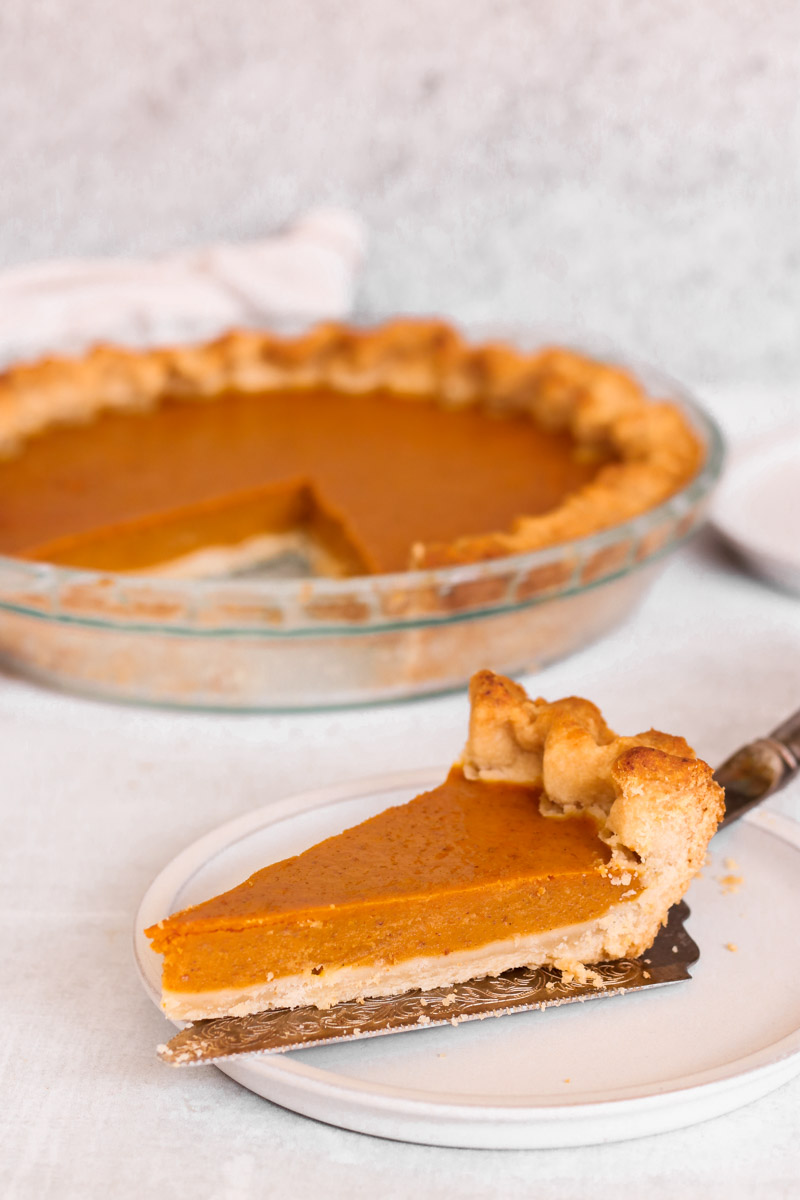
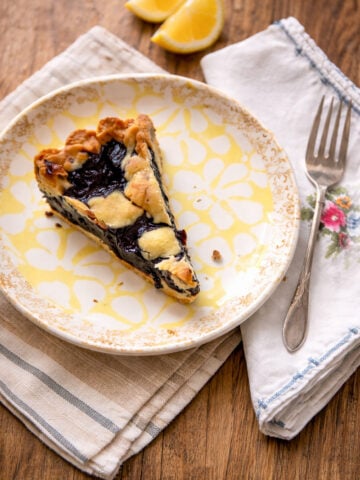
The pumpkin pie filling is velvety and dreamy, filled with Fall spices like cinnamon, nutmeg and cloves.
You'll love this easy pumpkin pie recipe!
What ingredients are in a homemade pumpkin pie?
Here is what you need to make the best from scratch pumpkin pie (full printable recipe is below).
- easy homemade buttery pie crust (or use store-bought)
- eggs
- granulated sugar
- ground cinnamon
- sea salt
- ground ginger
- ground cloves
- pumpkin puree
- unsweetened almond milk
- corn starch
- OR use evaporated milk
Fresh or canned pumpkin in pumpkin pie?
I've made this pie both with store-bought pumpkin puree and homemade pumpkin puree. I prefer to make this with canned pumpkin. I find homemade pumpkin puree to be too wet.
Pie Crust:
To make this delicious pumpkin pie, I used my buttery pie crust recipe. It is super easy make, and if you have a food processor, it makes the process so much easier. The crust comes out nice and flaky, and flavorful!
How to substitute evaporated milk for pumpkin pie?
For this recipe, I used dairy-free milk. I had some unsweetened almond milk on hand. I used 1 ½ cups unsweetened almond milk + 3 tablespoon cornstarch for 1 12 oz. can of evaporated milk. I whisked it all together and used that in the filling.
What is blind baking a pie crust?
Blind baking is partially pre-baking your pie crust before you add in the filling.
Does a pumpkin pie crust need to be blind baked?
When I first started baking pumpkin pies, I never blind baked my crusts. And the pie ALWAYS turned out just fine!
So I will tell you from many years of pie baking experience, whether you blind bake a pumpkin pie crust or not, it turns out great! I have blind baked and not blind baked, and I will tell you the truth.
You do not need to blind bake a pumpkin pie crust.
And if you want to give it a try, you can follow my instructions. But I will say, I prefer to not blind bake the crust and I will tell you why.
Since I tested it blind-baking, I will explain why it is more fussy.
Blind-baking pie crust
When you blind bake the crust, you need to line it and fill it with pie weights or beans. I happened to have pie weights and used those.
Since the pumpkin pie has a custard filling, it takes an hour to bake. When you blind bake it, the crust will brown much quicker and you need to protect the edges of the crust about 20 minutes into the baking.
And the few times I have blind baked my pumpkin pie, I end up touching the filling by protecting the edges of the crust. It ends up with my finger indentation in it. I couldn't find my crust protector and ended up rolling long strips of foil paper to cover the edges.
Very fussy and not easy to not touch the pumpkin pie filling and mess it up.
How to avoid cracks in pumpkin pie?
Cracks could occur if the pie is baked too long. The best way to avoid cracks forming is to remove the pie from the oven when it is still jiggles a little bit. The pumpkin custard will set as it cools down.
If some cracks form, it's really not a problem and won't affect the pie. The pie will taste just as delicious. Honestly, no one will notice them! You could use a pastry bag to make a nice design with some homemade whipped cream. Or you could even make some cute pie crust shapes and add them on top of the cracks to hide them.
Pie crust shapes like leaves or even hearts can be baked up on parchment-lined baking sheet at 350°F for 8-10 minutes, just until they are golden browned.
Is it better to make or buy pie crust?
If you are trying to cut back on prep time, you could make this pie with a store-bought crust.
Believe me when I tell you, my homemade pie crust is really easy to make. And the flavor surpasses store-bought.
The pie crust can be put together really simply in a food processor, or make it by hand.
The pie will turn out fine. You could even use half portion milk and half a portion of heavy cream.
Placing a hot pumpkin pie in the refrigerator will cause some weepiness. There will be moisture droplets on top of the filling.
It's an easy fix. Take a paper towel and just blot dry these droplets right before you're ready to slice the pie.
Every oven is different. But the way I explain to bake the pie, you should not end up with an undercooked pie. In case it is undercooked, cover the entire pie with foil and place back in the oven on 350F for 15-20 minutes more.
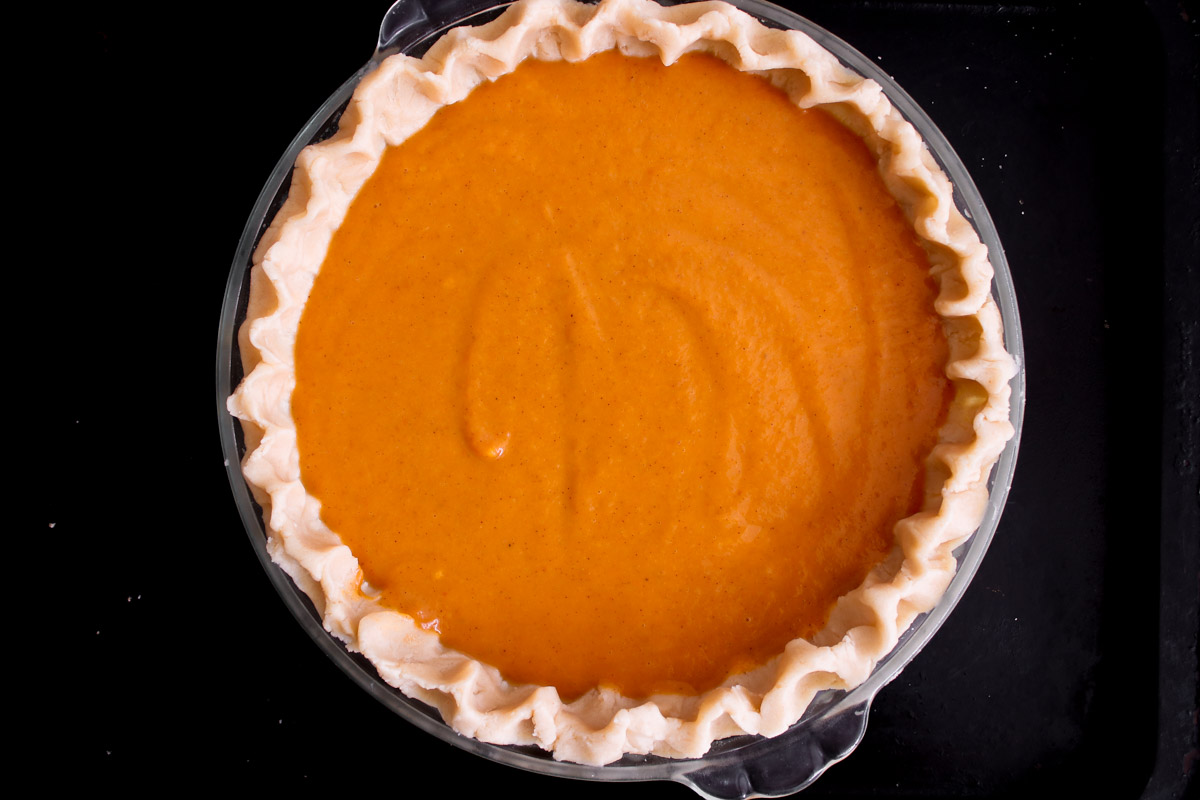
The best way to fill the pie crust is with your pie plate on top of a baking sheet. You want to fill it just below the edges of the crust.
It's important to prick the base of the pie crust a few times with a fork, as this lets any air escape and so the dough won't rise up.
Best baking tips to bake pumpkin pie recipe from scratch
- To save on time, go ahead and use your favorite store-bought pie crust.
- Another idea is to make my really easy pie crust recipe.
- Set a timer, and check on the pie at 30 minutes. Check on the piCheck on the pie starting at 25 minutes of baking time and tent it loosely with foil as needed to prevent the crust from over-browning, or use a pie crust shield.
- To prevent your pie from cracking, try not to over-bake it. The pie is done when the center is almost set, but still jiggles a little bit.
- Cool down the pumpkin pie at room temperature for a full 3 hours. The best way to cut the pie is after it has chilled for 3-4 hours in the refrigerator (or even, overnight).
How long does homemade pumpkin pie last?
Wrap your pie loosely in plastic wrap or aluminum foil. It will stay fresh in the fridge for up to 4 days.
Can you freeze homemade pumpkin pie?
Yes, bake the pie in a disposable aluminum baking pie pan. Bake the pie according the directions and let it cool completely. Wrap the entire pie with plastic wrap and then wrap it in a single layer of aluminum foil to prevent freezer burn.
Freeze for up to 1 month. Thaw it overnight in the fridge before serving.
Some other pie recipes to enjoy:
Did you make this and love it? Please RATE THE RECIPE below:)
I would LOVE IT if you can leave me a star rating and a review down below and let me know your thoughts! It means the world to me to hear how you liked it.
Please Subscribe and give a follow on Instagram, Facebook, Pinterest, and TikTok xx
Easy Pumpkin Pie from Scratch
Equipment
- 1 glass pie plate
- 1 glass bowls
Ingredients
For the pie crust
For the filling
- 2 eggs
- ½ cup granulated sugar
- 1 teaspoon ground cinnamon I usually add a touch more
- ½ teaspoon salt
- ½ teaspoon ground ginger I add more ginger
- ⅛ teaspoon ground cloves
- 1 can 15 oz pumpkin not pumpkin pie filling mix
- 1 12 ounce can evaporated milk
Instructions
- Make the pie crust:
- Combine flour, salt and sugar in a food processor; pulse it one time to mix. Add the butter pieces and and pulse 4 times. Add shortening one tablespoon at a time and pulse each time you add a tablespoon.
- The mixture should resemble coarse cornmeal, with butter bits no bigger than peas. Sprinkle 6 tablespoons of ice water over flour mixture one tablespoon at a time. Pulse once after you add each tablespoon of water.
- If you pinch some of the crumbly dough and it holds together, it's ready. If the dough doesn't hold together, keep adding water, a teaspoon at a time, pulsing once after each addition, until the mixture just begins to clump together.
- Clean off your counter really well or use a pastry board or a nice cutting board. Flour your hands generously. Take the dough out of the food processor.
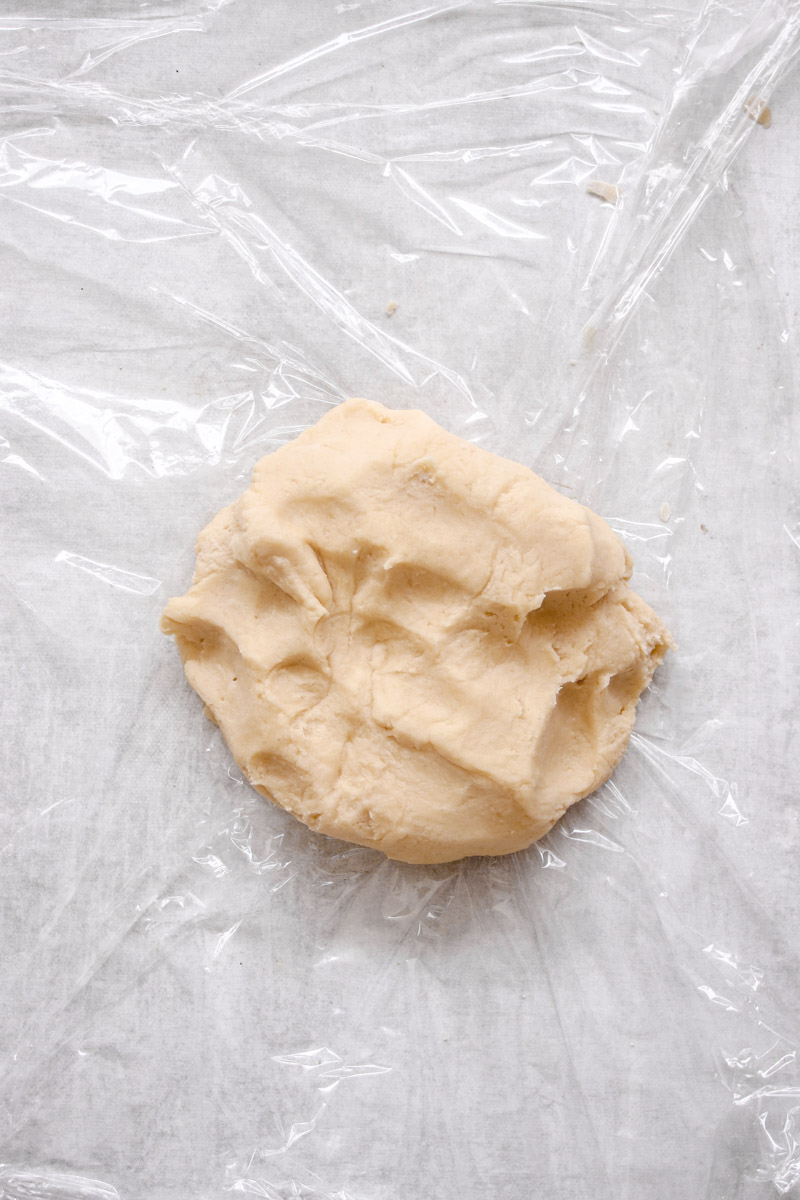
- Divide the dough into two balls and flatten each into a 4-inch wide disks. When you are flattening the disks, you are not working the dough. You are just simply flattening the shape into a disk.
- Sprinkle a little bit of flour on each disk and then wrap both separately in plastic wrap and refrigerate at least 1 hour before rolling.
- Make the dough by hand:
- The dough could also be made completely by hand. You could use pastry cutters or just your hands to bring the dough together.
- Make sure you refrigerate for at least an hour. Reserve the second disk for your next pie in the fridge. It can stay for up to 2 days in the refrigerator.
- Roll out the dough:
- When it is time to roll the dough out to make my pie, I take it out of the refrigerator and I usually let my dough sit out for about a few minutes before rolling. It's hot here in Florida. Doesn't take more than 5 minutes to get to the perfect rolling temperature.
- On a lightly floured surface, using a rolling pin, apply light pressure while rolling outwards from the center of the dough. Every once in a while you may need to gently lift under the dough.
- The dough will be big enough when you place the pie tin or pie dish upside down on the dough and the dough extends by at least 2 inches all around.
- When the dough has reached the right size, gently fold it in half. Lift up the dough and place it so that the folded edge is along the center line of the pie dish.
- Gently unfold and be sure to not stretch the dough to fit. Fold pastry into quarter folds and ease into plate, pressing firmly against bottom and side.
- Trim off any excess pie dough edges and use your fingers to crimp the edges of the pie crust, as desired. If baking that day, place pie crust in refrigerator at least for an hour before you bake the pie.
- Make the pie filling:
- When ready to bake the pie, preheat the oven to 425°F.
- In medium bowl, beat eggs slightly with wire whisk. Whisk in the sugar. Whisk the almond milk with the corn starch (or use a can of evaporated milk). Add the almond milk mixture and the rest of the ingredients. Whisk until well combined.
- Remove the pie plate with the pie crust from the refrigerator.
- Place pie plate on a baking sheet to prevent spilling the filling. Carefully pour filling into pie plate. Use foil paper strips to cover edge of crust with 2- to 3-inch strips.
- Bake the pumpkin pie:
- Bake the pie on 425°F for 15 minutes. After 15 minutes, lower the temperature to 350°F. Bake about 45 minutes longer. It's fine if the filling jiggles a little when you remove it from the oven. It will still set some more as it cools down.
- Cool the pie at room temperature for 2 hours.
- Refrigerate about 4 hours, or until chilled. Slice and serve with homemade whipped cream, or whatever your favorite topping is.
- You could chill the pie overnight.
- The pie flavor does get even better overnight.
- Wrap the pie tightly with plastic wrap and store in the refrigerator for up to 4 days.
Nutrition Disclaimer
Please keep in mind that the nutritional information presented below is an approximation and may vary depending on the exact ingredients used.
Notes
- Spices: You could use pumpkin pie spice mix or your own individual spices. I like mine with more cinnamon and ginger flavor, so always add a touch more of both of those spices. But add the amount you like, to your taste.
- For Dairy-free: I used almond milk mixed with corn starch in place of evaporated milk. But you could use instead 1 can (12 oz) evaporated milk. Or 1 can of evaporated coconut milk.
your pie recipe is good, but to be honest the back of the Libby packed pumpkin can had the original and best recipe for over 60 years. the only reason anybody should use almond milk instead of condensed milk is if they're trying to be kosher or they have a severe allergic reaction to milk
Hi Frank-Yes, you're right! That's the one I've made ever since I started baking! When a family member needed dairy-free, I tried this version out that I shared here:) The condensed milk version is also great! I make two pies every Thanksgiving (one with dairy-one dairy-free!). ENJOY!
I just tried this pumpkin pie recipe, and it is amazing! The ingredients were spot on and the recipe was so easy to follow. I will have to try making the crust here soon! Thank you for making this recipe so easy to follow for a beginner like me.
Hi Tabbi-Thank you for taking the time to let us know you tried the pumpkin pie. It is super easy and yes, you need to try the crust!! The flavor surpasses store-bought!! Happy New Year! xx
omg this was the easiest recipe to follow!!! So perfect. Thank you for this post. Happy Thanksgiving!
Hi Julianne-Thank you so much for taking the time to let us know you enjoyed our easy pumpkin pie from scratch! Happy Holidays!!