
This Easy Roast Turkey with Lemon and Herbs is all you need for Thanksgiving or any holiday dinner. There aren't any complicated steps, no brining, no spatchcocking, no basting, and no prep the night before. The classic combination of lemon and fresh herbs roasts right into the bird for a juicy, delicious turkey that's perfect even if you've never roasted one before.
If you like this recipe, you'll love my Slow Roasted Turkey Wings and my Italian Cranberry Sauce to go alongside it.
This article contains affiliate links which support us at no extra cost to you.
Why you'll love this simple roast turkey recipe:
- Perfect for any occasion: Thanksgiving, Christmas, or a special family dinner, this one's a crowd-pleaser.
- Simple, classic flavors: basic herbs and seasonings let the turkey's natural flavor shine.
- Beginner-friendly: the oven does all the work, no fussy techniques required.
- Easy to customize: swap in your favorite herbs and spices.
- Great leftovers: perfect for sandwiches, soups, and more for days afterward.
Jump To
A No-Fuss Thanksgiving Turkey
This is really my mom's method, she's the Thanksgiving turkey queen in our very Sicilian family, and this is the same simple, no-stress way she's roasted turkey for years. No frying, no spatchcocking, no brining, and no basting, everything comes together the day of.
You don't even need a fancy roasting pan, a disposable aluminum one works perfectly well. I've always been in charge of the desserts instead, like my Pumpkin Pie and fruit crumbles, while my mom handles the gravy and her Mashed Potatoes.
Ingredient Notes
Here are the simple ingredients you need to make the best roast turkey. Seasonings, herbs, and aromatics, plus the turkey (full printable recipe is below).
- Turkey - fresh or frozen both work, whichever is on sale. See sizing guide below.
- Fresh herbs - the classic poultry trio: rosemary, sage, and thyme. Fresh is best, and a little fresh thyme goes a long way.
- Onion, carrot, and celery - stuffed into the cavity for savory flavor as the turkey roasts.
- Lemon - brightens the flavor from the inside out; orange slices work too.
- Oil or butter - vegetable oil, olive oil, or butter all work well rubbed into the skin.
- Salt and pepper - season generously, inside, outside, and underneath the bird.
What is the best size turkey to buy for roasting?
Keep in mind that you need 1 pound of turkey per person. Or calculate 1.5 pounds of turkey per person so there will be some leftovers. This should give you a good guideline on what size to buy: .
- For 6-8 people: 10-12 pound turkey
- For 9-12 people: get a 14-18 pound turkey
- For 13-16 people: get an 18-24 pound turkey
For less than 8 people: I would always buy a 10-12 pound turkey. If you buy a smaller turkey than 10 lbs, there won't be much meat. It's so nice to send your guests home with leftovers, or freeze any turkey.
For more than 16 people: Consider making two smaller turkeys. It will be easier than dealing with a gigantic turkey.
How to prepare and cook turkey:
- Step 1: If turkey is frozen, thaw and remove giblets. If you used frozen turkey, thaw it out ahead of time. If it was frozen and thawed out turkey, let it rest for one hour. While it rests, heat up the oven. Now get your hand into the cavity to remove what's in there. Use a disposable glove if you have one. Feel around in the smaller neck cavity and the large cavity and take out the neck and the giblets. Save them in a zipped lock bag in the refrigerator to make a nice gravy. Or toss them out if you already have a gravy.
- Step 2: Dry the turkey. Again, if you have disposable gloves, it's best to use them to deal with the raw turkey (it's fine if you don't have any. Just wash your hands very well after touching it). Grab some paper towels and pat dry the whole turkey.
- Step 3: Season generously. Season the inside and outside with sea salt or kosher salt and some ground pepper. Make sure you also season underneath the bird and all around it. If you have sweet paprika on hand, season generously with some of it (optional, but nonna always uses it).
- Step 4. Brush on the oil. Nonna used vegetable oil. You could also use olive oil, coconut oil, or butter. She brushes the whole turkey with the oil and rubs it all into the skin and under the skin.
- Step 4. Onions, herbs and citrus. Add in quartered onion, lemon, and fresh herbs (fresh is best...I never use dried). Keep in mind that fresh thyme has a VERY strong flavor. Less is more!

- Step 5: No need to truss the legs. Everyone's mom, grandmother, aunt trussed turkey legs. Having the legs loose instead of tied helps the turkey cook evenly. The heat distributes better throughout the entire bird while it roasts in the oven. It's fussy step you could skip! This turkey happened to have a hock lock.
- Step 6: Add some liquid. Nonna always adds about a half-inch of liquid (water or stock) to the roasting pan. This keeps the turkey very juicy.
- Step 7: Cook the turkey. I like to prep the turkey with it already on my roasting pan or roasting rack. Place the turkey in the heated oven. Place the turkey in the oven and cook it. While it cooks, prep whatever sides you have left to make.
- Step 8: Let the turkey rest. As soon as the turkey is removed from the oven, it needs to rest 30 (up to maximum 1 hour, depending on how big the turkey is) minutes. The juices gets absorbed and you get a much juicier turkey when you slice it.
- Step 9: Carve your turkey. You did it! You made a beautiful stuffing and gravy. All that you need to do now is to carve your turkey and impress your guests!
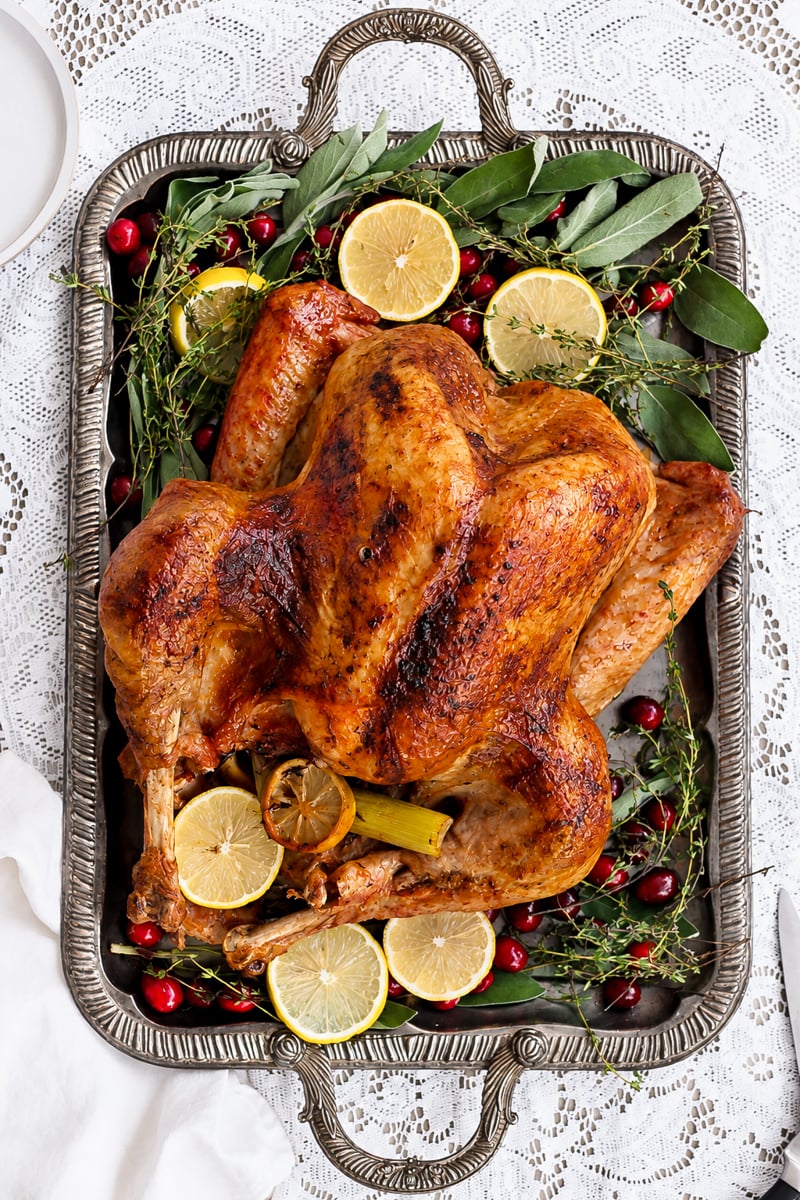
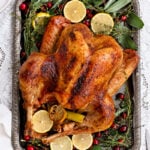
Here was the bird just out of the oven. See all the gorgeous juices and how crispy the skin is!

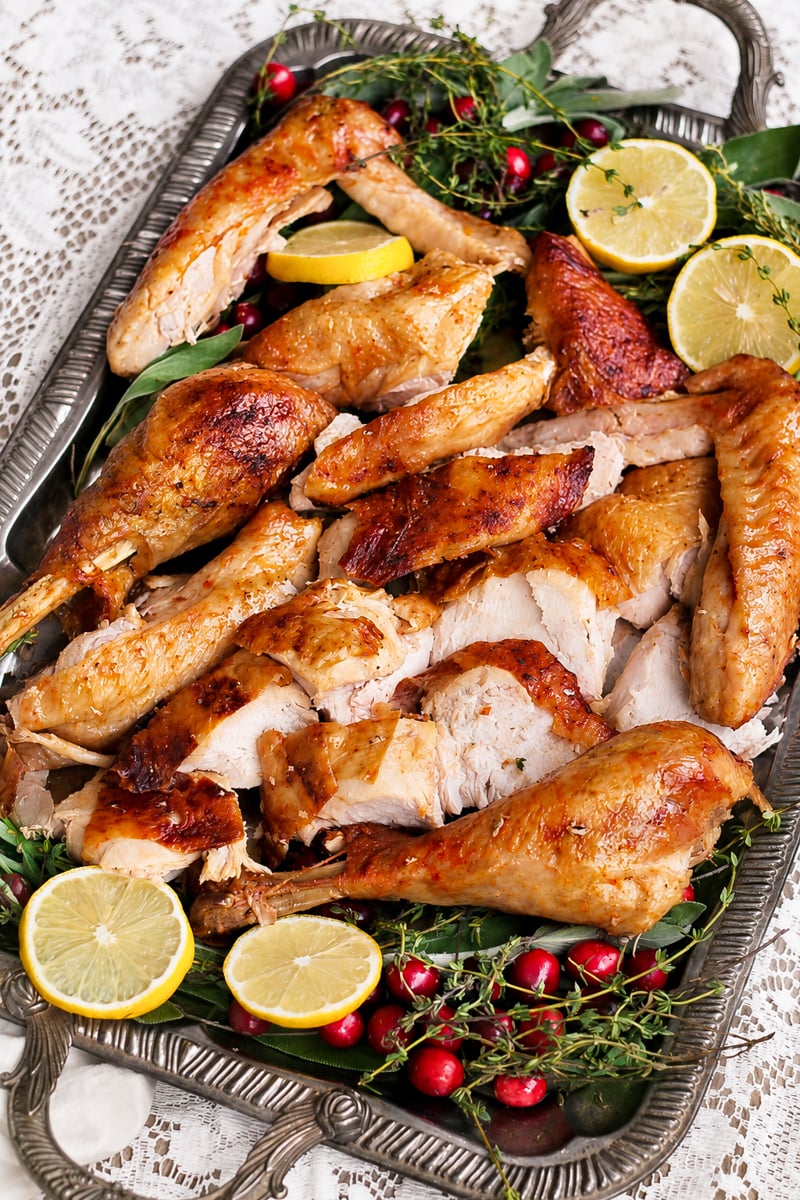
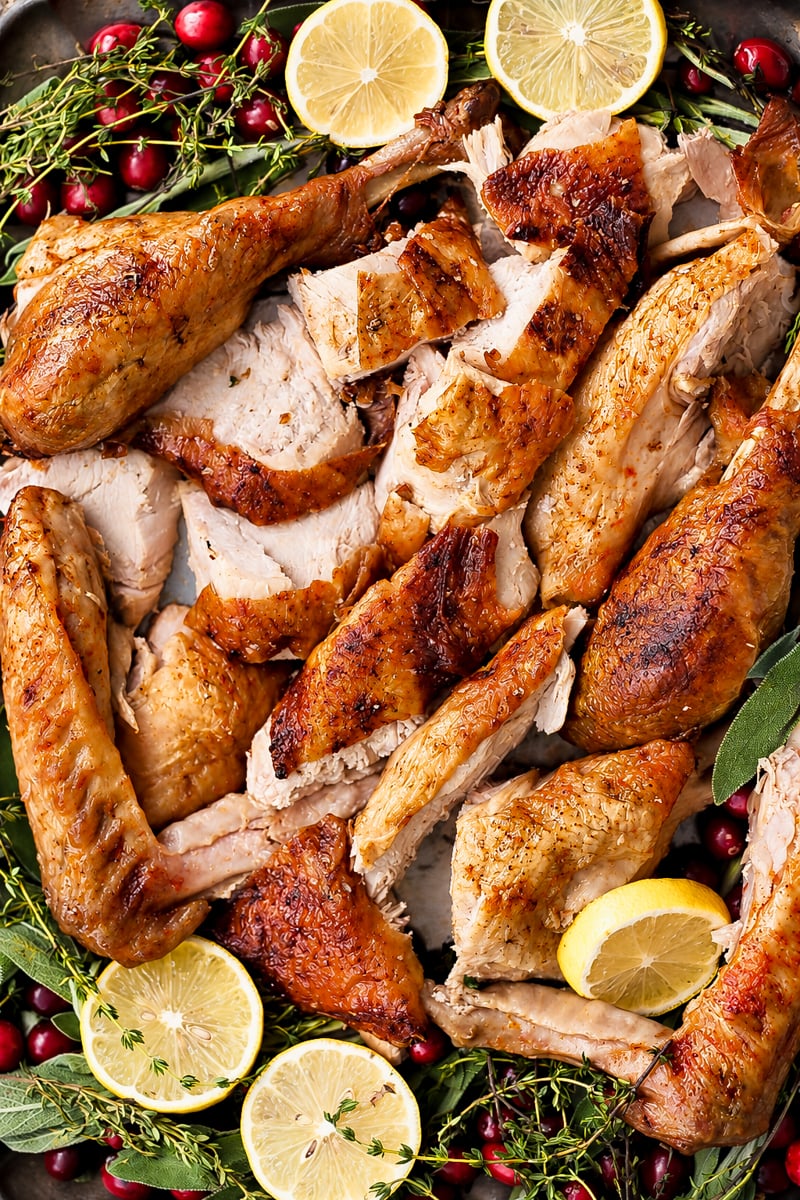
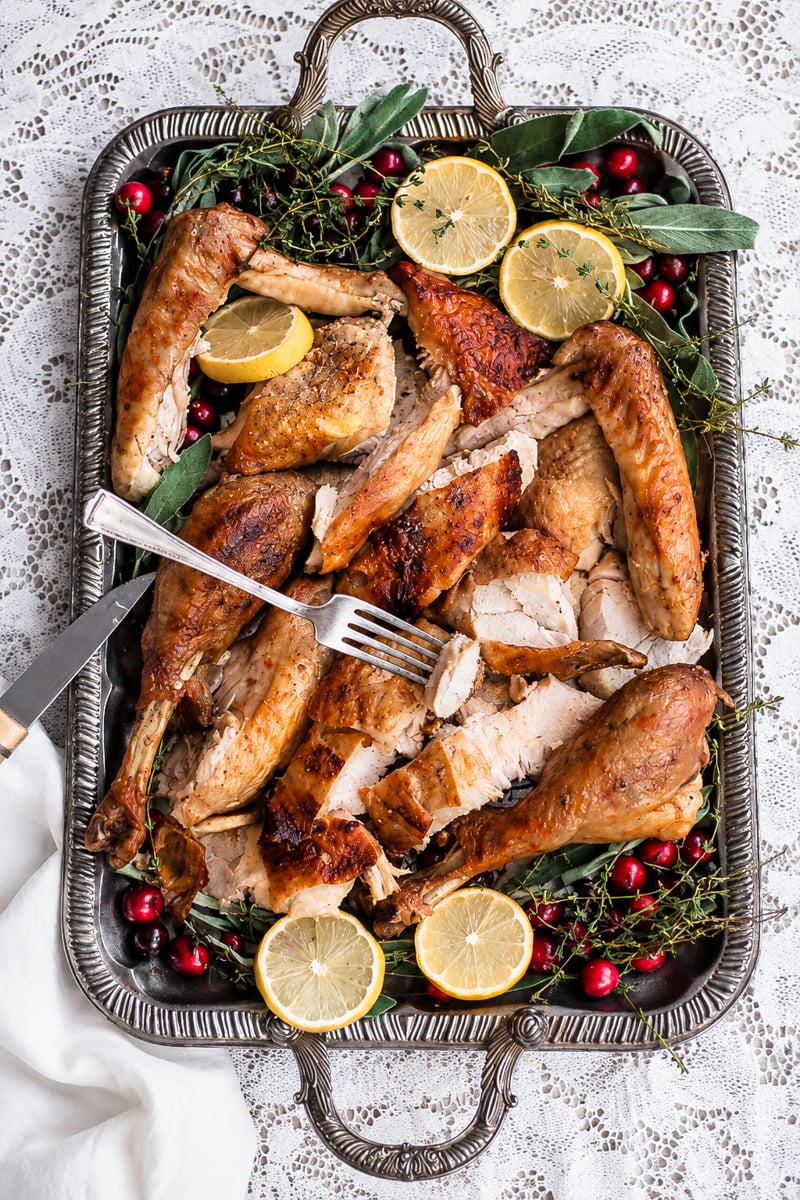
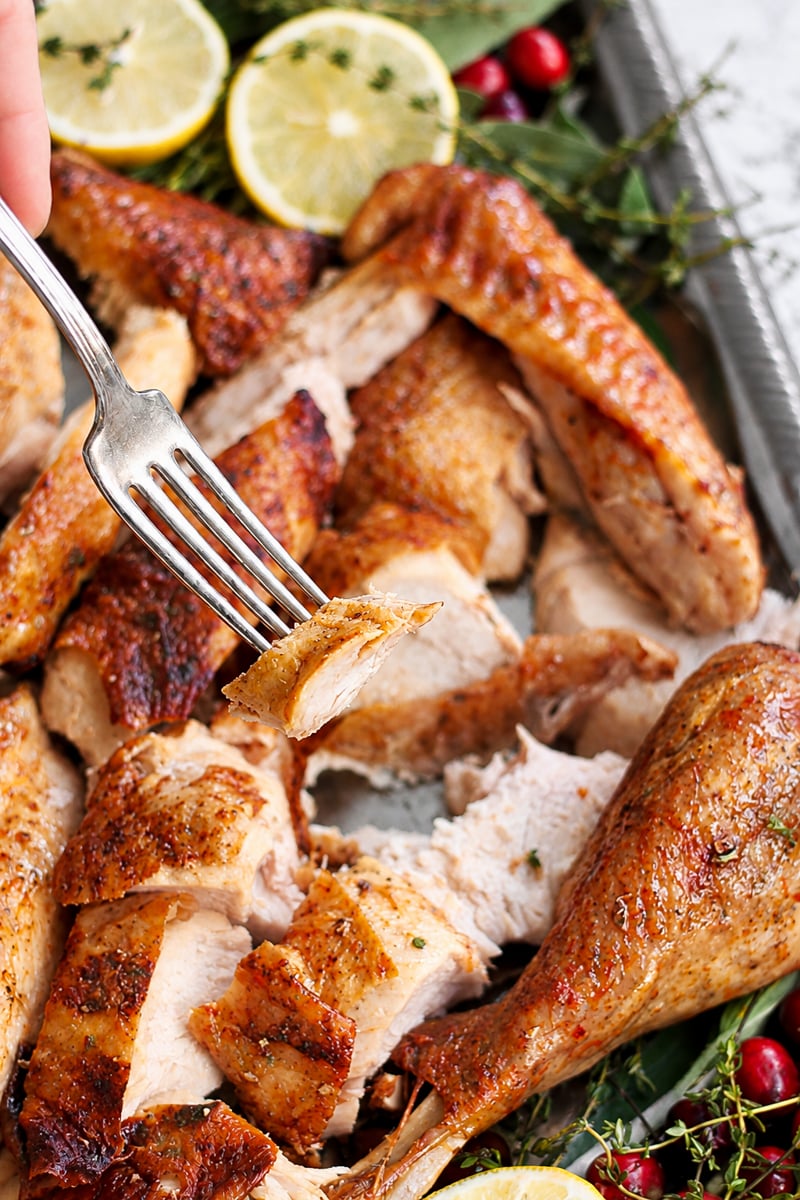
Once the turkey rested, nonna carved it all up. You can place it on any serving tray with fresh herbs.
Recipe Tips
- Don't wash the turkey. It's unnecessary, messy, and any bacteria is killed by cooking.
- Skip the basting. It doesn't do much and just lets heat escape. Tent with foil instead if the skin browns too fast.
- No roasting rack? No problem. Elevate the turkey on chopped carrots and celery instead.
- Let it come to room temperature first. An hour on the counter before roasting helps it cook more evenly.
- Use a thermometer, not the clock. Times are estimates, a digital thermometer is the only way to know it's really done.
Storage
Leftover turkey keeps in the fridge for up to 4 days (see the USDA FoodKeeper App for more detail). To freeze, slice the meat off the bone and store in an airtight container or freezer bag, spooning any leftover gravy over the top, it will keep well for several months in a freezer that holds 0°F or below.
Originally published November 2022 and updated for content November 2023.
Some other turkey recipes to enjoy:
- Very Easy Turkey Pot Pie
- Easy Recipe for Turkey Stock (Homemade)
- Slow Roasted Turkey Wings
- Mojo Turkey Tenderloin
Did you make this and love it? Please RATE THE RECIPE below:)
I would LOVE IT if you can leave me a star rating and a review down below and let me know your thoughts! It means the world to me to hear how you liked it.
Please Subscribe and give a follow on Instagram, Facebook, Pinterest, and TikTok xx
Easy Roast Turkey (Italian Style)
Equipment
Ingredients
- 1 15 pound whole turkey neck and giblets removed fully thawed
- 1 onion peeled and quartered
- 3 stalk celery peeled and cut into large pieces
- 1 carrot cut into large pieces
- 1 lemon quartered
- 2 Tablespoons sea salt
- 1 tablespoon freshly ground black pepper
- 2 teaspoons sweet paprika
- ¼ cup vegetable oil or olive oil, or butter
- 6 sprigs fresh rosemary
- 2-4 sprigs fresh thyme
- ¼ cup fresh sage leaves
- 1 cup water or low-sodium chicken broth
Instructions
- If the turkey is frozen: Thaw in the fridge, 24 hours for every 5 pounds of Turkey (so if it's 15 lb turkey, will take 3 full days to defrost in the fridge).
- Bring turkey to room temp: Remove the thawed turkey from the fridge 1 hour before roasting, and let it come to room temperature.
- Prep and heat the oven: Adjust your oven rack so the turkey will sit in the center of the oven. Preheat your oven to 325°F (160°C).
- Remove turkey from packaging: Put your hand deep in the cavity and remove the neck and giblets. (Reserve them for gravy, if you want, or discard them).
- Place turkey in pan: Place the turkey, breast side up in the roasting pan. You could place the turkey on a roasting rack in the pan (it's fine if you don't have one) or even on top of carrots and celery to elevate it a little. Tuck the wing tips under the turkey to prevent them from burning.
- Dry the turkey: Pat the outside and inside of the turkey very dry with paper towels.
- Season the turkey: Season the cavity of the turkey with salt and pepper (I give amount above in ingredients, but use more, to your taste). If you have sweet paprika on hand, season the turkey with 2 teaspoons (optional). Drizzle on the oil and massage it into the skin.
- Stuff the cavity: Stuff the inside of the turkey with the quartered lemon, onion, carrots, celery, and herbs. Keep in mind if you have a smaller turkey, use less to stuff the cavity as you do want airflow to help cook the turkey evenly.
- Cook the turkey: Place the turkey in the oven and roast uncovered for about 15 minutes per pound, or until a or until the internal temperature reaches 158°-160°F. The turkey will continue to cook once it's removed from the oven and will rise in temperature to 165°F, after it's rested.
- Let the turkey rest: Remove the turkey from the oven and let the turkey rest for 30 minutes before carving. Letting the turkey rest lets the juices redistribute, which makes the turkey very juicy (be patient and make some sides while it rests). To keep the turkey warm, cover the turkey with aluminum foil on the counter.
- Carve and serve the turkey: With a very sharp knife (or electric knife), carve the turkey and place on a serving platter. Dispose of the vegetables and herbs that were inside the cavity.
- Save the drippings: Be sure to reserve any juice and drippings leftover in the roasting pan to make turkey gravy.
Nutrition Disclaimer
Please keep in mind that the nutritional information presented below is an approximation and may vary depending on the exact ingredients used.
Notes
- Make Ahead Tips: Be sure to remember to thaw turkey in advance. If it's a 15 lb turkey, it will take 3 days to thaw in the refrigerator (24 hours per 5 pounds in the refrigerator to thaw).
- Turkey Size: if you're cooking for a smaller crowd (or just like white meat), try my cranberry glazed turkey tenderloin.
- Herbs: I prefer to always use fresh herbs, but to substitute dried herbs, use 1 teaspoon dried herbs per 1 tablespoon fresh chopped herbs.
- Baste: There isn't a need to baste the turkey, keep checking on it once it's 75% done. At this point (or even earlier), if the skin is browning too quickly, tent with some aluminum foil.
- Tips for covering with tinfoil: Start with the bird uncovered. If the turkey is browning too much, tent with a large piece of aluminum foil. If you have a roasting pan with a lid, cover it with the lid instead of foil paper.
- For Disposable Roasting Pan: If you don't have a roasting rack, you could use some chopped vegetables (carrots + celery) on the bottom of the pan to elevate the turkey. Dispose them after the turkey is roasted (optional).
- Convection Oven: You can use the same method to cook the turkey in a convection oven, just check the temperature sooner (start checking after 2 hours) as it will cook faster.
- Storage: Store any leftovers in an airtight container. Leftovers are fine for about 3-4 days in the refrigerator.
Nutrition
FAQ's
You could loosely tent the turkey with foil paper and let it rest up to an hour. While it's resting, use the giblets to make the gravy.
If you're following the USDA's recommendations, they say to cook your turkey unstuffed. The reason being that if the stuffing doesn't reach 165°F, you could get bacteria that survives.
Stuffing is cooked inside the turkey cavity; dressing is the same mixture baked separately in its own dish. Dressing is generally considered safer and cooks more evenly, which is part of why this recipe keeps the cavity for aromatics only.
Yes, past about an hour it starts to cool down too much. Thirty minutes to an hour, tented loosely with foil, is the sweet spot.
What happens if my turkey skin is burning, but it's not yet done inside?
It's important to keep an eye on the bird and if it's browning too quickly, tent with aluminum foil. If it gets to the point that some turkey skin is burning before you have tented it, lower the oven temperature, and tent it with foil paper.
Yes, it really does! But, stuffing the cavity of the turkey does make it more difficult to cook. It takes longer and also, you would have to make sure the stuffing reaches 165°F to avoid any harmful bacteria.
According to the USDA , it is normal to have a little bit of pink, and will be more likely to occur if it's a younger bird. The USDA says to check for readiness by temperature, and not by the color. Turkey that is cooked to 165°F will be safe to eat.
I give instructions in this recipe the way my mom made it: cooking the turkey uncovered. That's the way she and I both roast our chickens. You could tent the turkey for some of the roasting and uncover at the end. You could also start it uncovered (following the way this recipe instructs)and monitor and cover with foil if it's starting to brown too quickly. It all depends on the size of the turkey and stuffing.
Don't skip the liquid in the pan, don't overcook past 160°F before resting, and let it rest fully before carving. Those three things do more than basting ever could.
Again, since this is nonna (my mom's) roasted turkey recipe, here is what she suggests: Nonna does recommend to add some liquid to the bottom of the pan. She typically adds about a half-inch of liquid (water or stock) to the roasting pan. Nonna does say that this will help keep the turkey very juicy!
Once again, as she does for roasting a chicken, she does add citrus! She always adds a quartered lemon in the turkey.
This is going to be a go-to roast turkey recipe going forward. Flavor was set on, and the turkey was perfectly moist. Our family loved it.
This turkey came out so juicy and flavorful, and I loved how simple the whole method was. The lemon, rosemary, sage, and thyme gave it such a lovely aroma, and skipping the brining and basting made the day feel much less stressful.
Hi Celina-Really happy you enjoyed the roast turkey. THANK YOU. Happy Holidays!
I roasted this turkey for dinner and the lemon and herb combo kept the meat super juicy and tender. The house smelled amazing while it was cooking and the skin got nice and crisp.
This recipe gave me a juicy, flavorful turkey with bright lemon-herb seasoning and simple preparation.
I found this roast turkey wonderfully juicy, flavorful, and surprisingly simple to prepare.
Easy roast turkey is delicious , everyone loved it!!! I am going to make it again.
The tender turkey and savory Italian-inspired seasoning made every bite delicious!
This roast turkey is perfect for the holidays!!
An easy roast turkey that is great for the holidays!
I really appreciate your instructions on this turkey recipe. So easy to follow through and it turned out so perfect because of it. I would have been lost otherwise. Thank you!
This is the recipe I used last year and everyone requested I make the same turkey this Thanksgiving. Can't wait!
This roast turkey is so flavorful and so delicious!
This lemon herb turkey is incredibly juicy and flavorful! It will be the highlight of our holiday celebration!
I made this turkey recipe last year for Thanksgiving, and it was a major hit with my family. I'll be making your yummy turkey again this year!!
Hi Liz-THANK YOU so happy you enjoyed it! Happy Thanksgiving!
We had an early Thanksgiving this past weekend with some family and I made a 10lb turkey. This recipe is fantastic! I also used your sausage stuffing recipe, which is DELICIOUS! What a feast!
Made this turkey and it turned out just wonderful! Very juicy and my favorite part is the dark meat. Makes for great leftovers!!