Easy Pickled Garlic (Spicy) is a fun way to preserve fresh garlic in a really simple vinegar brine. It adds the perfect kick of flavor to so many recipes. Really easy to make and it keeps in the refrigerator for up to 4 months.
This recipe is not suitable for canning for long term storage on a shelf, and you should take the time to read the rest of the post to learn why.
You may have noticed we have a slight obsession with pickling. Some of our most popular recipes are our Easy Pickled Scotch Bonnet Peppers and Pickled Watermelon Rind.
This easy pickled garlic recipe is sugar-free and is Whole 30, Keto, Low Carb, and naturally Gluten Free.
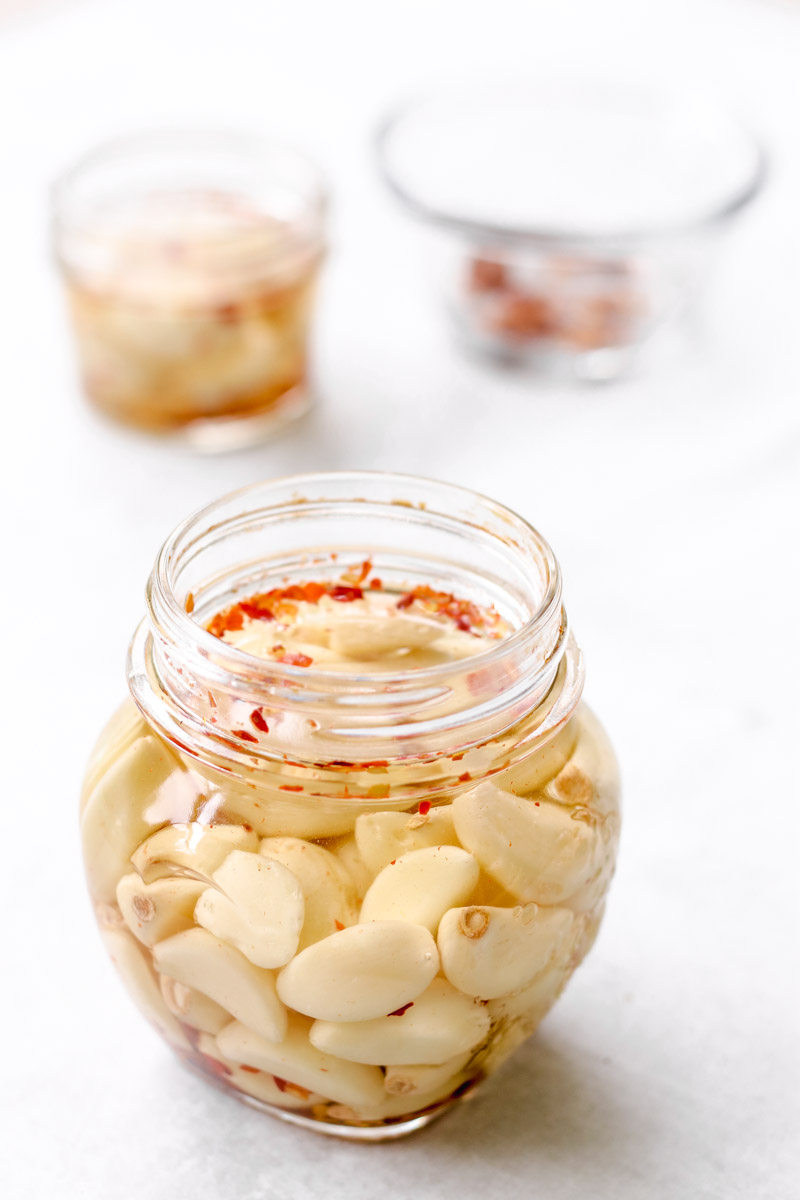
Looking for a delicious and easy pickled garlic recipe? This spicy garlic pickled recipe is simple to follow and is bursting with flavor. So if you're looking for something new and exciting to add to your pickling repertoire, be sure to give this easy pickled garlic recipe a try!
Pickled garlic is absolutely delicious and so versatile! The pickling actually mellows the flavor of the garlic and it is tangy and a bit sweet. You’ll be adding them to charcuterie boards, antipasto platters, layering it on sandwiches and even snacking on them right of the jar!
Yes, if you’re a garlic lover, they do become slightly addictive!
And did you know that you could use them as if you were using fresh garlic in any recipe. You could chop them and slice them! Puree them and add into a dip, a soup, or sauté with some broccoli rabe (like my Farfalle with Broccoli Rabe and Asiago Cheese )or spinach.
Before we get further into this super easy recipe, we have to discuss why this always should be refrigerated.
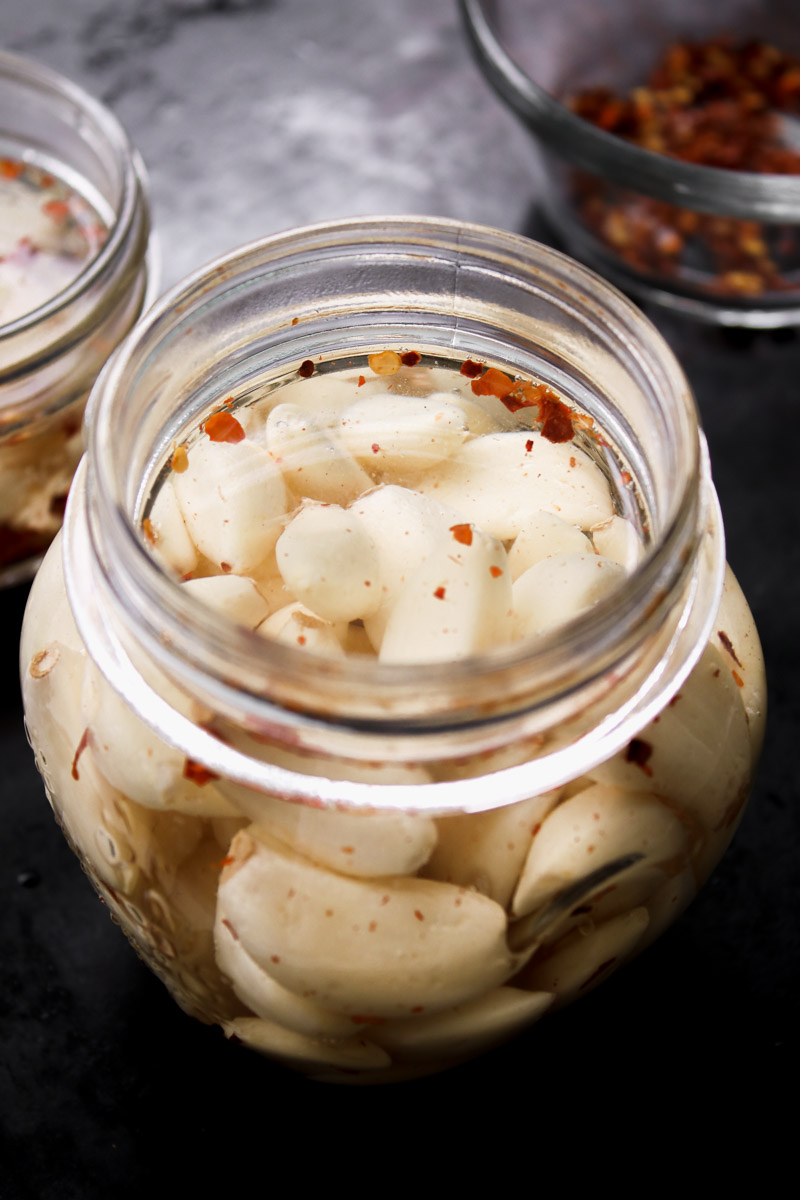
Is pickled garlic shelf-stable?
There is plenty of info online if you search around about the safety of pickled garlic. I briefly explain some info I found as to why it should be kept in the refrigerator.
- WARNING: Shelf-stable canning is not possible with this recipe. You can find shelf-stable canned garlic in markets, however, I am not an expert in this area and garlic has a tendency to cause botulism. This canned garlic absolutely has to be stored in the refrigerator once it's made.
- You could use a water bath to seal the jars, but it still MUST BE STORED in the refrigerator. According to University of California Agriculture and Natural Resources “Canning of garlic is not recommended. Garlic is a low-acid vegetable that requires a pressure canner to be properly processed. Garlic loses most of its flavor when heated in this way. For this reason, adequate processing times have not been determined for canning garlic.”
4-ingredient quick pickled garlic
Yields one pint jar of quick pickled garlic. A really easy recipe to multiply to the desired number of pickled garlic jars you would like.
This is how to make pickled garlic. A versatile recipe that you will use in so many ways!Here’s how to make pickled garlic! Pickling mellows its flavor to be sweet and tangy, perfect for snacking or using in recipes.
pickled garlic is a versatile treat that can be use in a variety of dishes or alone as a snack.
What ingredients are in pickled garlic?
- garlic cloves
- red pepper flakes
- white vinegar
- canning salt (do not use table salt with iodine)
Step-by-step instructions for pickled garlic
- Gather all your ingredients.
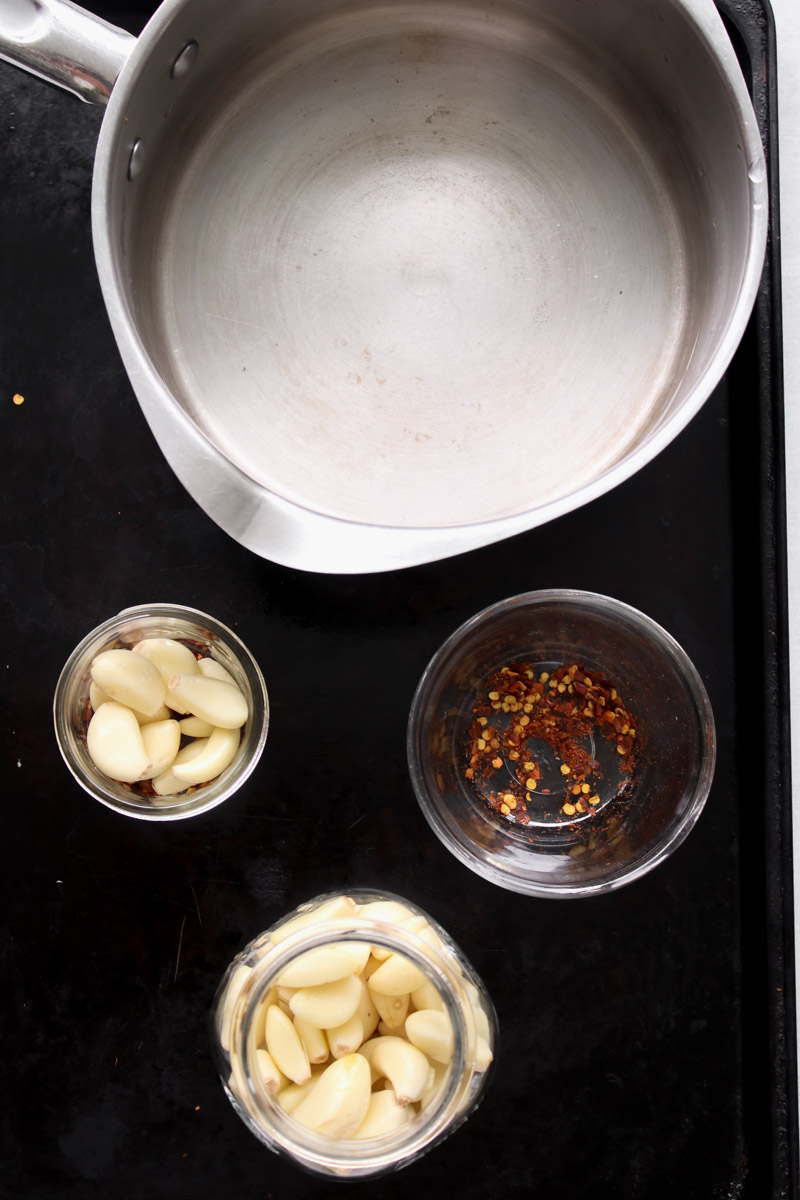
- In a large saucepan, add in your salt and vinegar and bring to a boil. Once it comes to a boil, lower the heat to a simmer for 10 minutes (180 F).
- While it simmers, begin to prep the jars by adding the hot pepper flakes to the bottom of the jars. I added about ¼ teaspoon hot pepper flakes to each jar, but add more if you like it really hot!
- Pack the garlic into your sterilized jar. This recipe will yield 1 sterilized pint jar (calculate about 8 ounces per jar, double the recipe if you would like more).
- Begin to ladle out the hot pickling liquid into the jar. Leave ½-inch of headspace. Use a clean kitchen towel (or paper towel)to clean the rim and seal the jar with the lids. Turn the jar upside-down a few times to remove the air bubbles.
- Let the jar cool 12 hours.
- Place the jar in the refrigerator and chill for at least 5 days (I know, it will be hard to resist). Two to 3 weeks would be ideal to chill before opening.
- Store in the refrigerator for up to 4 months. This is not ideal to be shelf-stable (please refer to warning notes above).
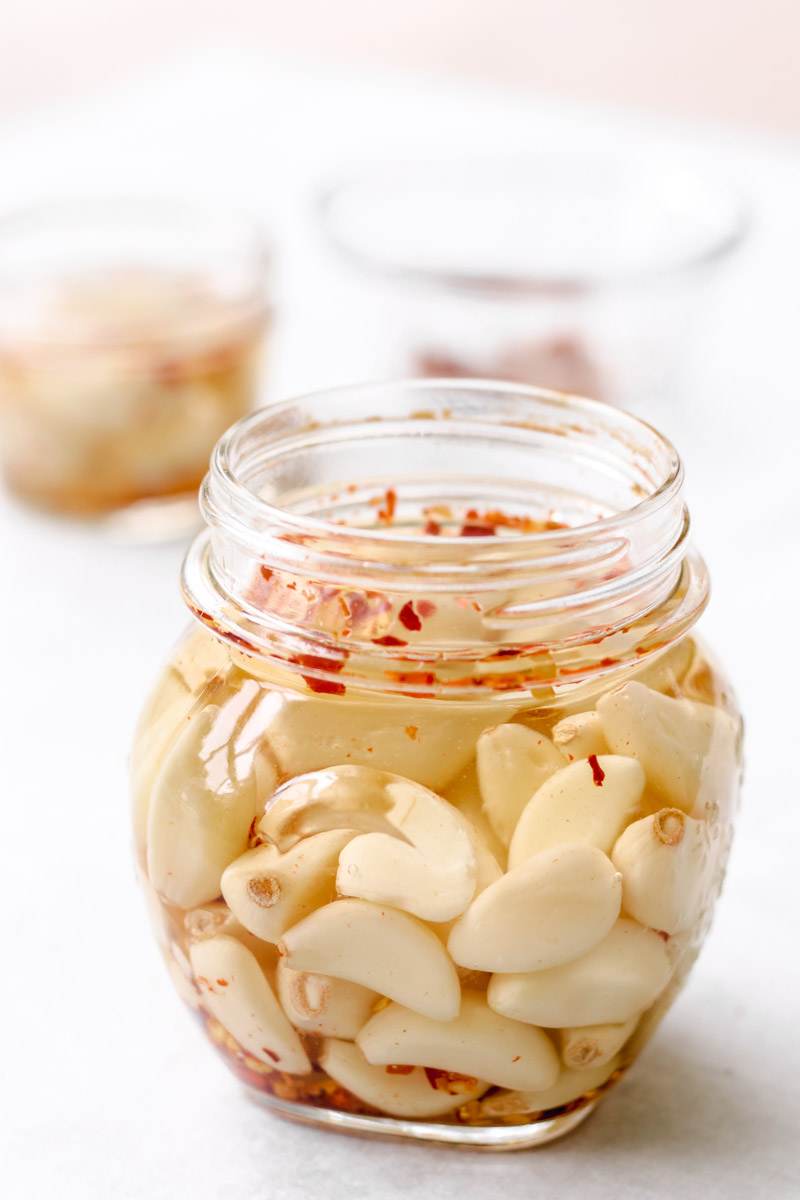
How to easily peel garlic?
Blanching garlic in boiling water will make it easier to peel. It is one extra step, but it will make it easier since you're using about 50 cloves of garlic.
How to peel garlic shaking in a jar?
Probably the easiest way to peel the garlic is to add them into a jar and close the jar. Shake, shake, and shake the jar until the peels come off.
Cutting the ends off the garlic makes it easier to loosen the papery skin, so when you shake it, the peel should come right off.
Just warning you, that no matter what method you use, your fingers will smell like garlic for days!
Which is the best vinegar to use to brine?
Use a 5% acidity to brine. You could use white distilled vinegar, apple cider vinegar, red or white wine vinegar (or even a combination of vinegars). Just make sure they have at least 5% acidity:
- White vinegar is clear vinegar (which is what I used)and it's made by distilled corn and rye. It's got a more sour and acidic flavor than other vinegars, which I why I prefer to use it for pickling.
- Apple cider vinegar is has a sweet-tart flavor made from fermented apples. The garlic will darken from its amber color. If you prefer a slightly sweet taste, you may prefer this vinegar.
- Wine vinegar is made with either fermented white or red wine. It's a brighter and more fruity flavored vinegar.
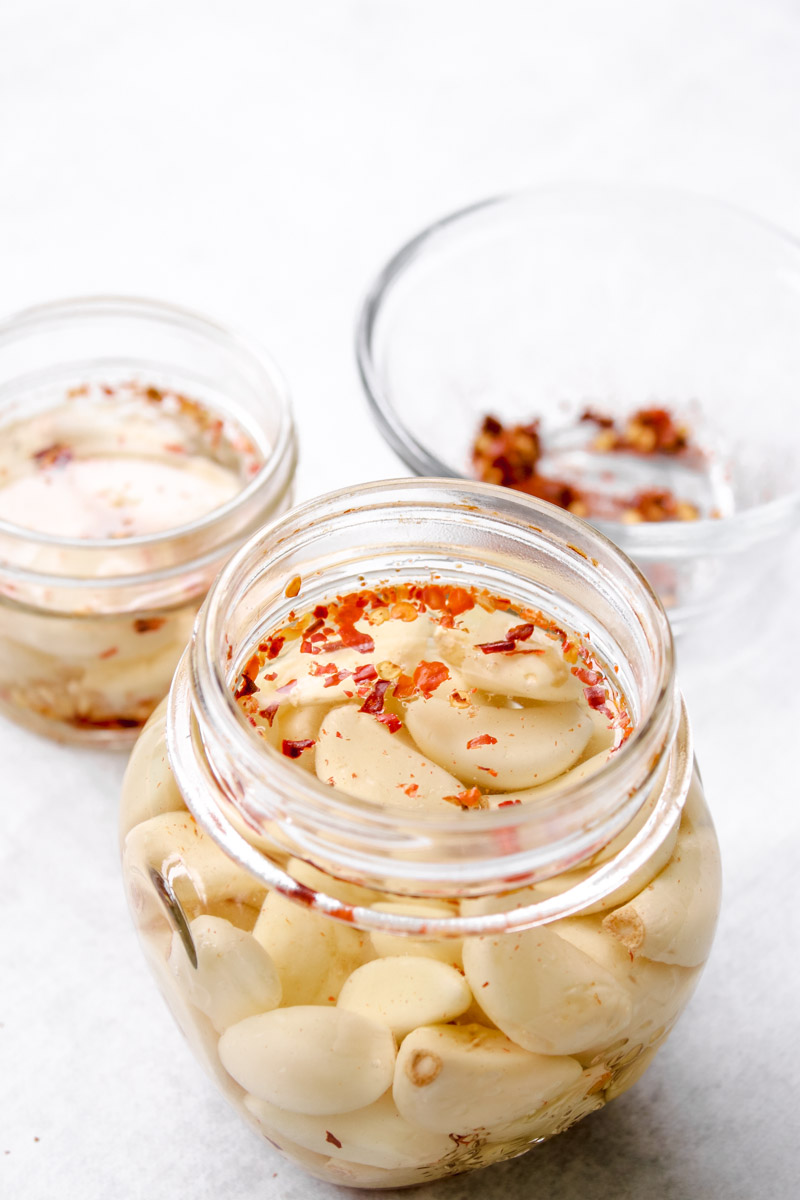
What could I do with garlic pickling brine?
The garlic-infused vinegar brine could be used in recipe that has vinegar. This brine would be perfect in any meat marinade, in a salad dressing, on roasted vegetables.
Is pickled garlic healthier than raw garlic?
Garlic in its raw state filled with nutrients and is considered to be a superfood.
And if you pickle your garlic in just a salt brine, it even increasing its nutrients. This recipe is for a vinegar based brine and you will still be getting the garlic’s natural nutrients.
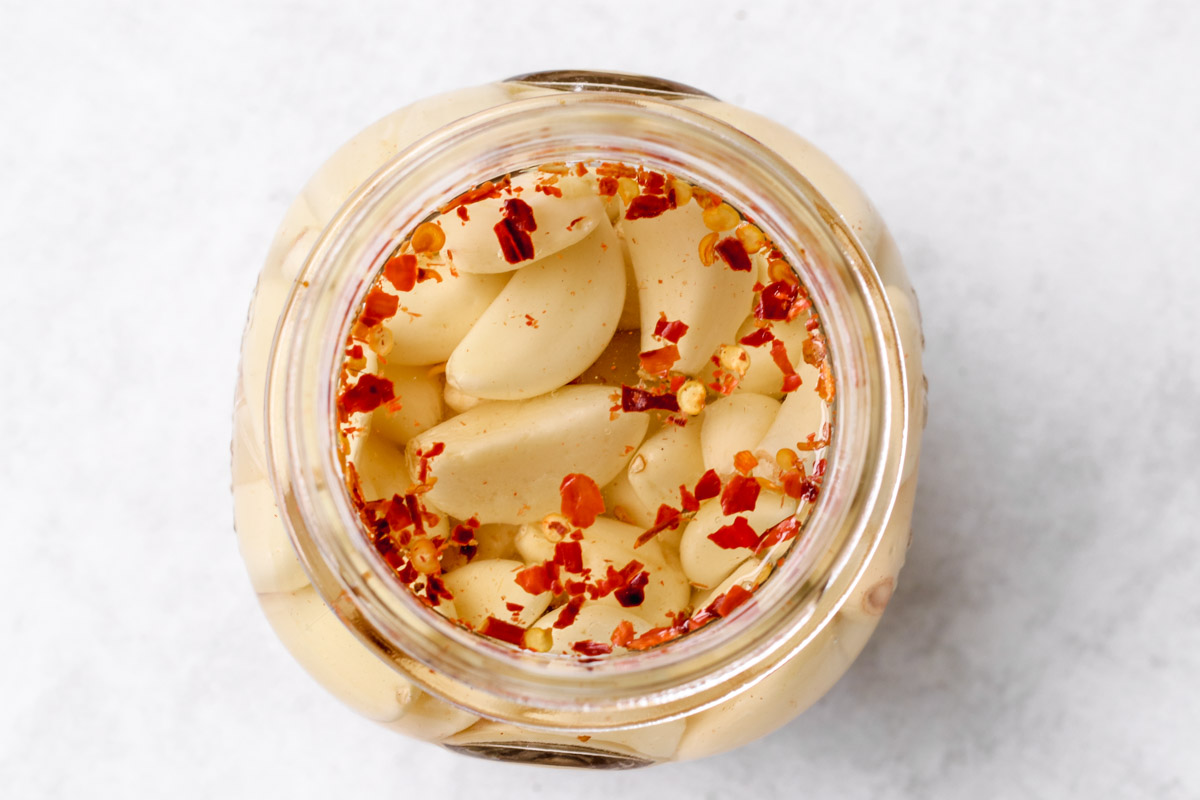
Do pickled garlics stay fresher for longer time?
In case you haven’t noticed, you could keep a whole head of unpeeled garlic for up to 6 months. Since garlic can naturally last for so long, pickling it, at least in my opinion, is more for the flavor enhancement.
In terms of almost every other vegetable, pickling does help preserve them. But it’s not really needed for garlic. Basically, if you keep the heads of garlic in the fridge (pickled or not), they’ll keep fresh same amount of time.
Should I sterilize my jars before pickling the garlic?
Yes, the National Center for Home Food Preservation does give these guidelines. All it takes is placing the jars and lids in boiling water for 10 minutes before using them.
Why does pickled garlic turn blue or green?
There is no need to be alarmed in case the garlic turns a greenish, greenish-blue or even blue color. It's possible when the garlic is combined with the acidic ingredients to change in color.
Garlic could change colors from the enzymes and sulfur-containing amino acids of the combination of the garlic and brine. If the garlic turns greenish-blue or blue, it is safe to eat.
What tastes good on pickled garlic?
Pickled garlic is a great addition to many dishes. It can be used as a topping for soup, salad, or pasta. It also goes well with meat and fish. And, of course, it's perfect for adding some extra flavor to your favorite recipe.
Is spicy pickled garlic healthy?
There is no definitive answer, as it depends on how much spice you add to the garlic. However, generally speaking, pickled garlic is a healthy food. It is low in calories and fat, and it can help to boost your immune system. Plus, the antioxidants in garlic can help to protect your body against disease.
How to remove a garlic out of the jar?
Please don't use your fingers! To lessen the chance of any bacteria getting into the brine, use a clean utensil to serve, not your gingers. If you notice any mold, throw away the leftover garlic immediately.
Some other easy pickled recipes to enjoy:
Did you make this? Please RATE THE RECIPE below:)
Please Subscribe and give a follow on Instagram, Facebook, Pinterest, and TikTok xx
This post contains affiliate links. As an Amazon Associate I earn from qualifying purchases. See my privacy policy for details.
Easy Pickled Garlic (Spicy)
Ingredients
- 3-5 heads peeled garlic cloves discard any with brown spots
- ¼ tsp red pepper flakes or more if you like it spicier
- 1 ¼ cup of white vinegar
- 1 Tablespoon of canning salt don’t use table salt with iodine
Instructions
- Prep the Canning Equipment: What all of your canning equipment (jars, lids, screw bands, and bands) in hot soapy water. Rinse well to get off all the suds. Place on a clean kitchen towel to dry.
- Put the jars on a rack in a pot of water. Simmer (180˚F) for 10 minutes, and keep the jars warm until you are ready to fill them.
- Prep the Garlic: Use whichever method you prefer to peel the garlics (you could one by one, blanch in boiling water, or cut ends off and shake them in a jar until peel comes off).
- Make the Pickling Brine: In a medium saucepan, combine vinegar and salt.
- Bring to a boil and reduce to a gentle simmer until the salt dissolves for 10 minutes (180 degrees).
- Can the Pickled Garlic: While the brine is simmering, add the red pepper flakes to your jar (or jars).
- Add in the garlic cloves, gently packing them. Leave 1/2-inch of headspace.
- Begin to ladle out the hot pickling liquid and divide between the jar. Leave ½-inch of headspace. Use a clean kitchen towel (or paper towel)to clean the rims and seal the jars with the lids. Let the jars cool 5 minutes.
- Wipe the top of the jar with a clean and damp kitchen towel, and then screw on the lid until it is snugly closed.
- Get out the air bubbles: Let the jar cool completely and then turn it upside-down a few times, to let the air bubbles come to the top. Cool 12 hours. Check seals.
- Store the jar: Place the jar in the refrigerator for at least 1 week prior to enjoying. The longer it stays in the refrigerator without opening, the better the flavor will be (2-4 weeks is ideal, if you can resist!).
Nutrition Disclaimer
Please keep in mind that the nutritional information presented below is an approximation and may vary depending on the exact ingredients used.
Notes
- WARNING: Shelf-stable canning is not possible with this recipe. You can find shelf-stable canned garlic in markets, however, I am not an expert in this area and garlic has a tendency to cause botulism. This canned garlic absolutely has to be stored in the refrigerator once it's made. You could use a water bath to seal the jars, but it still MUST BE STORED in the refrigerator.
- According to University of California Agriculture and Natural Resources “Canning of garlic is not recommended. Garlic is a low-acid vegetable that requires a pressure canner to be properly processed. Garlic loses most of its flavor when heated in this way. For this reason, adequate processing times have not been determined for canning garlic.”
- Yield: This recipe yields 1 pint jar. Double to make 2 1-pint jars.
- Storage: According to The National Center for Home Food Preservation states, this could be refrigerated for up to 4 months. It is safe to use the brine for other recipes. IF you notice any yeast or mold, discard immediately.



Leave a Reply