
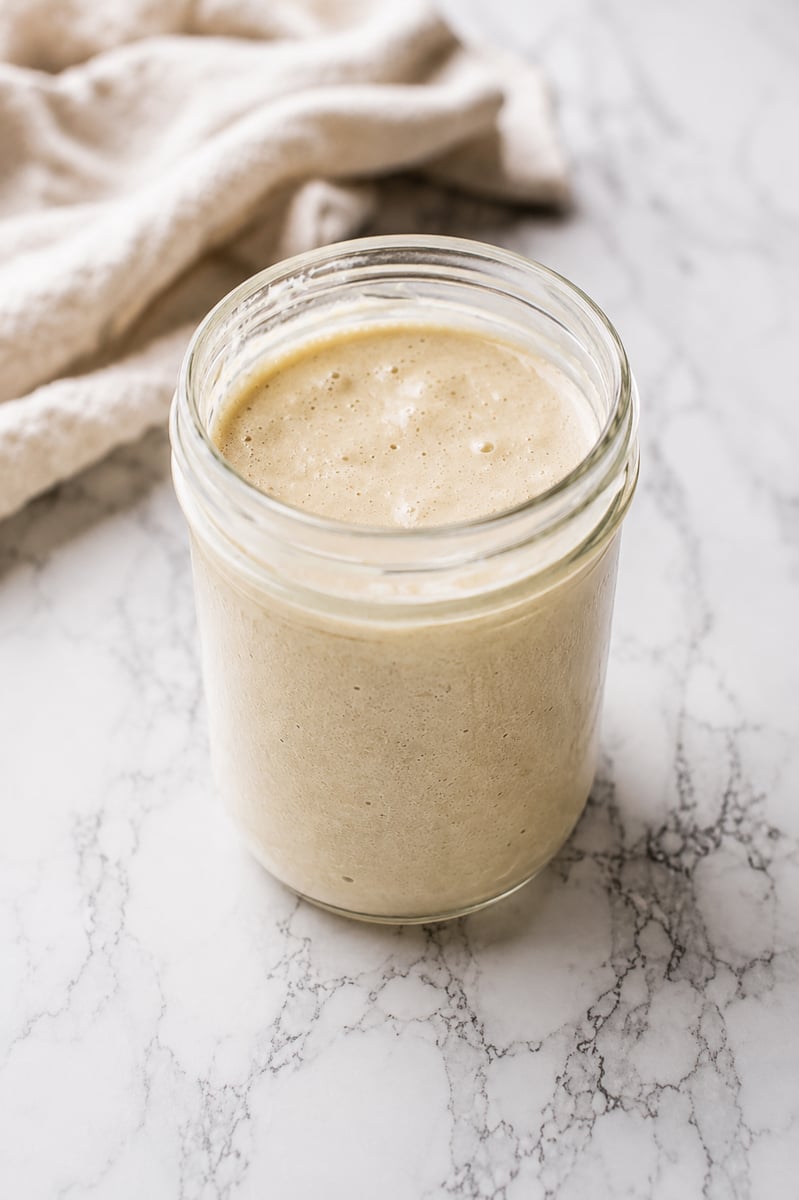
Explore the art of creating a sourdough starter with a simple combination of flour, water, sugar, and yeast. This basic yet versatile concoction is your gateway to baking an array of delightful goods, from bread and cakes to cookies and beyond.
Once your starter is ready, use it to make my Sourdough Discard Challah Bread, Easy Sourdough Banana Bread, or this Sourdough Discard Apple Galette.
This article contains affiliate links which support us at no extra cost to you.
Jump To
Making a starter is easy! Yes, it is easy. In professional bakeries and probably some very active bread baking home kitchens, there is plenty of natural yeast cells around the environment to help cultivate the flour and water. I find that it helps to add commercial yeast to my starter.
There are some bakers that are probably completely against using any commercial yeast. There are also bakers that add an onion or grapes to the flour and water. I've even heard of adding raisins or just using rye flour instead of all-purpose purpose. I'm not familiar with any way other than this way and it really works for me!
It is a tradition in many communities to hand down starters from generation to generation. Some families maintain starters for decades or for even over a century. In my grandmother-in-law's town in Calabria the neighbors share starters for the weekly bread baking.
What is Sourdough Starter?
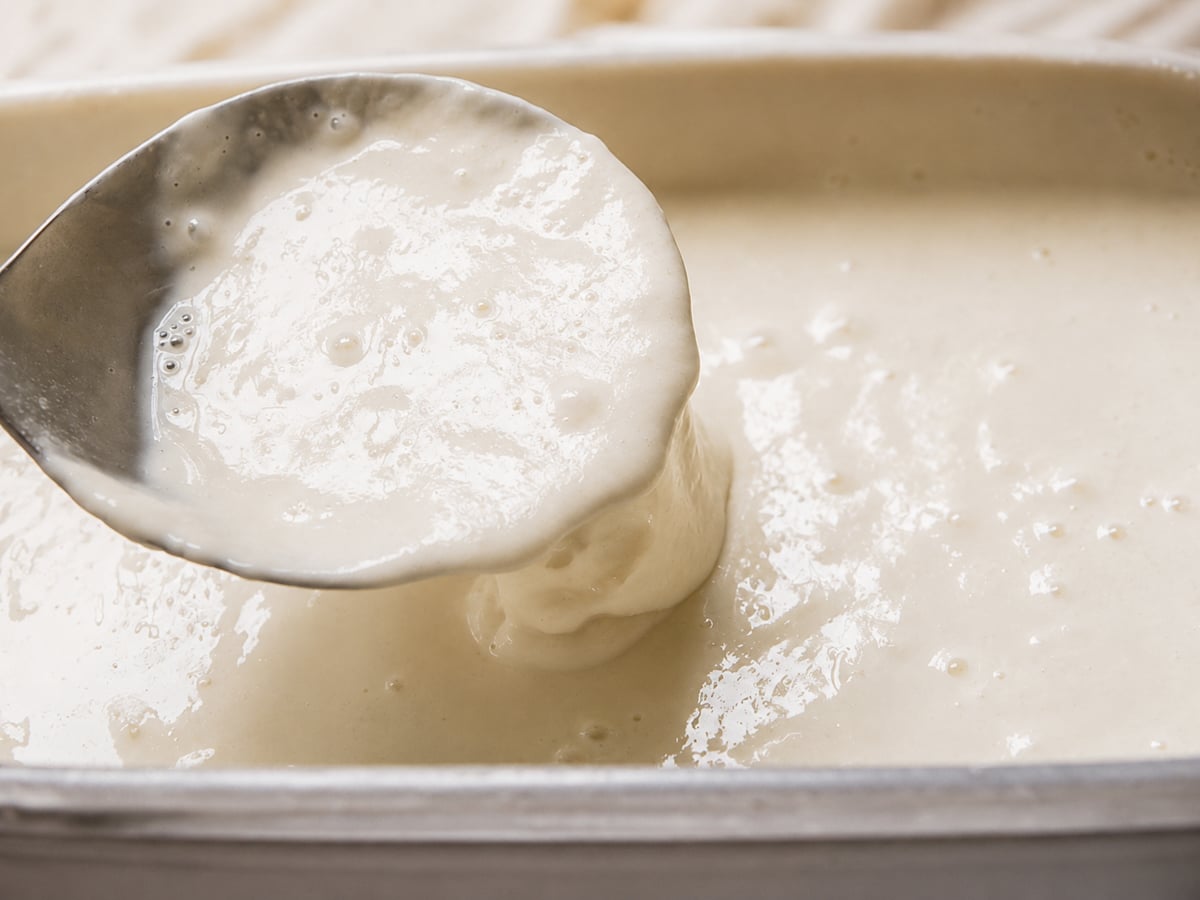
A sourdough starter is a live fermented mixture of flour and water that acts as a natural leavening agent. Once active, it makes bread rise and gives everything you bake that signature tangy sourdough flavor. You keep it alive with weekly feedings of flour and water - think of it like a pet. The longer you maintain it, the more complex and flavorful it becomes.
Sourdough Starter With Yeast
I've been experimenting with sourdough starters over the last 10 years. There is still so much to learn. Every summer when we are in Italy, I jot down as many notes watching my mother-in-law bake her magical breads.
But this starter is a no-fuss recipe. It is an easy sourdough starter made with yeast. It is the first starter recipe I learned and I mean no offense to the bread baking pros (my mother-in-law!!). There is the true version made without yeast and I promise to share that soon. In the meantime, for the beginners, this is foolproof and will help you make so many great recipes!
Health Benefits
Using a homemade sourdough starter for baking offers several health benefits:
- Improved Digestion: Sourdough fermentation breaks down gluten, which can make it easier to digest, especially for those with mild gluten sensitivities.
- Lower Glycemic Index: Sourdough bread has a lower glycemic index compared to regular bread. This means it causes a slower rise in blood sugar levels, making it a better choice for blood sugar management.
- Rich in Probiotics: The natural fermentation process of sourdough creates beneficial probiotics. These are good for gut health, aiding in digestion and absorption of nutrients.
- More Nutritious: Fermentation increases the availability of vitamins and minerals from the flour, making sourdough bread more nutritious than its non-fermented counterparts.
- Prebiotic Content: Sourdough contains prebiotics, which help nourish the good bacteria in your gut.
- Reduced Phytic Acid: The fermentation process reduces the level of phytic acid in flour, which can inhibit the absorption of certain minerals. Lower phytic acid means better mineral absorption.
- Natural Preservation: The acidic nature of sourdough helps to naturally preserve the bread, reducing the need for preservatives.
Ingredient Notes
- Unbleached all-purpose flour - Bleached flour has chemicals that can inhibit yeast activity. Unbleached is always the better choice for starters.
- Warm water (95 to 100°F) - Too hot kills the yeast; too cold and it will not activate. It should feel comfortably warm on your wrist.
- Active dry yeast - One standard packet gives the starter a reliable head start. Once the starter is established, the commercial yeast fades and natural wild yeast takes over.
- Sugar - Just 1 tablespoon to feed the yeast quickly. The starter will not taste sweet - the yeast consumes the sugar during fermentation.
Tools Needed
- Large Glass or Ceramic Bowl: To mix and store the sourdough starter. Glass or ceramic is preferred as they don't react with the acidic starter.
- Whisk or Wooden Spoon: For mixing the starter ingredients. A whisk helps incorporate air, which is beneficial for yeast activity.
- Measuring Cups and Spoons: To accurately measure the flour, water, yeast, and sugar.
- Kitchen Towel: To cover the bowl while the starter is fermenting, allowing air in while keeping contaminants out.
- Plastic Container with Lid: For storing the sourdough starter in the refrigerator once it's ready.
- Thermometer (optional): To check the temperature of the water, ensuring it's within the optimal range for yeast activation (95-100 F).
How to make Sourdough Starter from scratch
Use a large glass or ceramic bowl - not metal, which can react with the acidic starter. The process takes 3 days.
Day 0: Mix and Cover
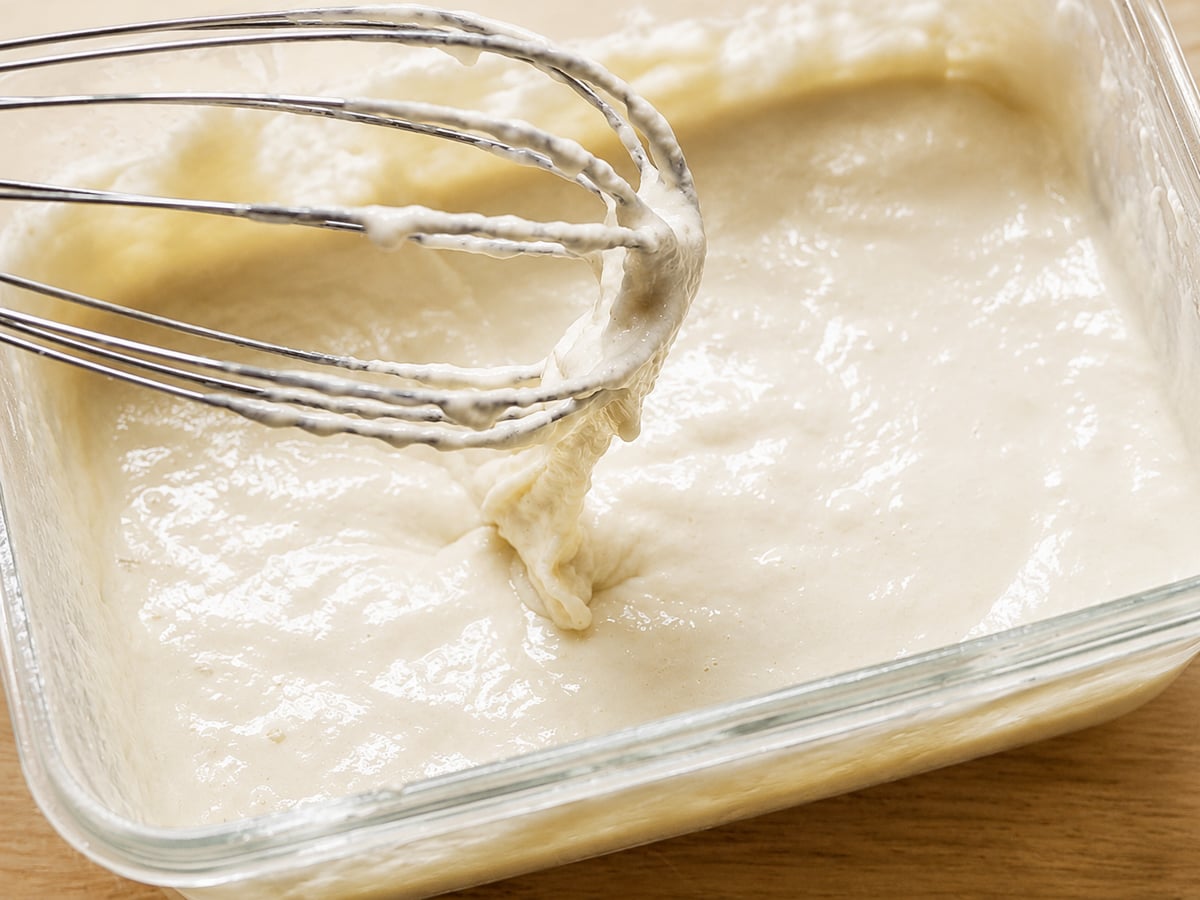
Whisk the warm water, yeast, and sugar in a large glass or ceramic bowl until the yeast is foamy. Add the flour a little at a time, whisking well to incorporate air. The consistency should be like thick pancake batter. Cover loosely with a clean kitchen towel and set in the warmest corner of your kitchen, away from drafts.
Day 1: First Signs of Life
After 24 hours you will notice a sour smell starting, bubbles forming on top, and liquid settling at the bottom. Whisk everything together until combined, cover, and return to its warm spot.
Day 2: The Smell Intensifies
The sour, yeasty smell will be much stronger - it will fill your kitchen. If you love bread baking, you will love this smell. Whisk again, cover, and leave for one more day.
Day 3: Ready to Use
Whisk the starter. The smell will be pungent and acidic. Remove about half (approximately 1 cup) - this is ready to bake with now. Add 1 cup of flour and 1 cup of cold water to what remains, whisk until smooth, transfer to a container with a lid, and refrigerate. Your starter is alive.
How to Feed and Maintain Your Sourdough Starter
Never actually discard - I always bake with what I remove. It is perfect for sourdough pancakes, banana bread, pizza dough, muffins, or pie crust. Nothing goes to waste.
Feed weekly - Remove about half the starter, then stir in 1 cup flour and ½ to 1 cup water to bring it back to a thick batter consistency.
Before baking - Take the starter out of the refrigerator 24 hours ahead. Let it come to room temperature and get bubbly again. If it looks flat, give it a quick feed and wait a few more hours.
Making a sourdough starter will be a different experience for each baker. You can find a plethora of different ways to make a starter online. You may want to try to make yours without the addition of commercial yeast. Choose the method to make a sourdough starter that is more suitable for you. Making a wonderful starter takes some patience and a little TLC.
There are some wonderful recipes you can make with your sourdough starter. I recently made a sourdough pizza Margherita. We really enjoyed this sourdough pie crust with a blueberry-limoncello filling. This sourdough banana bread is just what you need for a coffee break!
Tips to maintain a sourdough starter
- Aerate when feeding - Whisk vigorously or beat on low speed with your stand mixer. The oxygen keeps the starter vigorous and healthy.
- Consistent warm spot - Keep the starter somewhere stable and warm. I use the corner next to my stand mixer where nothing gets disturbed.
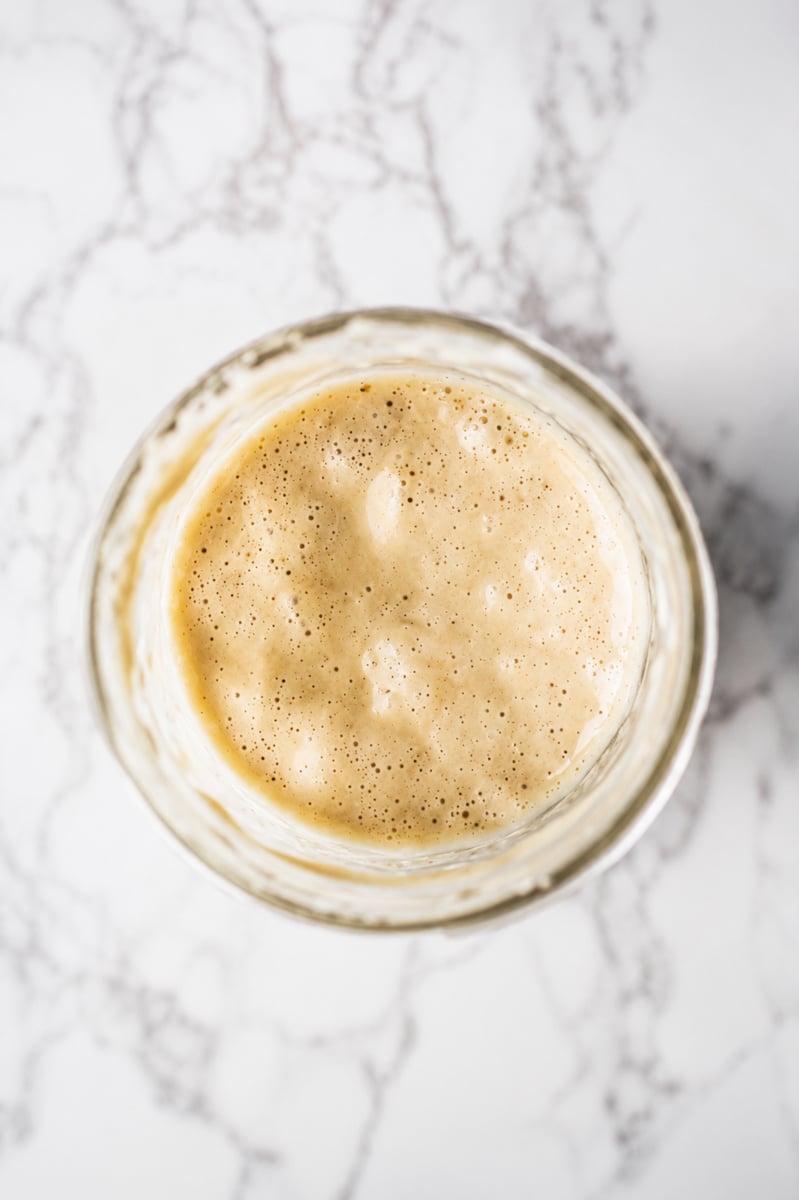
- Know the signs of a healthy starter - Pleasant sour smell, visible bubbles, thick pourable consistency. If it smells like acetone or nail polish remover, discard all but a tablespoon, feed with fresh flour and water, and give it another day.
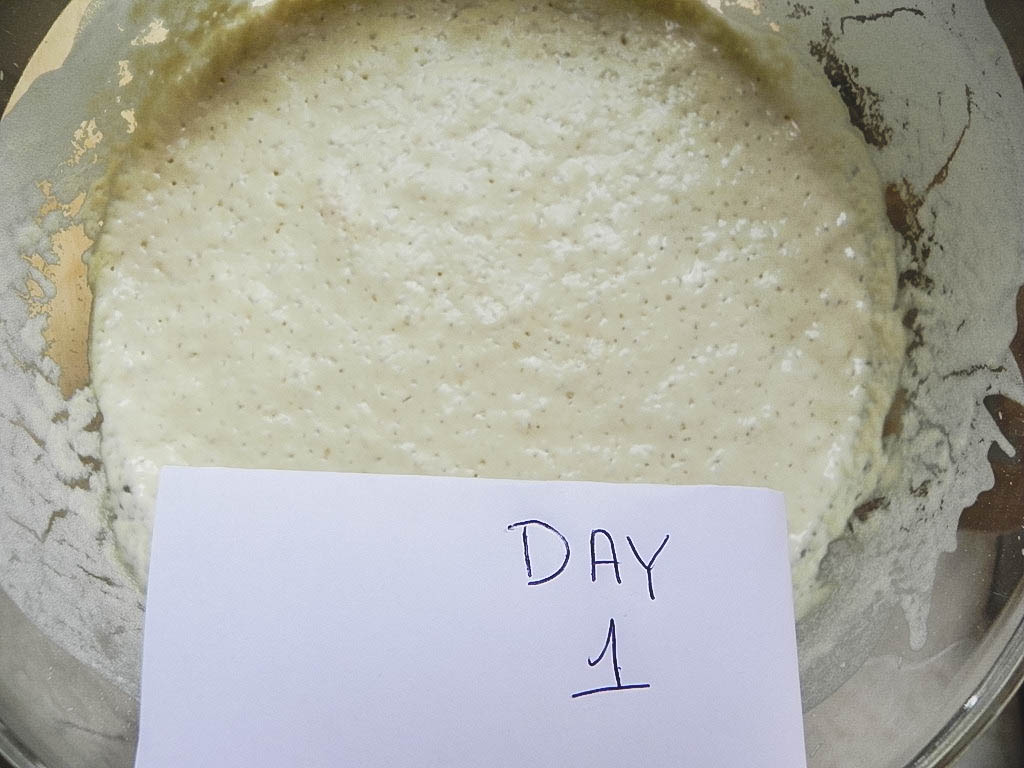
Day 1: On the next day (see photo "Day 1"), you will start to smell a sour smell. At the end of that 2nd day, whisk the starter until it is combined again. There is a film with bubbles that will form on top and liquid settled on the bottom. Cover it again with your kitchen towel and set it in the corner to ferment some more.
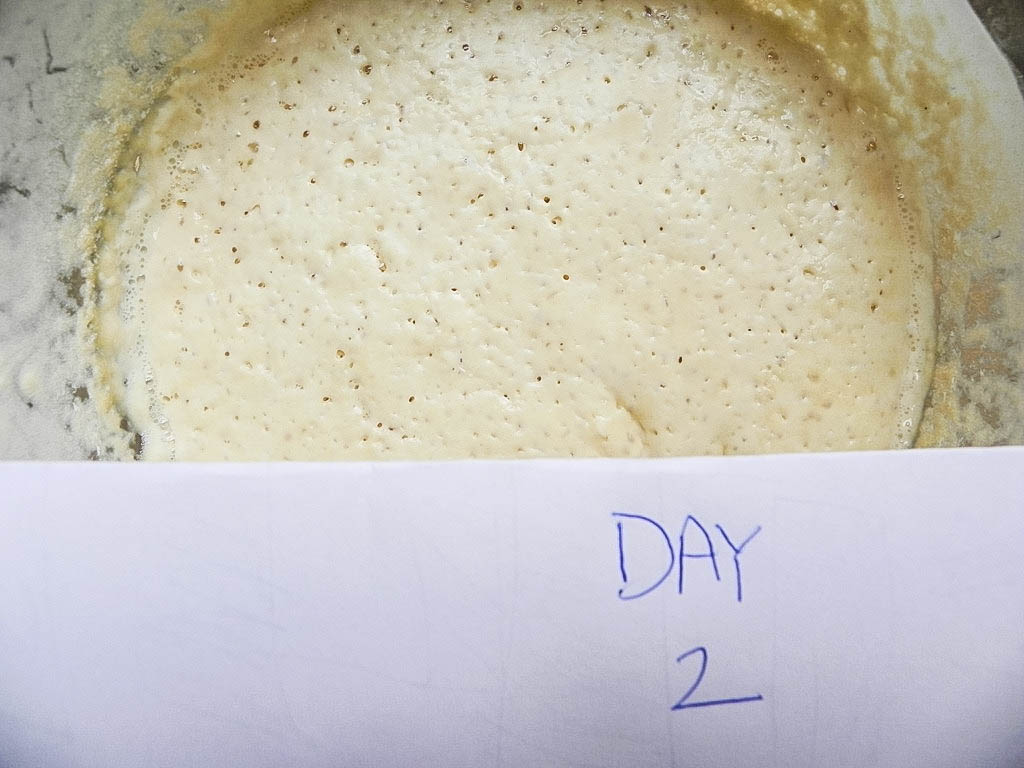
Day 2: On the next day (see photo "Day 2"), the sour smell will be very strong. The smell will permeate throughout your kitchen. If you are a lover of yeast and fresh bread, you can't help but smile at the smell. Breath it in. Stir your starter again. The part on top may be a little thicker. Cover again with kitchen towel and set aside to ferment some more.
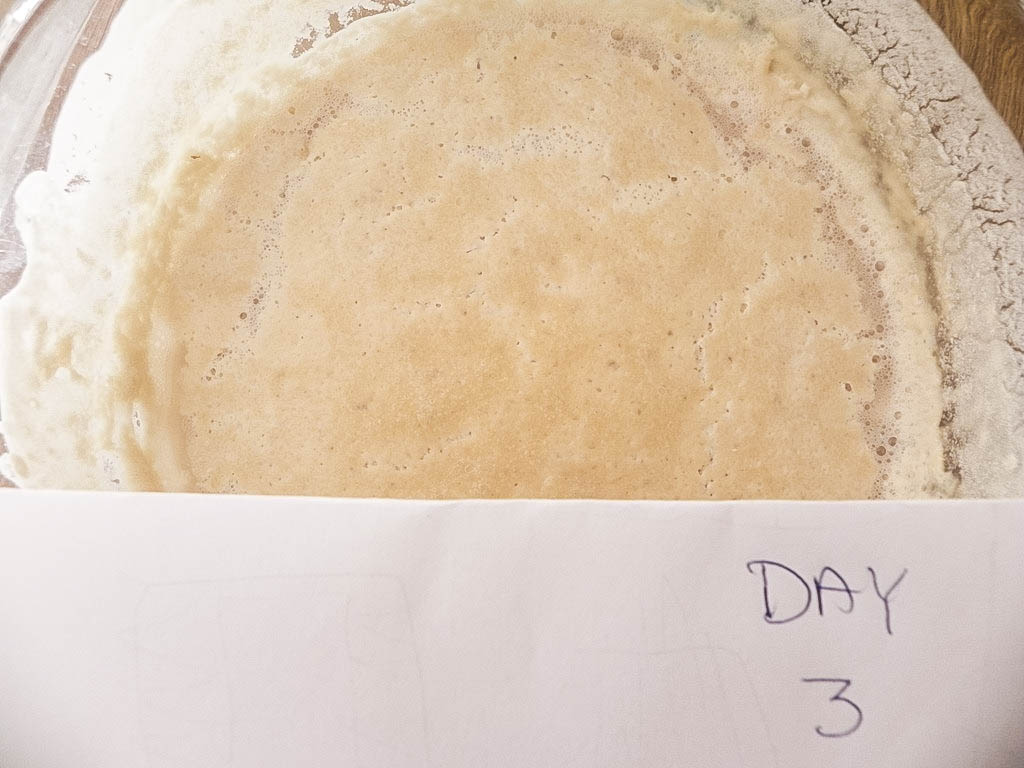
Day 3: Day 3, whisk together. Separation will have occurred again and the smell may be more acidic and pungent. Remove about ½ of the starter (mine equaled about 1 cup). Add into your starter another cup of flour and one cup of cold water. Whisk it together and put it into a plastic container with a lid. The consistency should be like a thick pancake batter. Place the starter in your refrigerator. Don't forget to follow the tips above on feeding it and how to bake with it.
Expert Tips
- Flour Quality Matters: Use high-quality, unbleached all-purpose flour for the best results. The quality of flour can significantly affect the health and taste of your sourdough starter.
- Water Temperature Precision: Ensure your water is at the right temperature (95-100 F). Water that's too hot can kill the yeast, while too cold water won't activate it effectively.
- Consistent Feeding Schedule: Establish and stick to a regular feeding schedule for your starter. Consistency is key to maintaining a healthy and active starter.
- Watch for Signs of Readiness: A ripe starter will have a pleasant, slightly sour smell, a bubbly appearance, and a consistency that's thick yet pourable.
- Avoid Metal Containers: Use glass or ceramic bowls for mixing your starter. Metal can react with the acidity of the starter and affect its flavor and growth.
- Stirring Technique: When feeding your starter, mix it thoroughly to incorporate air. Oxygen is important for yeast activity and health.
- Temperature Control: Keep your starter in a part of your kitchen where the temperature is stable. Extreme temperature fluctuations can impact the fermentation process.
PIN for later!
More sourdough recipes:
- sourdough starter
- sourdough pie crust
- sourdough banana bread
- sourdough pumpkin coffee cake
- sourdough einkorn bread
- Preserved Meyer Lemons(Opens in a new browser tab)
Did you make this and love it? Please RATE THE RECIPE below:)
I would LOVE IT if you can leave me a star rating and a review down below and let me know your thoughts! It means the world to me to hear how you liked it.
Please Subscribe and give a follow on Instagram, Facebook, Pinterest, and TikTok xx
Easy Sourdough Starter With Yeast
Equipment
- Kitchen Towels
Ingredients
- 2 cups warm water 95-100 F
- 1 package active dry yeast
- 2 cups all-purpose flour
- 1 tablespoon sugar
Instructions
- In a large glass bowl (or ceramic), pour in the water and sprinkle on the yeast. Whisk the yeast and the sugar into the water and let it sit a few minutes. Whisk in the flour a little at a time until combined. Whisk it well because that will incorporate more air which equals more yeast spores. Cover the bowl with a clean towel and set aside in a warm corner of your kitchen where it will be safe from not being tipped over or have something drop into it.
- On the next day (see photo "Day 1"), you will start to smell a sour smell. At the end of that 2nd day, whisk the starter until it is combined again. There is a film with bubbles that will form on top and liquid settled on the bottom. Cover it again with your kitchen towel and set it in the corner to ferment some more.
- On the next day (see photo "Day 2"), the sour smell will be very strong. The smell will permeate throughout your kitchen. If you are a lover of yeast and fresh bread, you can't help but smile at the smell. Breath it in. Stir your starter again. The part on top may be a little thicker. Cover again with kitchen towel and set aside to ferment some more.
- Day 3, whisk together. Separation will have occurred again and the smell may be more acidic and pungent. Remove about ½ of the starter (mine equaled about 1 cuYou could discard of this ½ cup of starter, or use it in a sourdough recipe, as it's ready to bake with. Add into your starter another cup of flour and one cup of warm water. Whisk it together and put it into a plastic container with a lid. The consistency should be like a thick pancake batter. Place the starter in your refrigerator.
- Once sourdough is refrigerated and you are ready to bake again, take the starter out of refrigerator for 24 hours before you are ready to bake so it can activate again.
- To replenish the sourdough, just add 1 cup of flour and 1 cup of warm water to at least ½ a cup of the starter. Bake something with what you will discard from the starter.
Nutrition Disclaimer
Please keep in mind that the nutritional information presented below is an approximation and may vary depending on the exact ingredients used.
Notes
-
- Flour Quality Matters: Use high-quality, unbleached all-purpose flour for the best results. The quality of flour can significantly affect the health and taste of your sourdough starter.
-
- Water Temperature Precision: Ensure your water is at the right temperature (95-100 F). Water that's too hot can kill the yeast, while too cold water won't activate it effectively.
-
- Consistent Feeding Schedule: Establish and stick to a regular feeding schedule for your starter. Consistency is key to maintaining a healthy and active starter.
-
- Watch for Signs of Readiness: A ripe starter will have a pleasant, slightly sour smell, a bubbly appearance, and a consistency that's thick yet pourable.
-
- Avoid Metal Containers: Use glass or ceramic bowls for mixing your starter. Metal can react with the acidity of the starter and affect its flavor and growth.
-
- Stirring Technique: When feeding your starter, mix it thoroughly to incorporate air. Oxygen is important for yeast activity and health.
-
- Temperature Control: Keep your starter in a part of your kitchen where the temperature is stable. Extreme temperature fluctuations can impact the fermentation process.

I really like that you shared pictures at various stages. Great starter recipe. Thanks for sharing, Lora.
This is a very helpful post, thank you so much! There was an article I read about sourdough starters, I was very curious about the process. Now I look forward to trying out your recipe, and using your helpful tips! Take care, Hugs, Terra
very useful post I had one once from a co worker that was 25 years old!
Great post! I've never seen such a lovely photo of starter 🙂
Sourdough bread is my absolute favorite.
I gotta make sour dough one of these days! thanks for the starter recipe 🙂
The last time I had sourdough was in San Fran and I've been very tempted to make my own. Love your explanation of the starter.
My dad baked with a sourdough starter, I remember the breads, scones, waffles, pancakes etc. He loved to use it for breakfast baking over the weekend and we were the lucky recipients 😉 Great informative post 😉
That's so sweet Patty. love that he even made scones with it-delicious!!
I haven't made a starter in years!! But my husband mentioned it just a few weeks ago and it's been on my mine. My recipe uses organic grapes in place of the sugar and yeast. Your recipe looks easier!
I have grown to love sourdough. Your tutorial is so helpful. Doesn't seem as intimidating as I originally thought it would be. Can't wait to give it a shot.
I hope you do:)It isn't as bad as it seems. Email me if you have any ?'s:)
This is a BRILLIANT post! I love sourdough bread but have always been too intimidated to try making it. I think I can do it... I must try! Thanks again for a really GREAT post!
Debs
Thanks Deb. So many variations on making sourdough. This way works for me. Happy you like it!
Thank you so much for this post! Ever since you made the pizza, I've been waiting for how to do it! The photos are so informative to show all the stages! Thanks, Lora!
I usually prepare sourdough with rye, but a white levain is just as marvelous.
I have some rye flour and am going to make a starter with it this week:)
I'm so glad you shared this, such an informative and useful post! 🙂
I LOVE sourdough everything. I kept a super strong starter for about 2 years, but then neglected 'him' and 'he' passed. I did the same with two subsequent starters. I now pilfer starter from a friend for sourdough recipes because I'm not ready to care for another one right now! I love your starter tutorial..made easy for many who are daunted by it. 🙂
I remember reading about "him". Great you can get some from a friend;) It does take some TLC.
pie crust - really ?
I've got 3 loads of sourdough starter in my fridge. One all rye, one all white and one half and half. I'm a sucker for rye sourdough crackers in particular. YUM
Sarah-Jane-I wish you were my neighbor! Would love to try all your breads. I've never had rye sourdough crackers-wow!
This is a fabulous tutorial post for anyone interested in making sour-dough starter and your previous posts on the pie and the pizza are excellent for ideas on what to do with your starter if not making just sour-dough bread.
Right! So much to do with sourdough:)I never imagined making a pie crust with it and happy I did:)Thanks Paula:)
Great post, Lora! I have wanted to try making a starter…I actually tried once and it didn’t work! You have inspired me…I think I’ll give it a try this week!
So happy to inspire you, Kathy. I know you can do this. It is pretty simple. You're an excellent baker!
What a fantastic post Lora! I need to try this some day...a bit of a chicken though 🙂
Hope your having a lovely weekend 🙂
Ah, what a great post. I've always wanted to make sourdough bread but never had starter available. I do a lot of baking with my Amish friendship bread starter so this makes a lot of sense to me. Many thanks for sharing the procedure. For me, this means more than a lot of the desserts because it's so, so useful! (Nothing against the desserts, you understand.) 🙂
wow! I want to read about your Amish friendship bread starter. I bet you make amazing bread with it:)Thank you:)I hope I explained it all ok;)
I didn't make the starter. It was given to me a long time ago and I've been keeping it going for months, freezing it when we need a break. I just made a four loaves of bread with it today. I love the stuff.
Do you have the Amish friendship bread on the blog? Want to see it!:)
I think it does not need all the whistles and bells to be an excellent post. I was looking forward to your sourdough starter post my friend more than any other glitz and glamor post! 🙂 Reading as I am typing this comment!
Yep-no bells and whistles here;) Thank you, Shulie. I am happy you enjoyed this post:)