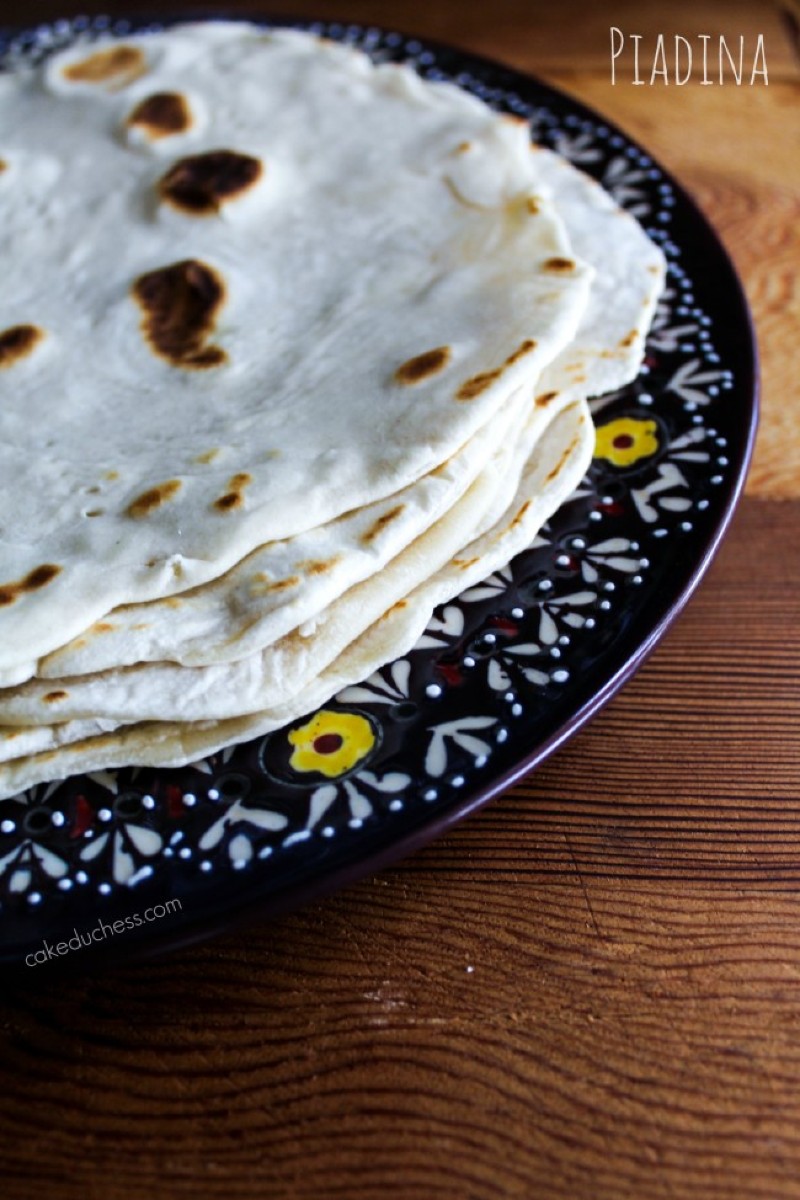
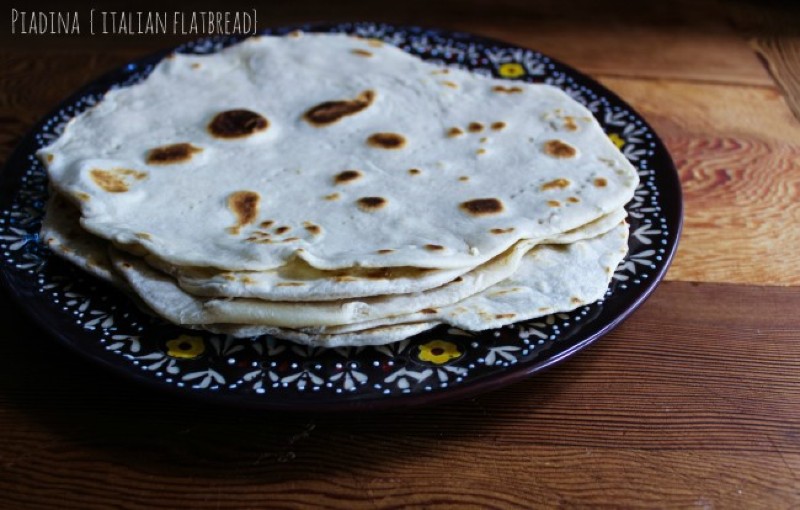
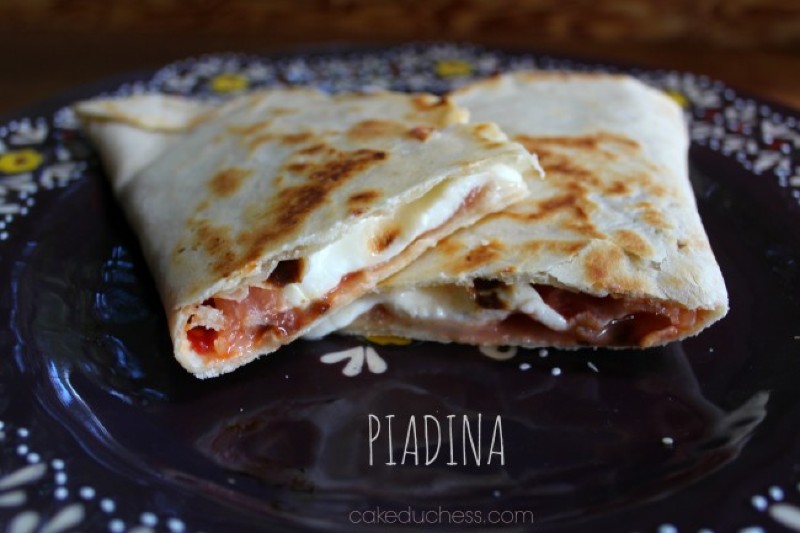
Piadina-Italian Flatbread—This delicious flatbread from the Emilia-Romagna region comes together with just four ingredients! Soft, yet cooks up super crispy, they are perfect to make sandwiches.
What in the world have you been up to these days? Go ahead and brag about your colder temperatures and relaxing by the fireplace (my friends that live near Boston have been sending us fireplace videos to make us jealous).
Well, it's definitely more fall-like here and I have more desire to bake breads! I slowly broke the bread baking break by diving into this Piadina/ Italian flatbread! And I'm so glad I did, because we have missed making piadina!
Piadina (or piada) is an Italian flatbread that is typically made and found in the Romagna area of Italy (Forli-Cesena, Ravenna, Rimini, Riccione). It also can be found in Ferrara, Pesaro e Urbino province, Montefeltro and the Republic of San Marino.
And I will tell you that it varies from town to town. You can be in Italy in one town and talk about how it's made and then go to the next town, and argue about how your way is the way to make it. I have also lived in Rimini for a bit and that is where my love for piadina blossomed!
Piadina is a fun street food and it is also comfort food! But I will tell you this, do not think it is exclusive to this area of Italy. My Calabrian mother-in-law who lives in the Lombardy area of Italy makes a mean piadina!
There is also Franca, my Roman friend Daniele's mamma, who makes amazing piadina! Franca was visiting last year and told me her friend from the Romagna region of Italy taught her one summer how to make it. She made it all the time when Daniele was growing up near Rome and it was one of the few things he liked to eat.
My mother-in-law was self-taught and she made it for us this past spring when she was visiting us. It was kind of a bad thing when she did make it that first time, because the kids were requesting it every day. They were expecting fresh and hot piada as an afterschool snack every day!
All this talk about piadina is for a reason! This month the #TwelveLoaves bakers is baking Crackers, Crisps and Flatbreads!
#TwelveLoaves is a monthly bread baking party created by Lora from Savoring Italy and runs smoothly with the help of Heather of All Roads Lead to the Kitchen, and the rest of our fabulous bakers.
Our theme is Crackers, Crisps, and Flatbreads:
- Cheddar Cheese Crackers from Karen's Kitchen Stories
- Lemon Oregano Pita Bread from Kudos Kitchen By Renee
- Pane Carasau from Culinary Adventures with Camilla
- Parmesan-Thyme Cream Crackers from A Baker's House
- Piadina (Italian Flat Bread) from Savoring Italy
- Pretzel Crackers from All Roads Lead to the Kitchen
- Quick Raspberry Flatbread from Cheap Ethnic Eatz
- Rye Crispbread from The Bread She Bakes
- Three Seed Crackers from Hostess At Heart
- Thyme and Black Pepper Crackers from blackberry eating in late september
I think she'll be thrilled to know that I am making it (no way while she was here would I tell her I do know how to make it, then there would be the critiques and her method is better than mine).
It is all a very simple process for a very simple and humble flatbread. Add the yeast to one cup of warm water and let it do its thing for about 5 minutes. I then add the flour to the counter (if you have "00" flour, you could use 1/2 and 1/2 all-purpose flour).
Then you add the fat, and that could be extra-virgin olive oil, vegetable shortening, or if you are really lucky, homemade strutto.
Ok, my mother-in-law renders her own pork to make her own precious jars of strutto (rendered pork fat). And when I say, wow, I mean wow! The flavor it adds to the piadina is out of this world (I know because she did make it in Italy for us with her own strutto).
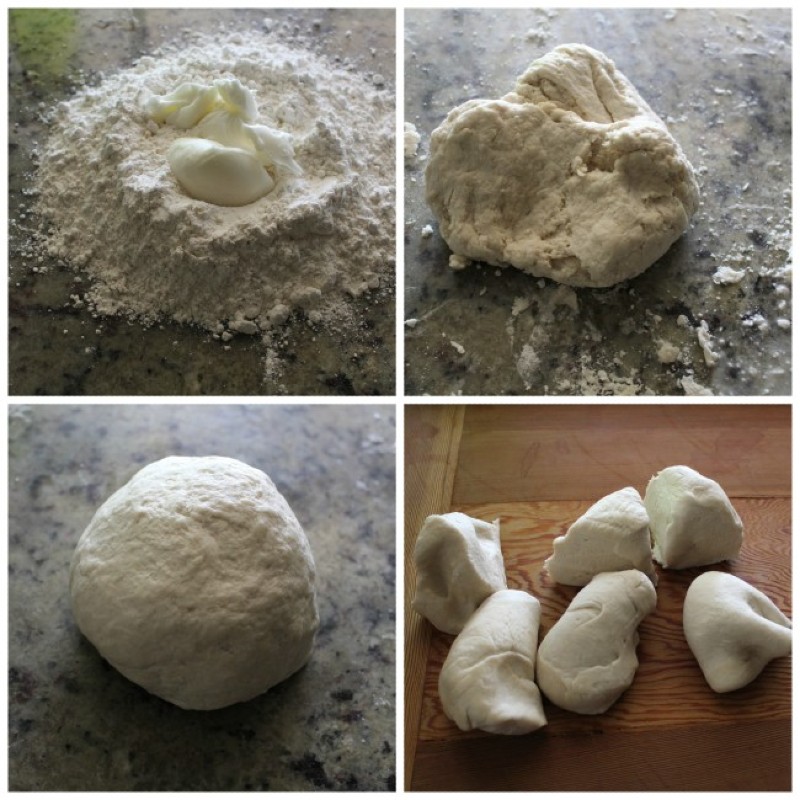
So you've got your shortening (in my case here at home, I used the vegetable shortening)in the flour (that also has a little salt in it...I use a teaspoon). With your hands, mix together the shortening into the flour. Break it up as you go along and don't worry, it's messy.
Keep rubbing it off your fingers and add it back into the pile. Bring the pile towards the center and keep mixing. Next, add in the water with the yeast and now it's really messy. Bring it all together and keep mixing and mixing until you finally get a ball of dough. Push into with the palm of your hands and work it into a pile.
Keep kneading (about 5-7 minutes)until it's shiny and elastic. If it seems wet, add a pinch more of flour. If it seems to dry, add a little more water. You have to let the dough rest covered for about 30 minutes.
Can I make the dough with my stand mixer?
Yes, you can! Don't want to mess up your counter? Then use your mixer with the dough hook or even a food processor will work fine. I like to work the dough and see where it's going and it's therapeutic!
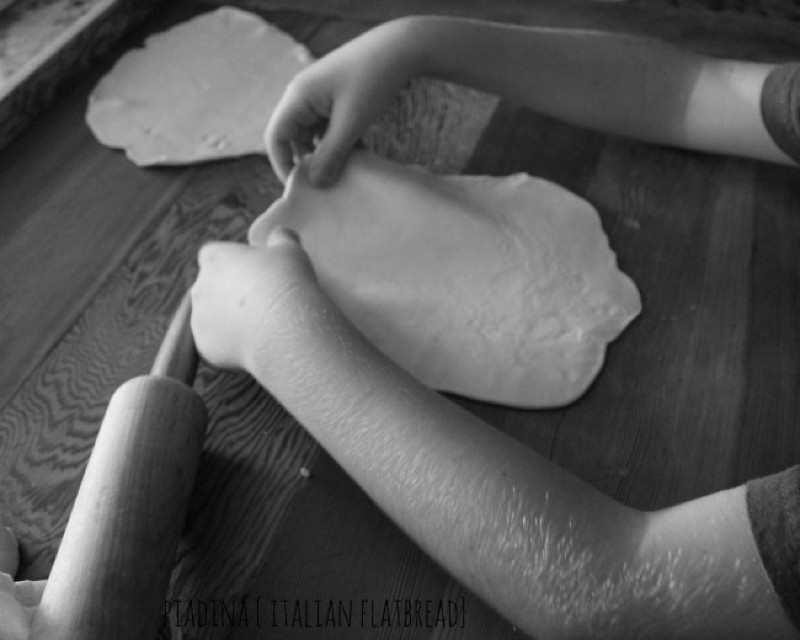
If you are looking for a an easy bread recipe to make with your kids, this is the one! They will have fun rolling out the discs and it's totally fine if they're imperfect. My son grabbed the rolling pin and wouldn't let me finish. He was so proud of his work!
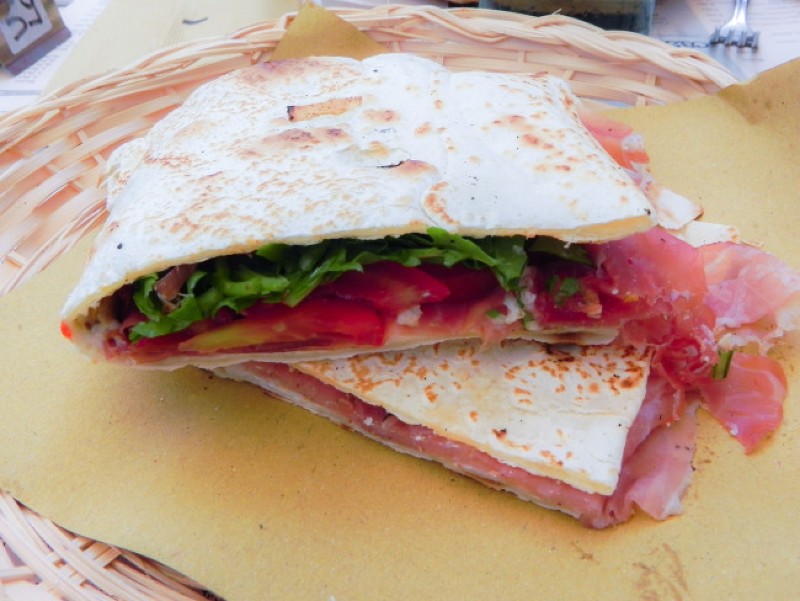
I wouldn't let them use the hot skillet (unless your kids are older and they know what they're doing at the stove...use your discretion).Now this one below is the one we ate in Rimini and it has prosciutto crudo, rucola, tomatoes.
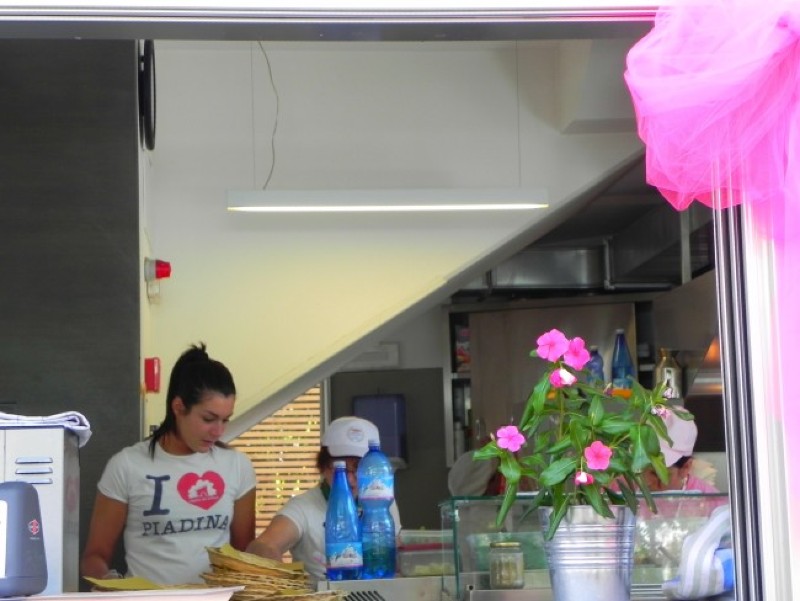
One of the most simple breads to make. How could this bread elicit such fervent lust in my mind? I lust over these piadine...truly, I do! And I know you would too if you had the chance to hold them in your hands. Preferably, in Rimini. At one of my favorite places to grab the best lunch or dinner: Casina del Bosco.
This isn't a sponsored post. Even though I've eaten at their place over a dozen times, they have no clue who I am. So I can freely talk about them with that fervent lust I mentioned earlier. Man, do I LOVE this place. Planning a trip to Rimini any time soon? You MUST stop by for a piadina or two at Casina del Bosco.
As I mentioned above, it is supposed to be these 4 simple ingredients: flour, salt, water and some sort of fat. There are recipes that use yeast and some that use baking powder (or even baking soda). Some recipes call for whole milk instead of water.
Some even skip the those leavening agents and use a bit of lemon juice. If you choose to just use flour, salt and water, you will have a much crispier piada.
Is shortening best to use to make homemade piadina?
I find that using shortening (or rendered pork fat/strutto), makes it softer and more supple. Each family you will meet that makes piada will have their version. What's the best version?
Depends on taste and if you live in Italy, it all depends on what you grew up eating. This is the recipe my mother-in-law showed me how to make and it is loved by all.
For now, I'm sticking to this one! You can eat the piadina as they are as an alternative to bread. Just cut them into 4 triangles.
Or you can add your favorite sandwich filling to it, flip it together like a sandwich and make panini. I add mine back to the skillet to let the cheese melt when I make a sandwich. Just make sure it doesn't burn...do it on a lower heat.
How to store piadina Italian flatbread?
You could store in the refrigerator in a plastic zipped lock freezer bag. Will stay fresh for up a week.
You could freeze the piadina in zipped lock freezer bag for up to 2 months.
it keeps fine in the fridge for a week or you can even freeze them for up to 2 months.
Some other bread recipes:
Psomi Spitiko-Really Easy Greek Bread
Piadina (Italian Flatbread)
Ingredients
- 1 cup warm water
- 2 teaspoons yeast
- 3 Cups All-Purpose Flour
- 1 teaspoon salt
- 4 Tablespoons vegetable shortening or pork fat or extra virgin olive oil
Instructions
- Sprinkle the yeast into the water in a bowl and let stand 5 mins.
- Place the flour and salt together on the counter (or use your mixer) and mix together. Add the shortening and mix together with your hands (or the mixer). Make a well in the center of the flour and slowly add in the water with the yeast.
- Knead until smooth, shiny, and elastic, about 10 minutes.
- Add the dough to a bowl and cover and let it rest about 1/2 an hour.
- Divide the dough into 6 equal pieces. On a lightly floured work surface, with a rolling pin roll out each piece to form a round, 6 inches across and 1/2 inch thick. If the dough resists rolling out, let it rest for 1-2 minutes, then continue.
- Heat a heavy frying pan or griddle over medium-low heat until very hot, about 10 minutes.
- Place one of the dough rounds in the hot pan and prick all over with a fork to prevent air bubbles.
- Cook until golden brown on both sides, flipping it over frequently to avoid scorching and to aid even cooking, about 5 minutes.
- Repeat with the remaining dough rounds as directed in step 7. Stack the rounds on top of one another and cover with a dish towel to keep soft and warm.
- Fill with your choice of ingredients, fold in half and serve. Or enjoy them as they are.
Nutrition Disclaimer
Please keep in mind that the nutritional information presented below is an approximation and may vary depending on the exact ingredients used.



Amelia says
Thank you for this authentic recipe. I am also searching for an authentic recipe for the large round bread ring that has a hole in the center is cut along the equator, then filled with sandwich fillings for parties. It may be slightly crispy on the outside but softer than the typical rustic loaf of Italian bread. Maybe the addition of the strutto or Crisco shortening with the milk to the rustic bread loaf recipe would make you his bread ring. Do you have any recipes for the round bread sandwich ring that I am searching with pictures? I have seen this loaf with sesame seeds on top. Please add me to your email list
Lora says
Ciao Amelia-thank you so much! I think maybe you mean the muffeletta sandwich? I have a recipe for a stuffed ring bread and it's called a casatiello (it's an Easter bread). Here is the link: https://www.savoringitaly.com/casatiello/ . You could make it and add sesame seeds to the top. Ok, I'll add you to the email list! XX
Julie says
I love this recipe and your story. I'm always looking for authentic recipes. Especially when our relatives from Padua visit.
Lora says
Ciao Julie-Grazie! Such a sweet comment...makes me so happy that you have relatives that visit from Padua (love that city!)and you make our recipes. Buon Natale!! Lora