
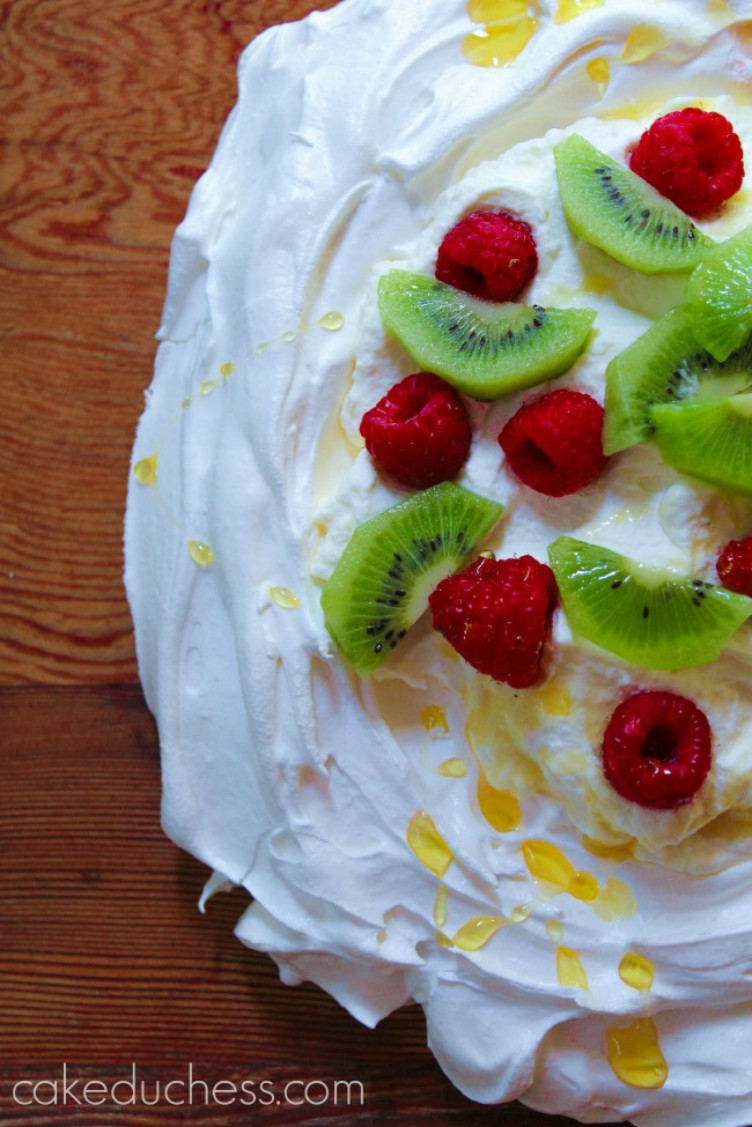
Kiwi and Raspberry Pavlova is a delicious and decadent dessert made with egg whites. Totally gluten-free topped with whipped cream, sweet raspberries, kiwi and a drizzle of honey.
If I really want to impress my friends and family, I make a pavlova! They are just so pretty look at and they are not as complicated to make as you may think!
Making a pavlova is pretty easy and relatively fool-proof! The results: crunchy on the outside and as fluffy as a marshmallow inside. Topped with luscious whipped cream and gorgeous kiwis and raspberries...this is a dessert to IMPRESS!!
You could decorate your pavlova with whatever you prefer: fresh berries, cooked pears or apples (very fall!). For the chocolate lovers: you could add cocoa powder to the meringue and top with chocolate and cream...a chocolate pavlova delight!
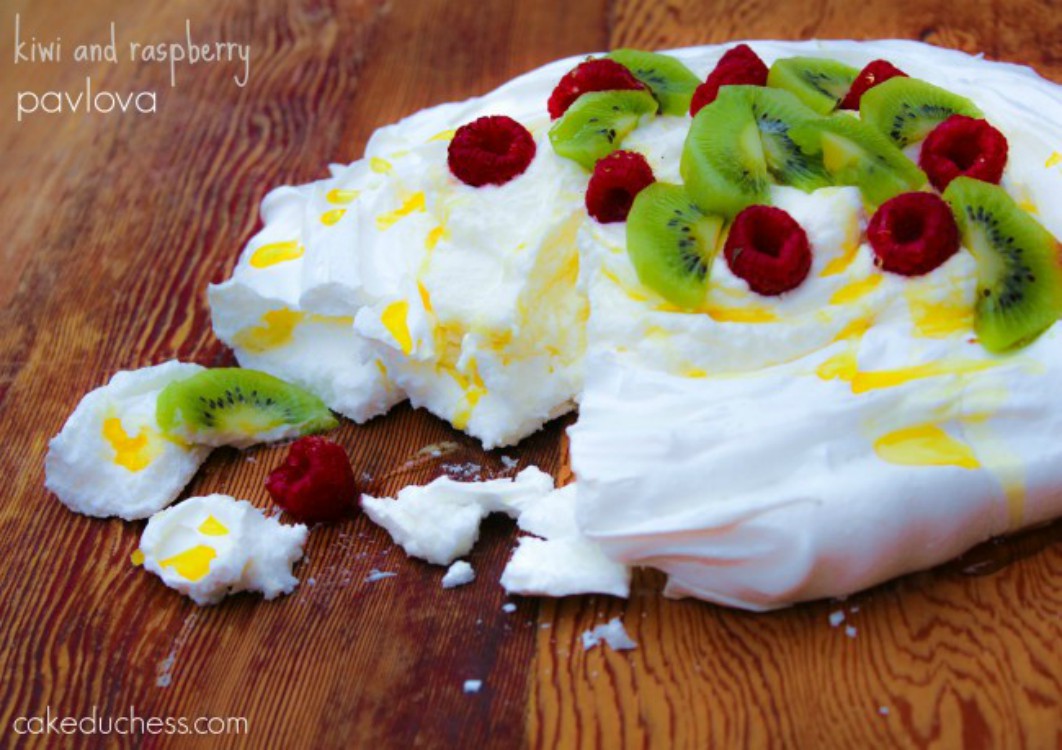
The pavlova is as fluffy as a cloud and very delicate! Be super careful (it's very fragile!) when you remove it from the parchment paper.
Important to remember: When the egg whites have quadrupled in volume, that is the time to add the sugar just a little bit at a time and keep on beating! and adding them slowly while whipping the mixture continuously. Even more important, when they are whipped to perfection...don't wait to bake them. It's important to get them shaped on your pan and put in the oven. No hesitating.
My very important tip for you: let it cool completely on the pan before transferring to your serving plate. I didn't wait the most recent time I baked it and my pavlova did break apart a bit before I had a chance to decorate it. Luckily, nobody complained! Even not so perfect to look at...it was perfection to taste!
What is the difference between a meringue and a pavlova?
A meringue is a mixture of whisked egg whites and sugar and a pavlova is a type of meringue. Pavlovas have a marshmallow-like center from the cornstarch.
How Do I Know My Pavlova Is Done?
The pavlova will look dry and pale when it is perfectly baked. When you insert a skewer into the meringue it will have a sticky almost like marshmallow consistency.
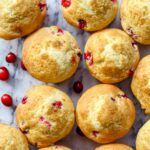
Gluten-Free Cranberry Muffins
Ingredients
- 2 cups gluten-free measure-for-measure flour blend*
- ¼ tsp salt
- 1 Tablespoon baking powder
- ½ tsp cinnamon
- ¼ cup coconut oil*
- ½ cup granulated sugar
- 2 large eggs
- 1 teaspoon vanilla extract optional
- 1 cup coconut milk* unsweetened
- 1 ½ cups fresh cranberries*
- 1 Tbsp. coarse Turbinado sugar optional
Instructions
- Preheat the oven to 400 degrees F.
- Line 12 muffin cups with muffin liners or grease or spray with nonstick baking spray.
- In a large bowl, whisk together flour, baking powder, salt and cinnamon.
- In a separate bowl, stir together the coconut oil, sugar, eggs, vanilla, and coconut milk (I used unsweetened).
- Add the wet ingredients to the dry. Mix well. There may be some small lumps and that is ok, just make sure you stir away the larger lumps of flour mixture.
- Gently fold in the cranberries. Reserve a portion for the top of muffins if you want a pop of berry color).
- Spoon batter into the muffin cups three-fourths full.
- Sprinkle muffin tops with turbinado sugar.
- Bake at 400 degrees F for 17-20 minutes, or until the muffins are puffed and golden, or until a toothpick inserted near the center comes out clean. Cool for 5 minutes before removing from pans to wire racks. Serve warm.
Nutrition Disclaimer
Please keep in mind that the nutritional information presented below is an approximation and may vary depending on the exact ingredients used.
Notes
- you could use all-purpose flour if you’re not making them gluten-free.
- you could sub 4 tablespoons of melted butter or margarine for the coconut oil.
- you could also sub whatever mild flavored oil you have on hand for the coconut oil. Or omit the oil and you’ll end up with denser muffins.
- I used unsweetened coconut milk, but unsweetened almond, cashew or oat milk will work. Use a dairy milk if you’re not dairy-free.
- you can substitute frozen cranberries, if needed. Keep them frozen (don’t thaw) when adding to the muffin batter

Leave a Reply