
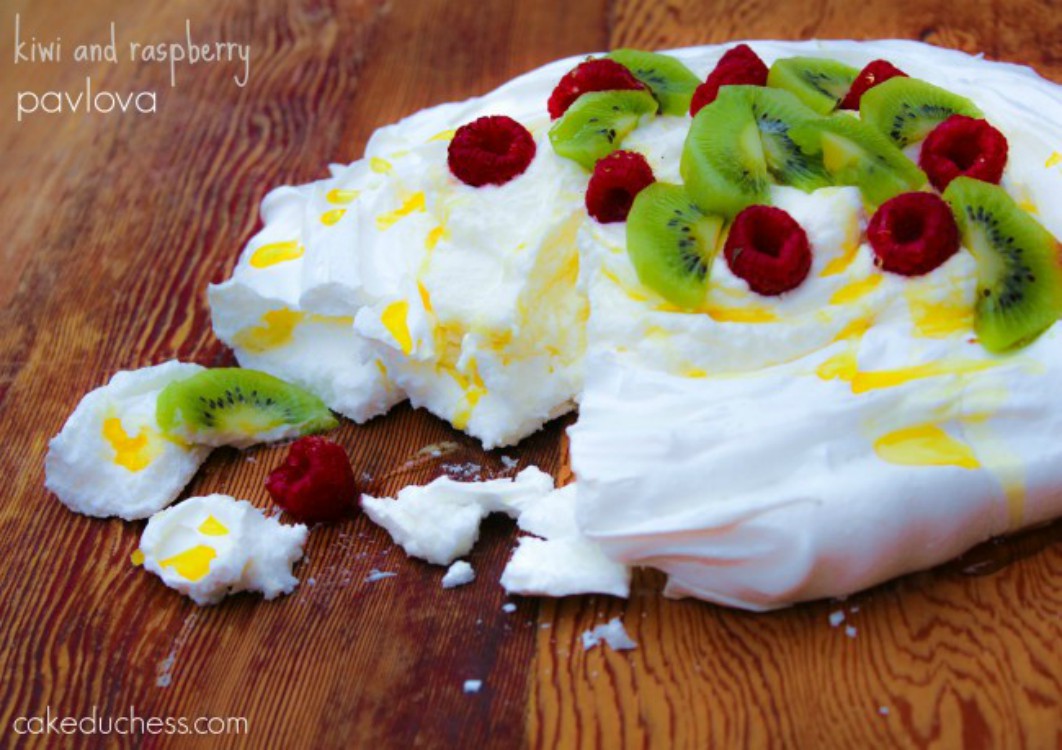
Kiwi and Raspberry Pavlova is a delicious and decadent dessert made with egg whites. Totally gluten-free topped with whipped cream, sweet raspberries, kiwi and a drizzle of honey.
If I really want to impress my friends and family, I make a pavlova! They are just so pretty look at and they are not as complicated to make as you may think!
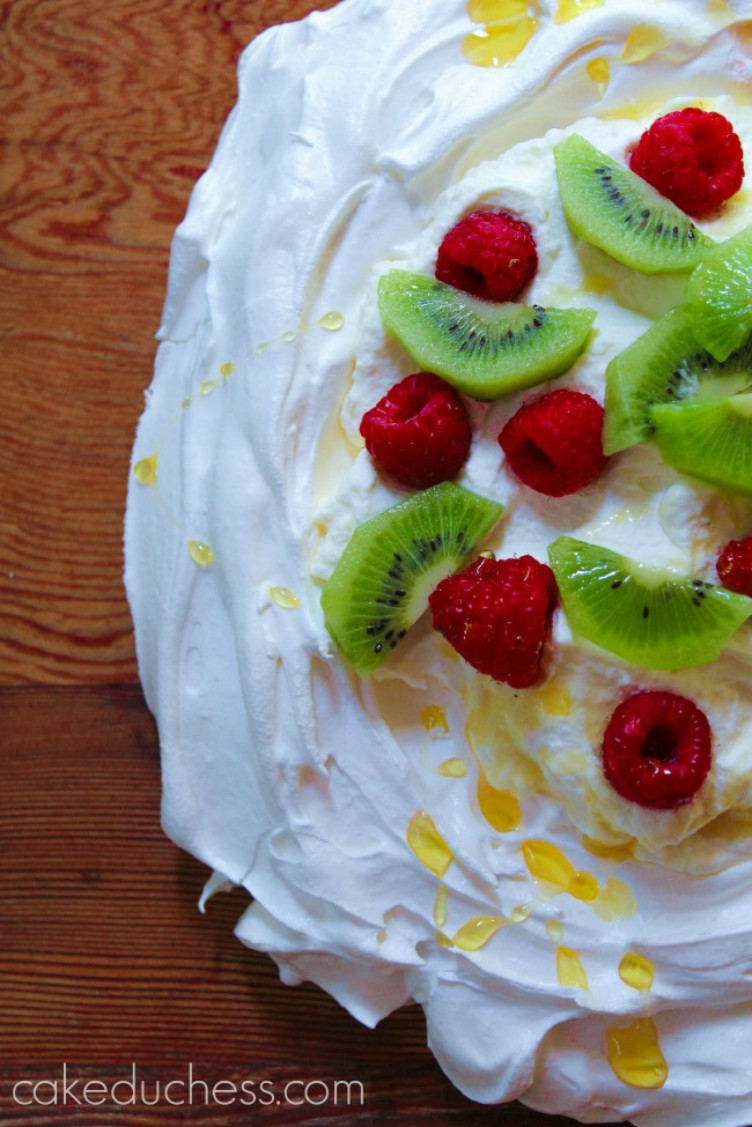
Making a pavlova is pretty easy and relatively fool-proof! The results: crunchy on the outside and as fluffy as a marshmallow inside. Topped with luscious whipped cream and gorgeous kiwis and raspberries...this is a dessert to IMPRESS!!
You could decorate your pavlova with whatever you prefer: fresh berries, cooked pears or apples (very fall!). For the chocolate lovers: you could add cocoa powder to the meringue and top with chocolate and cream...a chocolate pavlova delight!
The pavlova is as fluffy as a cloud and very delicate! Be super careful (it's very fragile!) when you remove it from the parchment paper.
Important to remember: When the egg whites have quadrupled in volume, that is the time to add the sugar just a little bit at a time and keep on beating! and adding them slowly while whipping the mixture continuously. Even more important, when they are whipped to perfection...don't wait to bake them. It's important to get them shaped on your pan and put in the oven. No hesitating.
My very important tip for you: let it cool completely on the pan before transferring to your serving plate. I didn't wait the most recent time I baked it and my pavlova did break apart a bit before I had a chance to decorate it. Luckily, nobody complained! Even not so perfect to look at...it was perfection to taste!
What is the difference between a meringue and a pavlova?
A meringue is a mixture of whisked egg whites and sugar and a pavlova is a type of meringue. Pavlovas have a marshmallow-like center from the cornstarch.
How Do I Know My Pavlova Is Done?
The pavlova will look dry and pale when it is perfectly baked. When you insert a skewer into the meringue it will have a sticky almost like marshmallow consistency.

Best Oven Baked Chicken Legs Recipe
Ingredients
- 6 chicken legs
- 1 Tablespoon extra-virgin olive oil
- 2 tsp paprika sweet or smokey
- 1.5 tsp sea salt
- ½ tsp freshly ground black pepper
- 1 small onion minced finely (or 1 tsp onion powder)
- 2 teaspoons garlic minced finely (or 1 tsp garlic powder)
- 1 Tablespoon Dijon mustard or 1 tsp ground mustard
- 2 tablespoons fresh rosemary chopped finely or 1 tsp rosemary, dried
- 2 Tablespoons fresh Italian parsley chopped finely or 1 tsp parsley flakes
Instructions
- Preheat the oven to 425 degree F.
- Line a baking sheet with aluminum foil and lightly spray with non-stick cooking oil. Set aside.
- Remove drumsticks from packaging. Pat them dry with paper towels. Place into a bowl or resealable plastic bag. Add oil, seal the bag and toss to coat.
- Add seasonings, herbs, garlic, onion, and mustard to the bag, close and shake to get chicken well coated with everything. Bake for 30 minutes.
- Lower the oven temperature to 375F.
- Bake until the chicken is cooked through and golden brown (and the skin is nice and crispy) and has internal temperature of 185 degrees F, may be another 30 minutes, so set a timer. Total cook time is about 1 hour-1 hour and 15 minutes (could be less time, depending on how big or small your drumsticks are). Serve and enjoy!
Nutrition Disclaimer
Please keep in mind that the nutritional information presented below is an approximation and may vary depending on the exact ingredients used.
Notes
- Use a baking sheet or even a pan that is 9x13 inch with sides is the best option because to keep the sauce in. It does caramelize a little as it bakes. It will caramelize best if half of the chicken is poking out of the sauce while cooking. My pan is 11x15 inches and it works best. If your pan is too large though your sauce will be too shallow, evaporate and burn.
- Best thing for clean up is to line your pan with foil.
- If you're new with baking chicken and knowing when it's done, best thing is to use a digital meat thermometer to be safe and make sure it's cooked through.
- Once cooked and completely cooled, the chicken stays fresh covered in the refrigerator for 4 days.
- When cooked and completely cool, you can also freeze it in a freezer-safe container for 1-2 months. Best way is to remove the chicken from the bones and shred it.
- If you're low-carb, serve with sides like cauliflower rice, steamed broccoli, veggie noodles, roasted potatoes, a nice salad.
- If you're not staying low carb, serve with jasmine rice, cous-cous, sweet potatoes.

Leave a Reply