
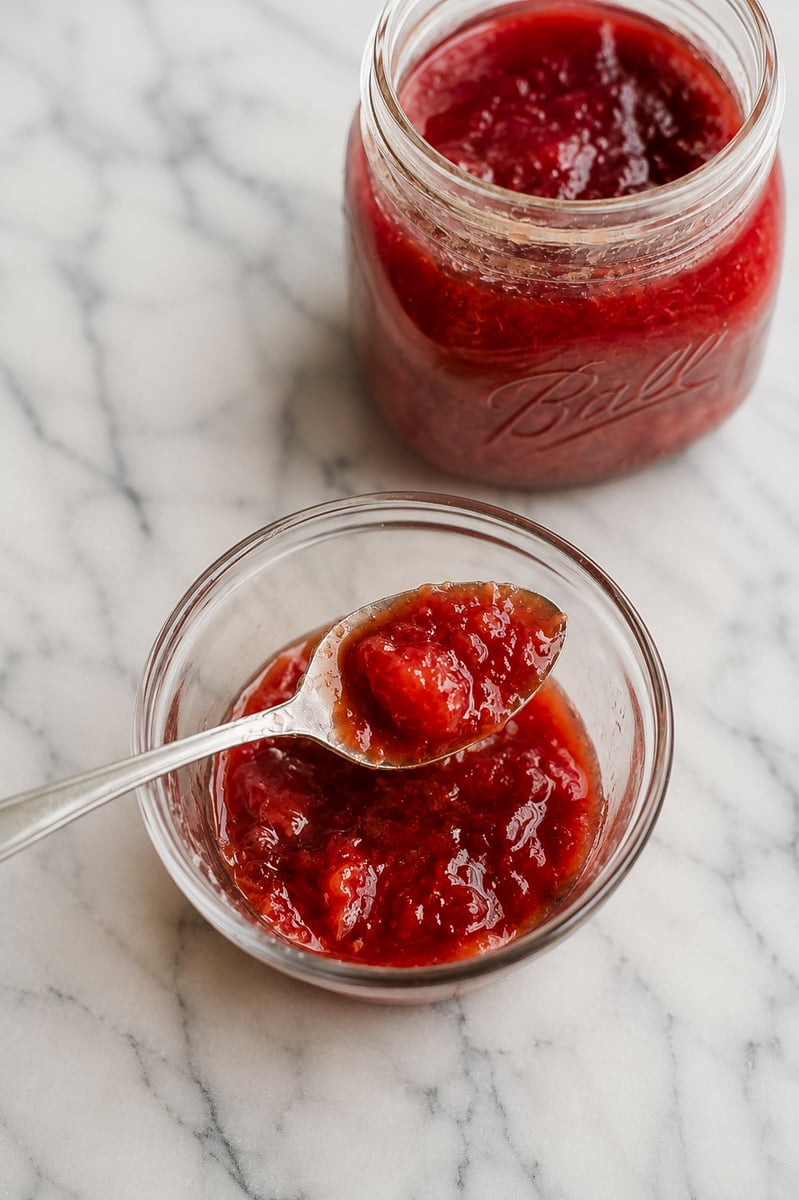
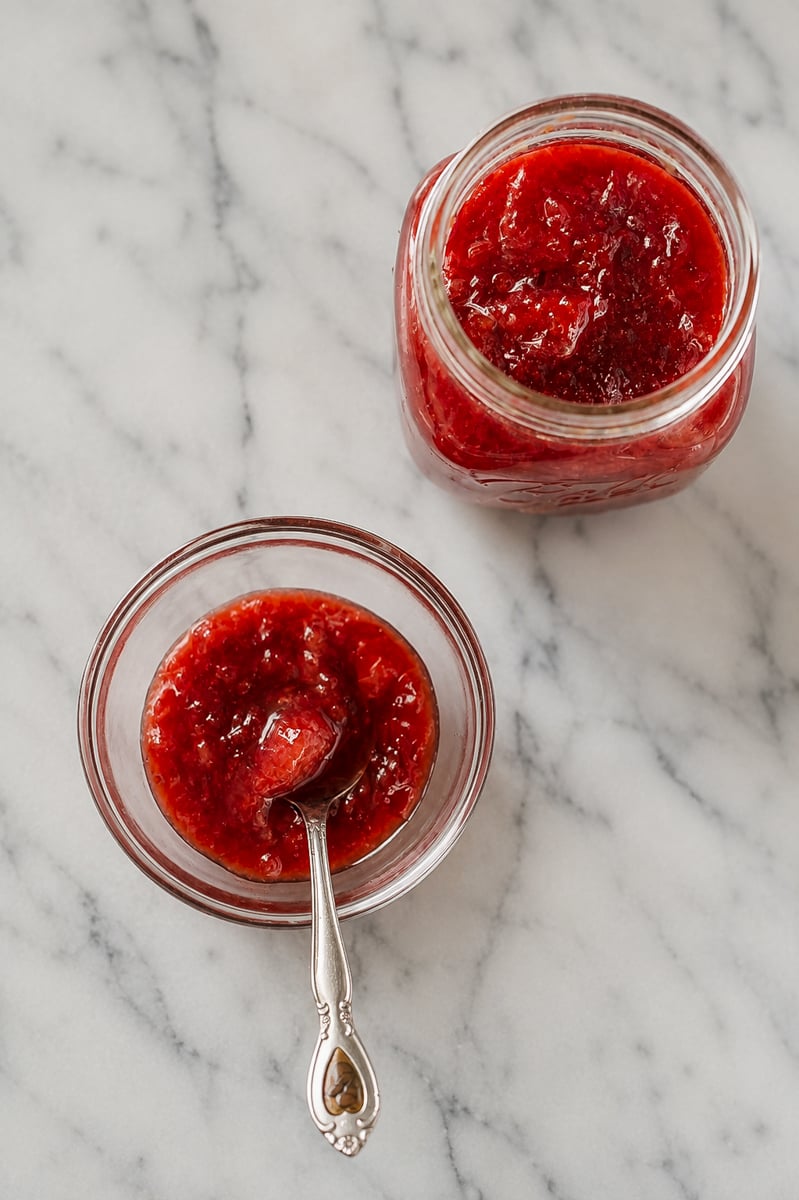
This Easy Plum Jam is a family favorite jam! A classic and easy recipe that comes together with sweet and ripe, juicy plums- best recipe to preserve plums. It's a perfect homemade jam to drizzle on yogurt or enjoy for breakfast spread on toast. Or do what we do, and enjoy it straight out of the jar.
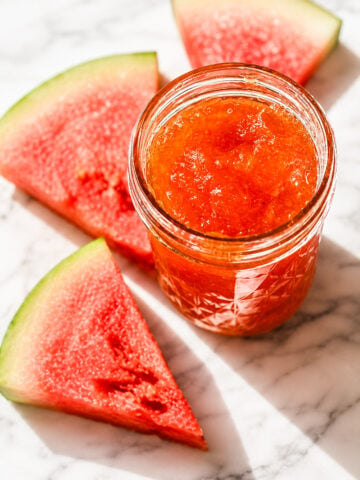
If you love homemade jam, also try my Italian Plum Jam and Watermelon Rind Jam - both are easy, pectin-free, and perfect for preserving summer fruit.
This article contains affiliate links which support us at no extra cost to you.
Jump To
- Why we just love this homemade plum jam
- How to make plum jam without pectin
- What exactly is pectin?
- Ingredients in this plum jam recipe:
- Variations
- Step-by-step instructions
- How to pick the best plums for this recipe
- Do I have to peel the plums to make this jam?
- Equipment needed
- Can I use less sugar?
- Can the jam be made without lemon?
- Expert Tips
- Let's make this delicious plum jam together!
- Some other ways to enjoy summer a little longer:
- Easy Homemade Plum Jam (No Pectin)
- FAQ'S
This delicious jam recipe is made with sweet, ripe, juicy plums at the height of their season. It is the ultimate way to preserve this delicious stone fruit to enjoy throughout the coming months.
Homemade plum jam is a summer treat that is really easy to make! It's been a busy beginning of the summer canning season. We've already started canning our ripe mangos and also pickling watermelon rinds. Pickling and canning is so much fun to do with the whole family this time of year.
If you are a beginning jam maker, my Easy Plum Jam is the perfect recipe to start with! Since plums are naturally high in pectin, this should be a no-fail recipe to begin your jam making journey. Just in case it doesn't set as much you were expecting, don't even fret! Drizzle the jam over your favorite ice-cream or yogurt. If you feel it set a little too much, it will be perfect served on your cheese board.
The only problem with this lovely plum jam is that everyone wants a jar for themselves to enjoy with a big spoon! That is how irresistible this jam is!! Enjoy this jam with waffles, pancakes and even spread on your favorite toast. And if you're super lucky to come across Italian plums, you'll have to try our Italian Plum Jam recipe!
Why we just love this homemade plum jam
This is one of mom's recipes. So simple and and all you need are the plums, sugar and lemon juice.
- Making jam is an awesome way to preserve some of nature's seasonal goodness and enjoy it during the cooler months ahead - if it lasts that long.
- Perfect jam recipe for beginners
- There is no comparison of homemade jam to store bought jam! Homemade jam is free of thickeners and there are no added preservatives.
- This delicious plum jam can be spread on toast, drizzled on ice-cream or yogurt. So many different ways to enjoy!
How to make plum jam without pectin
Plums are truly the perfect stone fruit to make jam with, as you don't need to remove their skin. The skin actually has pectin that helps the jam to thicken and gel.
What exactly is pectin?
Pectin is an important part of jam making. It happens to be a naturally occurring starch that can be found in some fruits. When you cook the plums with the sugar, the pectin is released and naturally thickens the jam. Since plums are naturally pretty high in pectin, there is no need to add any additional pectin.
Ingredients in this plum jam recipe:
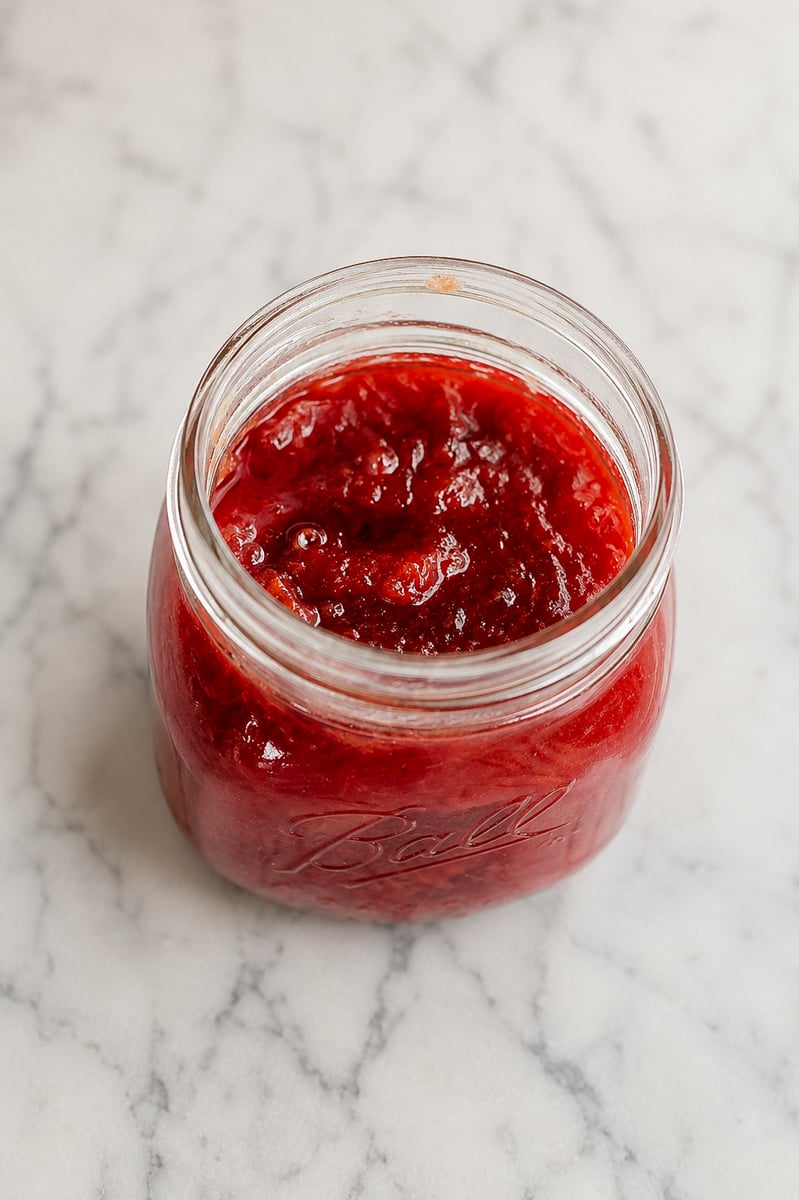
- Plums -This particular jam was made with the gorgeous ruby-red flesh plums. It makes a stunning and bright colored jam. You could use whichever plum variety you like. by-red flesh.
- Sugar - Granulated sugar is what I typically use. I've made it with coconut sugar and do not like the consistency as much as I do when I make with granulated sugar
- Lemon juice - Freshly squeezed is the only lemon juice I recommend. The recipe is not the same without the fresh lemon juice, as it helps the jam to set and also makes it not too sweet.
Variations
- Add spices - a cinnamon stick, star anise, or a few cardamom pods added to the pan during cooking infuse the jam with warm, aromatic notes. Remove the whole spices before jarring.
- Add vanilla - stir in ½ teaspoon of vanilla extract at the end, off the heat. It rounds out the sweetness beautifully.
- Use other stone fruit - the same method works with peaches, apricots, or nectarines. Adjust the sugar slightly depending on how sweet the fruit is.
- Italian Plum Jam - if you can find Italian prune plums, try my Italian version. The flavor is more intense and the color is even deeper.
Step-by-step instructions
- Place a small plate in the freezer right before cooking the plums (this is to use to check if plum jam is ready).
- Wash the plums and remove any blemishes. Cut the plums in half, remove the pits, and cut the pieces in half again.
- Place a large skillet on medium-high heat. Add the plums, sugar and a ¼ teaspoon of salt. Using a wooden spoon, stir together to combine. Bring the mixture to a boil and keep stirring until the sugar dissolves. Mash the plums to break them up with the spoon (or a potato masher).
- Add in the lemon juice and keep stirring. Use your spoon to loosen any pieces that stick to the bottom of the pan.
- Lower the heat to a simmer and keep stirring until the bubbles will slow down. As it simmers, skim off any white foam that comes to the surface.
- Be sure to keep stirring for about 15-20 minutes. You'll know it's ready when juices thicken like a syrup and when you lift some jam up with your wooden spoon while stirring, it will fall of the spoon in sheets. That's the main sign that the jam is ready.
- Another easy way to check if the jam is ready, remove the small plate from the freezer. Place a teaspoon of jam on the plate. If it sets within a minute, it is ready. If it still appears runny, return the plate to the freezer and continue to cook the plum mixture. Test again in a few minutes.
- When the jam is ready, let it for 5 minutes to allow the fruit to settle
- Carefully spoon the jam into sterilized jars. Leave about ¾ inch of headroom.
- Let the jars cool completely. Seal tightly with the lids. Label and date the jars. Store in the refrigerator for up to a month. You could freeze for up to year.
How to pick the best plums for this recipe
Look out for good quality, freshly picked fruit. The best plums to use are ripe with nice and firm skin. The firm skins have more pectin and you'll end up with a really nice textured jam. Avoid buying really soft and over-ripe plums (no bruised plums!)...your jam will not last that long.
Do I have to peel the plums to make this jam?
No, peeling the plums is not necessary. Leaving on the skin is the best method. The skin has pectin in it which actually helps set the jam.
Equipment needed
Can I use less sugar?
You could try to make the recipe with less sugar, but it will affect the way it sets and also, how long it remains fresh. I suggest to make the jam with the amount of sugar that the recipe calls for.
It does seem like a lot, but when it's cooked up with the fruit, the flavor balances out. If you do make it with less sugar, just store the jam in the fridge until you're ready to eat it (and after you open it).
Can the jam be made without lemon?
Fresh lemon juice is essential to the recipe. It has a high amount of acid and pectin, which will help the jam to set. The tartness of the lemon also helps to balance out the sweetness.
Expert Tips
- Use a wide pan - more surface area means faster evaporation and a better set. A wide skillet or Dutch oven is ideal.
- Do not walk away - jam at a boil needs constant attention. Keep stirring and keep a close eye on the heat. It can go from simmering to scorching quickly.
- Skim the foam - the white foam that rises to the surface is just air bubbles from the boiling. Skimming it off gives you a clearer, more beautiful jam.
- The sheet test is the most reliable - lift the spoon and watch how the jam falls. Thin drips mean it needs more time. Thick sheets that hang and fall together mean it is ready.
- Sterilize the jars - wash them in hot soapy water and rinse well, or run them through the dishwasher. Fill them while they are still warm.
Let's make this delicious plum jam together!
- This is a totally pectin-free recipe! Some jam recipes call for 1:1 ration of fruit to sugar or even 1.5 ration to 1. Some recipes even use 2:1 ratio of fruit to sugar.
- Mom's recipe that we are using is 1 ½ cups (300 grams) of granulated sugar used with the 2 lbs of fruit. Mom said for plums, that it is the perfect amount of sugar, and that it brings out the fruits' natural sweetness (I can't ever argue with mom!).
- We give instructions on storing the jam in the fridge. For more detailed info on canning instructions or directions, follow the USDA guidelines.
- This recipe makes about 700ml / 24 fl oz / 3 cups of jam.
Some other ways to enjoy summer a little longer:
Did you make this and love it? Please RATE THE RECIPE below:)
I would LOVE IT if you can leave me a star rating and a review down below and let me know your thoughts! It means the world to me to hear how you liked it.
Please Subscribe and give a follow on Instagram, Facebook, Pinterest, and TikTok xx
Easy Homemade Plum Jam (No Pectin)
Equipment
Ingredients
Instructions
- Place a small plate in the freezer right before cooking the plums (this is to use to check if plum jam is ready).
- Wash the plums and remove any blemishes. Cut the plums in half, remove the pits, and cut the pieces in half again.
- Add in the lemon juice and keep stirring. Use your spoon to loosen any pieces that stick to the bottom of the pan.
- Lower the heat to a simmer and keep stirring until the bubbles will slow down. As it simmers, skim off any white foam that comes to the surface.
- Be sure to keep stirring for about 15-20 minutes. You'll know it's ready when juices thicken like a syrup and when you lift some jam up with your wooden spoon while stirring, it will fall of the spoon in sheets. That's the main sign that the jam is ready.
- Another easy way to check if the jam is ready, remove the small plate from the freezer. Place a teaspoon of jam on the plate. If it sets within a minute, it is ready. If it still appears runny, return the plate to the freezer and continue to cook the plum mixture. Test again in a few minutes.
- When the jam is ready, let it for 5 minutes to allow the fruit to settle
- Carefully spoon the jam into sterilized jars. Leave about ¾ inch of headroom.
- Let the jars cool completely. Seal tightly with the lids. Label and date the jars. Store in the refrigerator for up to a month. You could freeze for up to year.
Nutrition Disclaimer
Please keep in mind that the nutritional information presented below is an approximation and may vary depending on the exact ingredients used.
Notes
- Do not peel the plums - the skins contain pectin and give the jam its texture and deep color.
- Use ripe but firm plums. Overripe or bruised plums have less pectin and the jam may not set as well.
- Fresh lemon juice is essential - it helps the jam set and balances the sweetness.
- If the jam does not set, use it as a drizzle over ice cream or yogurt. If it sets firmer than expected, it is perfect for a cheese board.
- Store in the refrigerator for up to 1 month or freeze for up to 1 year. This is not a shelf-stable canned jam.
Nutrition
FAQ'S
If done correctly, it should last a year refrigerated!
No, leave it on- the skin contains a high amount of pectin
No, it plays an important roll for this recipe. It helps balance the sweetness and it is high in both acid and pectin.
No, the fruit itself contains pectin, so when you cook it up, it naturally adds pectin to the recipe,
I made it today and it was so delicious
hi Marilyn-Really happy you enjoyed the plum jam!
I just love this plum jam recipe! I eat it with my yogurt!!