
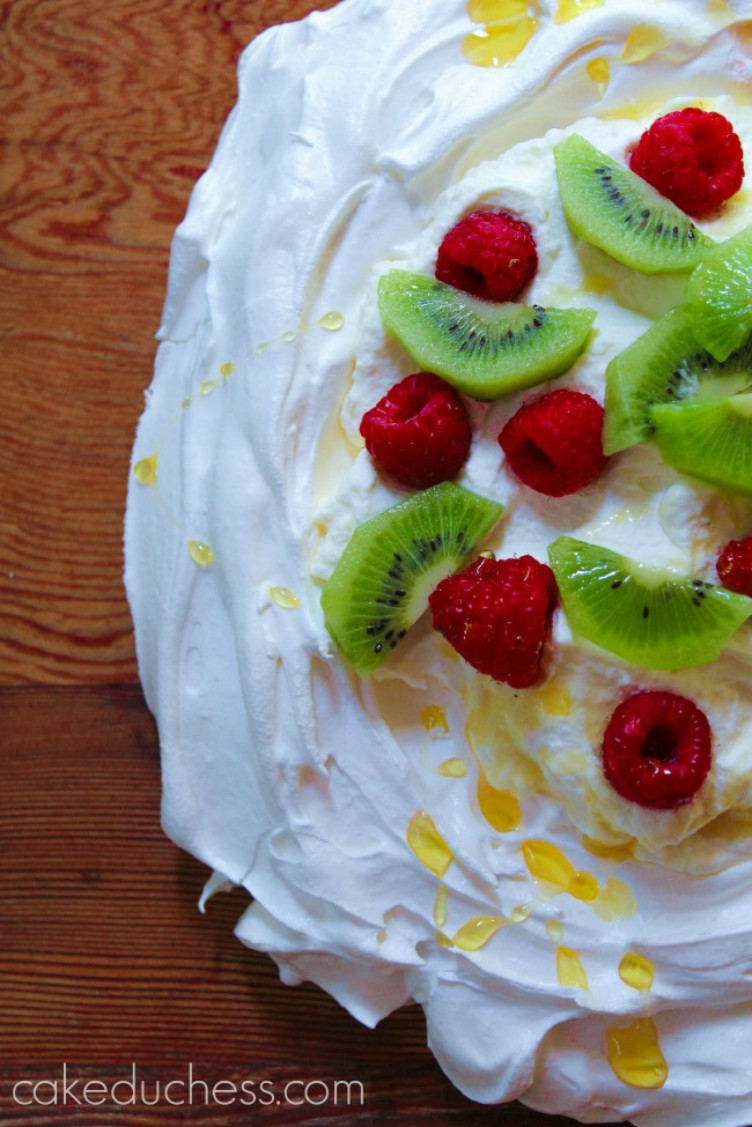
Kiwi and Raspberry Pavlova is a delicious and decadent dessert made with egg whites. Totally gluten-free topped with whipped cream, sweet raspberries, kiwi and a drizzle of honey.
If I really want to impress my friends and family, I make a pavlova! They are just so pretty look at and they are not as complicated to make as you may think!
Making a pavlova is pretty easy and relatively fool-proof! The results: crunchy on the outside and as fluffy as a marshmallow inside. Topped with luscious whipped cream and gorgeous kiwis and raspberries...this is a dessert to IMPRESS!!
You could decorate your pavlova with whatever you prefer: fresh berries, cooked pears or apples (very fall!). For the chocolate lovers: you could add cocoa powder to the meringue and top with chocolate and cream...a chocolate pavlova delight!
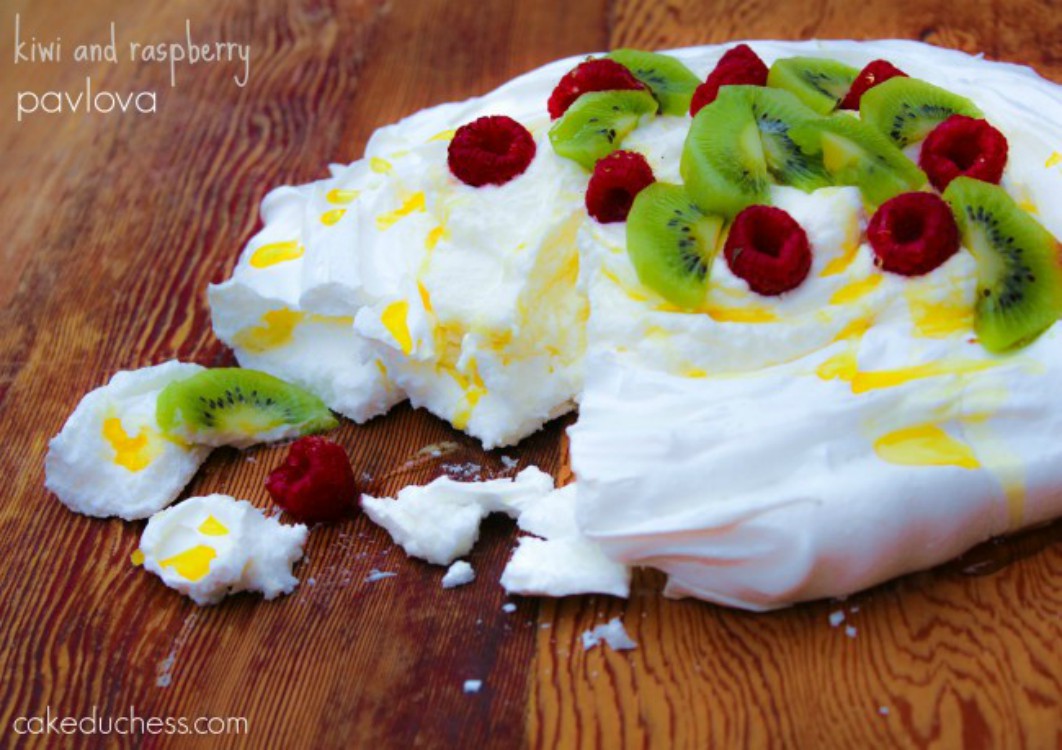
The pavlova is as fluffy as a cloud and very delicate! Be super careful (it's very fragile!) when you remove it from the parchment paper.
Important to remember: When the egg whites have quadrupled in volume, that is the time to add the sugar just a little bit at a time and keep on beating! and adding them slowly while whipping the mixture continuously. Even more important, when they are whipped to perfection...don't wait to bake them. It's important to get them shaped on your pan and put in the oven. No hesitating.
My very important tip for you: let it cool completely on the pan before transferring to your serving plate. I didn't wait the most recent time I baked it and my pavlova did break apart a bit before I had a chance to decorate it. Luckily, nobody complained! Even not so perfect to look at...it was perfection to taste!
What is the difference between a meringue and a pavlova?
A meringue is a mixture of whisked egg whites and sugar and a pavlova is a type of meringue. Pavlovas have a marshmallow-like center from the cornstarch.
How Do I Know My Pavlova Is Done?
The pavlova will look dry and pale when it is perfectly baked. When you insert a skewer into the meringue it will have a sticky almost like marshmallow consistency.
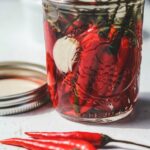
Easy Pickled Thai Chili Peppers
Ingredients
- 2 cups Thai chili peppers or other small no longer than 2 inches fresh hot chilis.
- 1 cup filtered water
- 1 cup distilled white vinegar
- 4 garlic cloves peeled and gently crush
- 2 tablespoons kosher salt
Instructions
- Rinse off peppers.
- Be sure to put on gloves to handle the peppers. Pack peppers into glass jars (or one very large with a tight-fitting lid). If pickling slices, add the slices to the jars and pack them in.
- Add 2 cloves of garlic to each jar ( I used two small jars). Depends how tightly you pack the peppers, I really packed mine in. If using one large jar, add them all into that jar.
- In a medium saucepan, combine water, vinegar, salt (and sugar, if using...see NOTES).
- Bring water to a low simmer and stir until salt (and sugar, if using, see NOTES)are just melted (not boiling).
- Remove vinegar mixture and using a ladle very carefully pour the mixture into the jars with the peppers.
- Allow to cool for approximately 1-hour, cover and refrigerate.
- The pickled Thai chili peppers are ready to eat in 24 to 48 hours.
Nutrition Disclaimer
Please keep in mind that the nutritional information presented below is an approximation and may vary depending on the exact ingredients used.

Leave a Reply